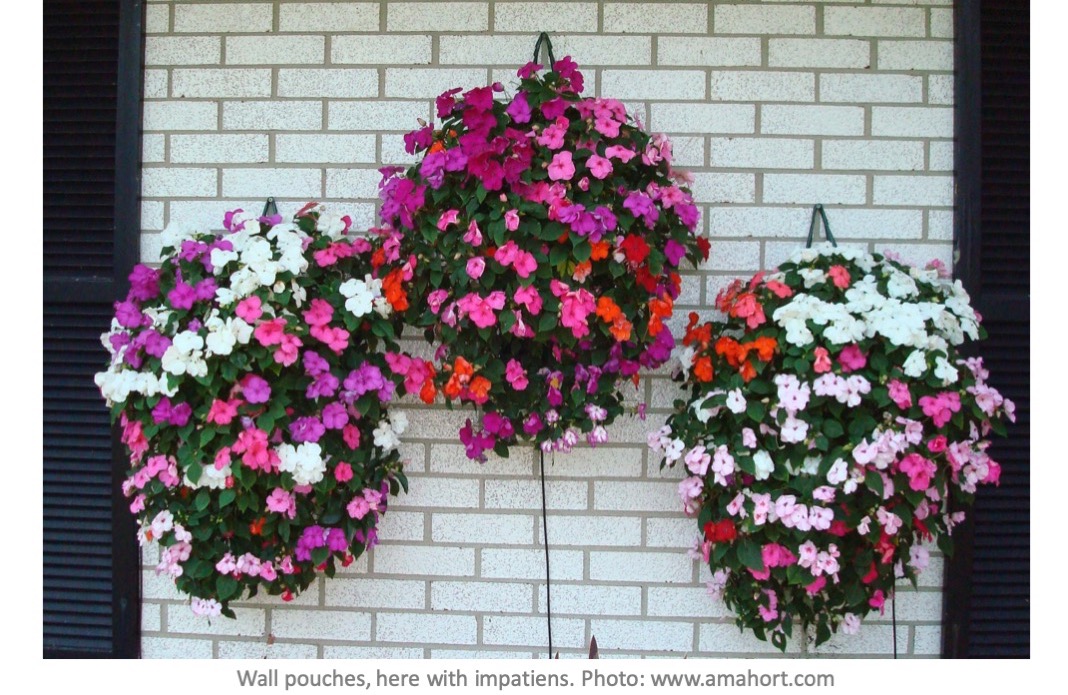
You’ve probably seen these in a garden center or nursery. Called flower pouches, wall pouches, flower bags or various other names, they’re essentially plastic tubes sealed at one end and with a strong handle at the other. You fill them with growing mix and plants (usually dwarf annuals), keep them watered and they soon fill in and give you the effect of a dense mass of bloom hanging on a wall, a post or even a tree.
You can buy a flower pouch already growing and ready to bring home in just about any nursery. Or save money and plant one yourself.
Do be forewarned, though: flower pouches are not low-maintenance containers. They dry out very quickly and you have to be available to water them!
On some models, the pouch may already be perforated. If not, there’ll be marks showing where to cut. Then all you have to do is to fill it with potting mix and plants, level by level … and keep the mix moist!
When to Start
Ideally, you’d start your flower pouch indoors or in a home greenhouse about 2 weeks before installing it outdoors for the summer so the plants will have time to settle in, but you can also prepare it and install it right away any time during the gardening season.
Step by Step
Here’s how to assemble your own flower pouch.

1. Gather your materials: flower pouch, knife or scissors, potting mix, slow-release fertilizer, bucket or tray for mixing and a six-pack or two of annuals (bedding lobelia, begonia, impatiens, coleus, etc.).
2. Cut ’x’s in the wall of the pouch (if they’re not already cut).
3. Pour the potting mix (a potting mix for houseplants or for container gardens would be perfect) into a bucket or tray and mix in a palmful of all-purpose slow-release fertilizer.
4. Add water to humidify the mix and blend well. It should be slightly moist, like a wrung-out sponge.
5. Add potting mix to the pouch up to the first row of holes, tamping it down well to fill in right to the bottom.
6. Remove two annuals from their pack.
7. Slide the root balls into the two lower holes, one on each side. Sometimes you may need to compress the roots slightly (try rolling them in your hand) so the root ball fits into the hole. The plants will therefore be lying on their sides, with the stems and leaves outside the pouch and the root ball inside.
8. Now cover the root balls with mix and add more, filling in to the level of the second row of holes, then tamp lightly.
9. Plant the second row as above.
10. Continue in the same manner until all holes are filled.
11. At the top, plant two additional annuals, filling in with more mix and again tamping lightly.
12. Make sure you leave about 1 inch (2 cm) free of soil at the top of the pouch to catch the water as you pour it in.

13. Set the pouch upright and water slowly until you see water coming out of the lower holes. It may be necessary to water 2 or 3 times over several minutes this first time.
14. Ideally, you’d then lay the pouch on its back in a sunny place indoors for about 2 weeks while the plants root in before attaching the pouch to its support. If you can’t, just hang the pouch on its final support immediately after planting.
Summer Care

For the first few waterings, pour water in slowly, letting the water percolate gently through the potting soil. Otherwise soil will likely pour out of the planting holes and dirty your deck or terrace. After about two weeks, the plants will have rooted throughout the potting mix and will hold it in place as you water.
Note that little rainwater will penetrate such a pocket, especially if you hang it on a wall under an overhanging roof: the plants will be relying entirely on you for watering.
As plants begin to grow and flower, their watering needs will increase. It may be necessary to water several times a week if the location is very hot and sunny. That’s why these pouches are often easiest to maintain in cool and semi-shady locations, even shady ones if the plants you selected can tolerate shade, like begonias, coleus and impatiens.
If you already use a drip irrigation system, you can connect your wall pocket to the system and water the plants automatically with drippers.

Even though you added some fertilizer to the mix to start with, that won’t likely be enough: I mean, those plants are packed in there and very “hungry”! So, for best results, fertilize weakly weekly using a liquid or soluble fertilizer at ¼ of the recommended dose.
At the end of the season, toss the plants and growing mix into the compost bin, then clean the poach in soapy water. I find they last for many years.
Other Uses
You can also use a wall pouches to grow succulents (echeverias, sedums, houseleeks, etc.) and other drought-tolerant plants. That will significantly reduce the need for watering.
Pouches can also be used for growing herbs and strawberries.
Flower pouches: colorful and original … and not hard to maintain as long as you never let them dry out entirely.
Pingback: How to Rev Up Curb Appeal – Laidback Gardener
You need to be careful where you hang it though! Even though water does not flow out the backside, they stay damp back there, and can ruin pain or stain fences. If hung in the same place long enough, they can promote rot. Water that flows out the bottom goes to the bottom of whatever it is hanging on, and keeps it wet. They should not be a problem on big but young trees, but can promote rot if hung against trunks of old furrowed trees.