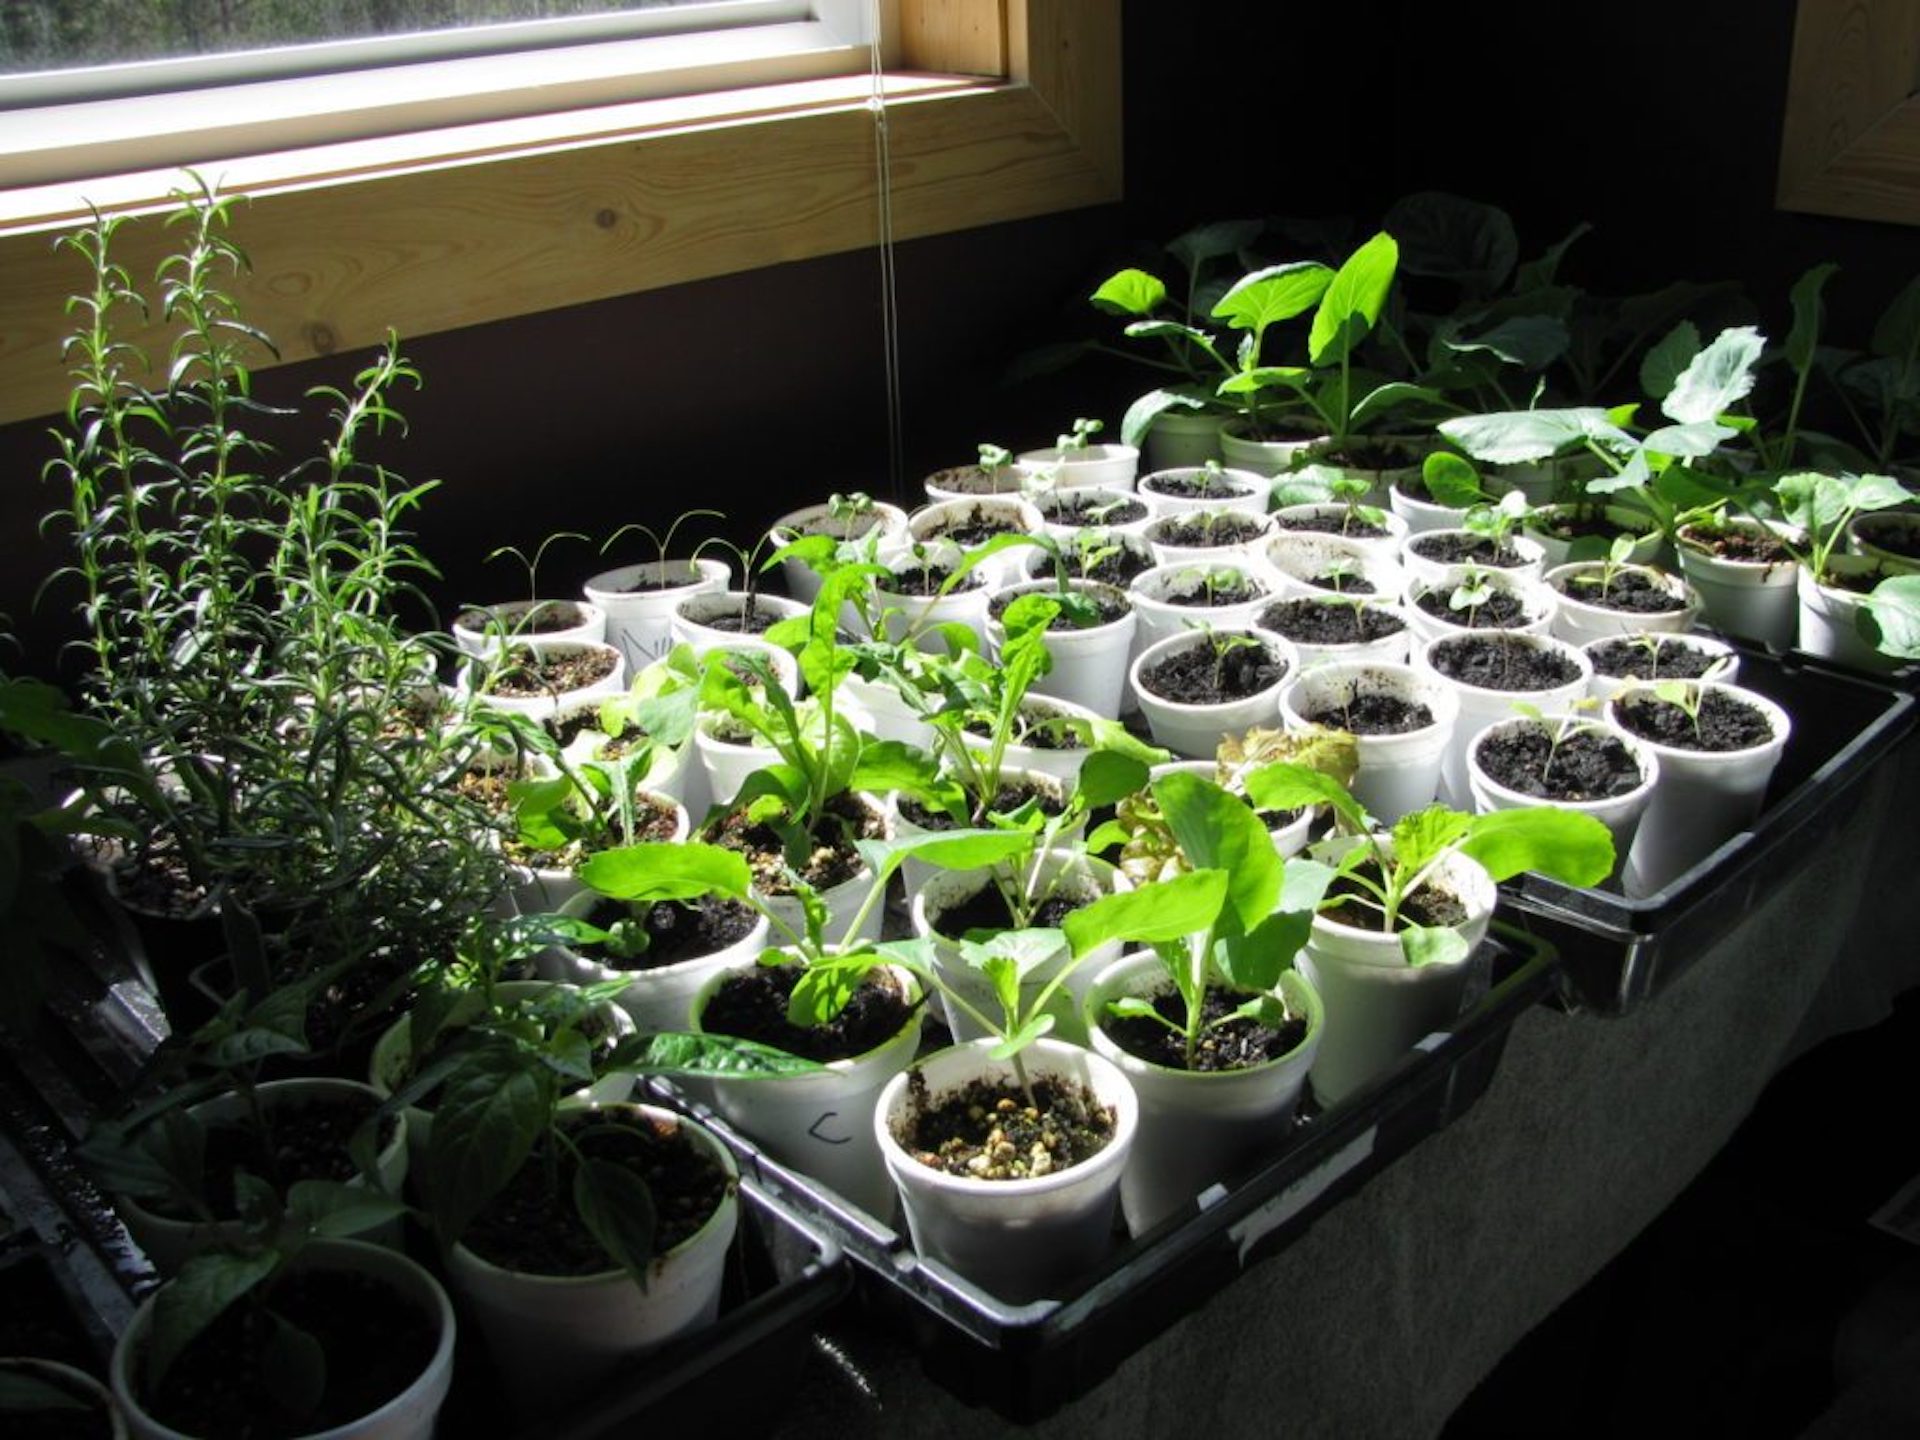
When starting seeds, you can use a whole range of recycled products. Photo: countrylivinginacariboovalley.com
In the Northern Hemisphere, March is usually the month of renewal and rebirth. In our gardens, the sap begins to rise in the trees and shrubs and the first flowers may start to bloom (although where I live, only pussy willows are that early). Inside our homes, houseplants are coming back to life after a long winter nap, so it’s time to consider repotting them. March is also, along with April, one of the two big months for starting seeds indoors. Annuals, vegetables, herbs, perennials and many more: there are many seeds to get off the ground in March.
But the month of March can also be a great month for reusing and recycling.
So Much to Reuse!

You can reuse the pots you already have on hand for sowing and repotting. I mean, what gardener doesn’t set aside used pots from plants they’ve lost or moved into larger containers? And it’s certainly easy enough to do. Whether they’re made of clay, plastic or almost any other material, most pots even be used over and over again. That’s also the case for the containers we buy bedding plants in: seed trays, cell packs, etc. Reusing them multiple times is a breeze.
First, Clean ’Em Up

Before recycling pots and boxes, of course, you have to clean them and even sterilize them to a certain degree, at least enough to suppress any harmful plant microbes or insects that may linger on their surface. Seedlings are especially susceptible to harmful microbes and you certainly don’t want to start off with a problem!
To clean pots, first soak them for an hour or two in a sink or bucket filled with a solution of 5 parts water and one part white vinegar. Vinegar, being acidic, will dissolve any crusty whitish calcium stains on older pots and is also a natural disinfectant that helps kill bacteria, fungi and viruses.
Then wash the pots as you would with regular dishes, in hot soapy water to remove soil and dirt. Or wash them in the dishwasher. That way they’ll be clean, clean, clean … and close enough to sterile for your needs!
Shop with Care
When buying plants, you can even specifically choose ones in containers that can be reused or recycled.

For example, styrofoam (polystyrene) plant trays are essentially single-use items. Quite often, you can’t even remove plants from the tray with having to break off pieces of foam. And even if you do manage to extract the seedlings with the tray still intact, they’re difficult to store, because unlike thin-walled pots and cell packs, they don’t stack well: you can only pile them one on top of the other. Storing even a few of them therefore takes up a lot of space. And when you do decide they’re no longer of interest to you, you’ll find very few recycling centers will accept styrofoam. It most cases, styrofoam goes straight into the trash!
That makes buying plants in styrofoam trays the least environmentally advisable choice.

Thin plastic pots and cell packs, on the other hand, while not eternal, can be used repeatedly; plus they stack easily. And at the end of their useful life, they’re recyclable, so are a good choice when you buy plants.
Recycling Household Items
There are also many items around the house that can find new life in seed sowing. Here are a few examples:
Pots for Seedlings

You’ll need small containers, about 2 to 4 inches (5–10 cm) in diameter, with drainage holes. Or you can sow several seedlings in a larger shared tray. Fortunately, there are many objects around the house that can be used as seed containers:
- Paper or foam coffee cups or plastic beer glasses. You can bring them home from the restaurant, office or coffee shop. Also, ask your friends at the office to collect some for you!
- Yogurt, pudding and other small plastic containers from the supermarket.
- Empty tin cans. Not a good idea for children, however, given the risk of cuts while handling them.
- Bottoms of milk, juice or other waxed cartons (actually, they’re covered in plastic, not wax).
- Plastic pails that detergents and other household products come in.
- And many, many more!
Obviously, any object you’ll be using as a pot must have a drainage hole. If there is none, punch one into it, perhaps with a pen or screwdriver. For cans, try a hammer and nail. And for some containers, you’ll probably have to take out your electric drill.

Please note that you still need pots of a certain size for successful seed sowing. Small, shallow containers just don’t cut it. You’ll often see egg cartons recommended as seed starters, or even empty eggshells. The problem is they’re too small for most seedlings. Everything starts out fine, but when the seedlings get bigger, they dry out too quickly and soon die. You’d do better to use slightly larger pots from the start … unless the eggshells you’re using come from turkey or goose eggs!
This is also the true of ice cube trays. Again, you often see them recommended for starting seedlings, but in fact, they’re really too small. And why drill holes into a good ice cube tray, ruining it for future use making ice, if you’re not going to get good results?
Biodegradable Pots

Sometimes you need biodegradable pots, that is, pots that will break down once planted in the garden. They’re used for sowing plants that don’t like their roots disturbed, such as cucumbers, melons and zinnias. By sowing these seedlings in a biodegradable pot, all you need to do when transplanting is to insert the entire pot into the soil. The roots will not be damaged and will be able to pass through the walls of the pot and into the surrounding soil.
Traditionally, these pots are made of peat or coir, even cow dung (I sh** you not!), and they’re widely available in garden centers … but you have to pay for them. And unlike other seed pots, they are single-use. So, they add to the expense of producing seedlings. That’s why it can be useful to learn how to make your own biodegradable pots.

Newspaper Pots: There is a tool called the Potmaker® (another brand sells under the Paper Potter®) designed specifically for making pots out of newspaper. Just cut newspaper or wrapping paper into strips of about 3 to 4 inches (8–10 cm) in width and wrap a strip around the tool, letting part hang over the bottom. The paper should fit fairly tightly, but not so much it will be hard to remove afterwards. Next, fold the excess paper at the bottom over the base of the tool, then firmly press it into the base, turning left and right. Remove the paper pot from the tool … and that’s it! You have a perfect little pot for your seedlings: all that remains to do is to fill it with sowing mix!
If you don’t have a pot maker tool or find it too expensive (although it you’ll probably recoup your investment in just one year of use), you can make pots by molding them around the bottom of a wine bottle, a tin can or any other cylindrical object. You just have to be a little more careful to create a tight fit as you fold the paper back under the bottom of the pot … and to fill it with potting soil immediately, otherwise the pot will tend to come apart. Or, solidify the pot with a small piece of tape. These steps are not necessary with pots made by using a Potmaker: they hold their shape well, so you can sit down and produce them by the dozens ahead of time.

Toilet Paper Tube Pots: You can also make pots out of toilet paper tubes. Make four slits at the base to create four flaps. Fold them on top of one another other, sliding the last flap in behind the first, as if you were sealing a cardboard box. This will give you a bottom solid enough to hold in the potting soil, giving you a perfectly useful biodegradable pot.
Warning: toilet paper tubes tend to become covered in mold after a few weeks. This doesn’t harm the seedlings and is simply part of the natural process of biodegradation, but some gardeners find them a bit icky.
Trays and Domes
You have to place pots of seedings on some sort of waterproof tray to prevent excess water from dripping onto furniture or floors. Also, you need to cover the trays with a transparent plastic dome (mini-greenhouse) immediately after sowing. The dome helps maintain good atmospheric humidity and stabilize air temperatures, two conditions important to germination. After the plants sprout, you just remove the dome so that the seedlings can benefit from greater air movement, but the trays remain useful thorough the process of producing seedlings indoors.
Obviously, you’ll find a wide range of plant trays with matching domes in every garden center, but why pay for them when you already have exactly what you need at home?

Plastic Trays and Tops: A trip to any supermarket will lead you to all sorts of plastic containers for pastries, vegetables, roast chicken, etc. with a hinged or free transparent top. They’re so perfect for starting seedlings, they almost seem to have been designed specifically for gardening! The bottom part serves as a waterproof tray; the top as a mini-greenhouse. Perfect!
Tupperware-style containers with a transparent lid: The bottom can serve as a tray for the pots; the lid as a mini-greenhouse.
Transparent storage bins: If the cover is opaque, as is often the case, simply invert them, using the lid as a tray and the top as a mini-greenhouse.

Plastic bottle cut in half: A transparent 1.5 or 2 L water or soft drink bottle or other transparent plastic bottle can be used as a mini greenhouse. Two mini-greenhouses, in fact, as you can use the top right side up and the base inverted. Just place the two parts over pots of an appropriate size.
Recycled Transparent Plastic Bags: These make excellent mini-greenhouses and can be collected over the winter for spring sowing. So many products come in clear plastic bags these days that you’re not likely to run out of them! As plastic bags aren’t very solid, you can install coffee stirrers, pieces of bamboo staking or other small stakes in the seedling pots to shore them up and prevent them from flopping down onto the seedlings and flattening them. After use, wash and dry them: they can be used again and again!
Waterproof tray: You can put your seedlings on any kind of waterproof tray: baking pan, plant saucer, aluminum foil tray, etc. Search the attic—you probably already have what it takes!
Plates: Aluminum pie plates make excellent saucers for individual pots or for multiple small ones. Obviously, old mismatched plates of all kinds, salvaged from the kitchen or the attic, also make excellent saucers for seedling pots.
Recycle Plant Labels Too!

Seedlings should always be identified by some sort of label, as they look very similar and are so easy to confuse! I mean, will you really remember, at planting time two months later, that the pots on the left are the hot peppers for your container garden and the ones on the right, the bell peppers for the vegetable bed? Don’t risk confusion: label your plants.
Of course, you can readily buy plant labels in any garden center, but you can also make your own at home. Here are a few ideas:
- Wooden or pale-colored coffee stirrers: Recycle those from your favorite coffee shop or restaurant.
- Popsicle sticks.
- Tongue depressors.
- Old blinds cut into 4-inch (10 cm) lengths.
- Margarine jars, bleach containers or other plastic containers cut into strips.

- Food utensils from take-out (you can write on the handle).
- Wooden clothespins (just clip them onto the edge of the pot).
All you have to do now is to find an indelible marker so you write the names of the plants on your labels!
Sowing seeds and recycling: the two can so easily go hand in hand!
Good ideas, all! Living in the British Virgin Islands, recycling & repurposing is often the only way unless you can wait a month or so for shipping.
I get all the black vinyl cans I need from work, and they seem to last forever!
so cool, something I have done for nearly 40 years! and still doing, I thought I was cheap!
Cheap and environmentally friendly often go hand in hand!