Photo: canadianfoodfocus.org
By Larry Hodgson
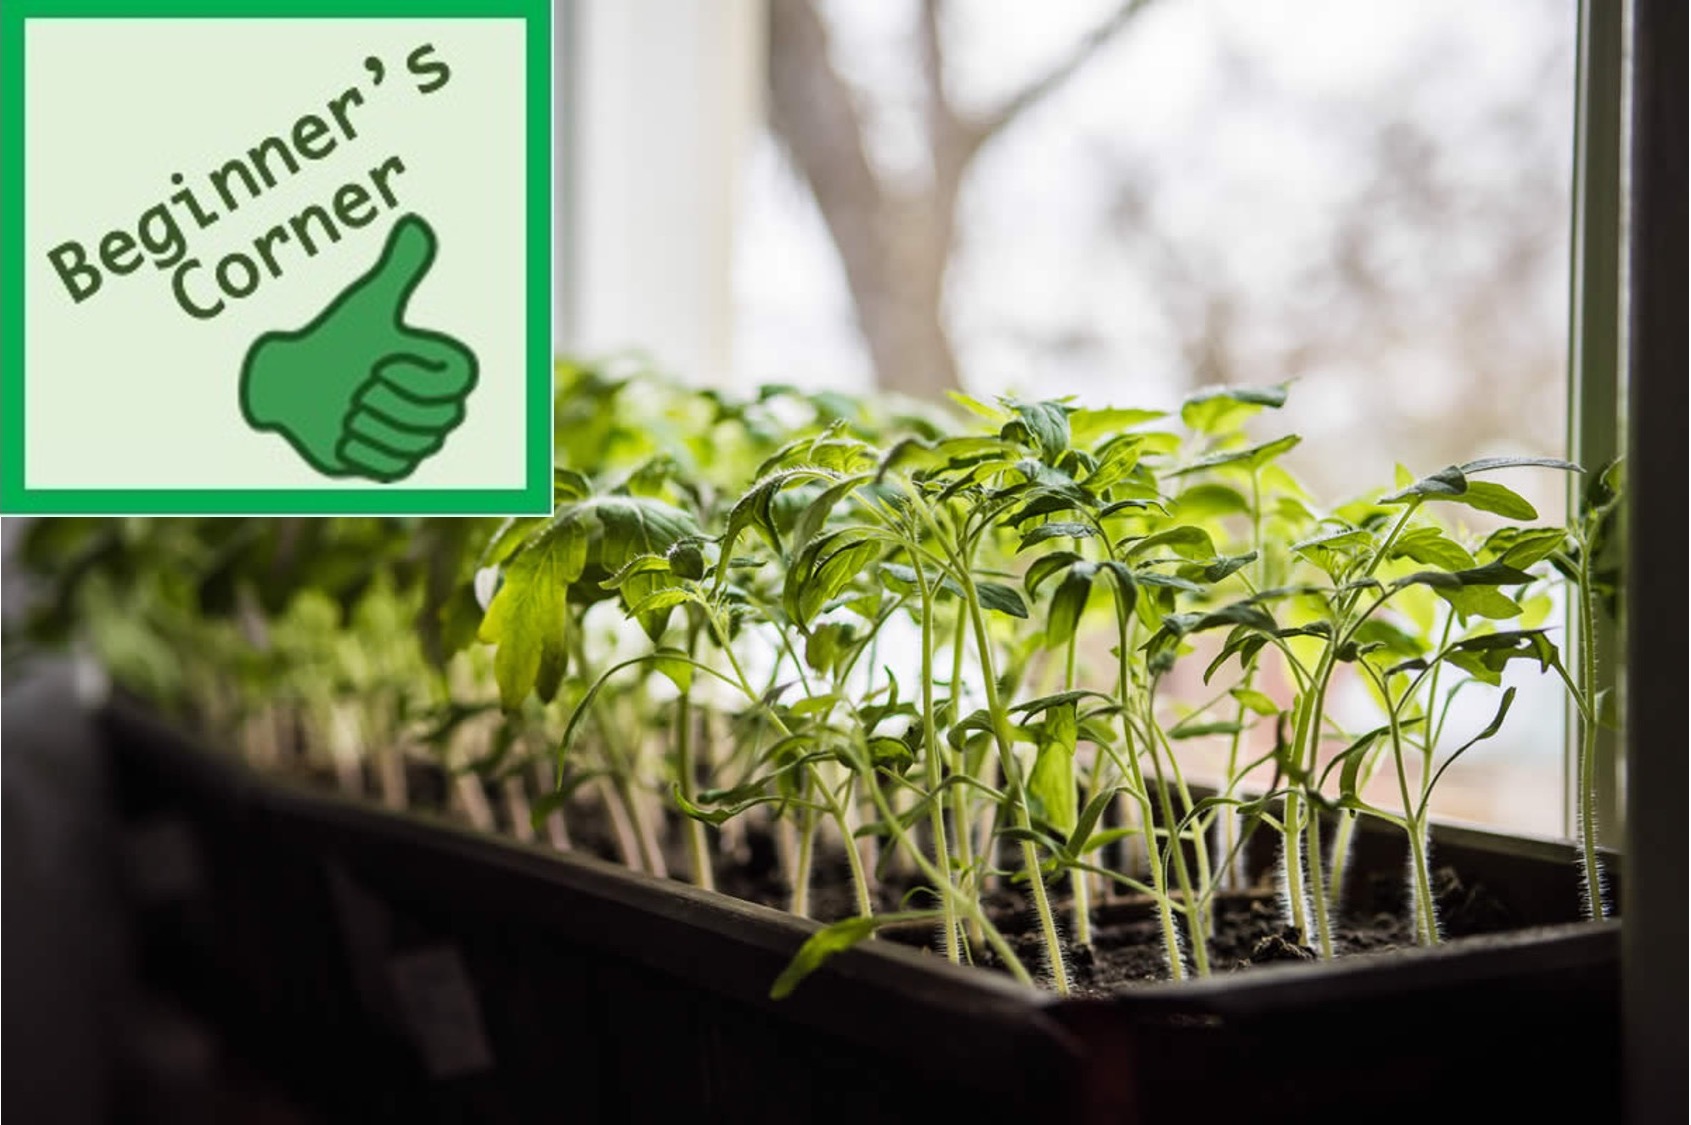
If you’ve never planted a single seed, why not start this year with the plant the most widely grown from seed in home gardens around the world: the tomato? And growing tomatoes has never been so popular.
Yes, last summer, gardeners all over the world, concerned about the consequences of the COVID-19 lockdown on food availability and quality and largely confined to their own backyards, grew vegetables in record numbers. And this was gardeners of all ages, from teens to nonagenarians. In backyard gardens, sure, but also on balconies and rooftops, plus in community gardens. This year promises to be even bigger. So, if you hesitated last year, it might be just the moment to take the plunge … starting with that “basic homegrown vegetable”: the tomato.
The tomato is doubly interesting as a first gardening experience in that it’s particularly easy to grow from seed. But, except in the mildest climates, it does have to be started indoors; otherwise you’d have to wait until fall for the first fruits.
Here’s how to do it.
Getting Ready
First, assemble your materials.

You’ll need seed-starting mix (houseplant or potting mixes are also fine), preferably a blend that already contains mycorrhizal fungi (beneficial fungi), plus pots, a matching tray and dome, and, of course, tomato seeds.
You’ll have to buy the seeds and potting mix (never use soil taken from the garden, as it is usually contaminated with diseases and pests), but you’ll probably already find all the containers you could possibly need just by recycling ordinary everyday products. Just clean and punch a hole in the bottom of any suitably sized container (margarine dish, mushroom tray, bottom half of a milk carton, etc.) while the transparent flip-top plastic containers in which pastries, fruit and roast chicken are sold in supermarkets make excellent mini-greenhouses: the bottom can serve as a tray; the top, as a dome.
As for tools, you’ll likely find everything you need in the kitchen: a spoon (use it as a mini-shovel!), knife, pencil, spray bottle, etc. A teapot can even replace the traditional watering can!
When to Sow
To produce young tomato plants that are ready to transplant outdoors, yet not too advanced, you have to be careful not to sow the seeds too early. Here’s the general rule: sow them 6 to 8 weeks before you’ll be transplanting into the garden.
So, you need to try to calculate when in your area there is not only no more risk of frost, but the soil and air will be warm enough not to stunt the growth of young plants, that is, when nights are likely to remain above 50 °F (10 °C). This will likely be a week to 10 days after the “last frost date” (add your zip code/postal code here to obtain the last frost date). Obviously, this “safe planting date” will vary according to where you live. It could be mid-May, late May, early June, etc.
Whatever the date is, once you’ve found it, count back 6 to 8 weeks and—bingo!—that’s when to sow your tomatoes.
Choice of Varieties
I can only give very vague advice on the choice of tomato varieties: it largely depends on what you’re looking for.

Determinate tomatoes—shorter plants that produce earlier in the season, but give fewer fruits—are ideal for container culture while indeterminate tomatoes—which grow endlessly, but are a bit later to produce their first fruit, then continue on until frost—are more appropriate in the ground or in big tubs.
Perhaps you prefer cherry tomatoes that you can pop straight into your mouth like candy or use in soups or salads, or maybe it’s large, juicy slicing tomatoes for sandwiches, or dense Italian tomatoes for tomato sauce? And what colors do you like? Red, pink, yellow, white, green or black?
If you are going to garden in soil where tomatoes were grown in the past, I suggest you look for disease-resistant tomatoes, especially ones tolerant of late blight, like ‘Jasper’, ‘Fantastico’ or ‘Mountain Magic’.
When it comes to taste, the ‘Tasti-Lee’ tomato has won over many gourmet gardeners, while I prefer ‘Sungold’ (which is, apparently, now the world’s most popular home garden tomato!)
Finally, ‘Brandywine’ is sure to appeal to people looking for an heirloom variety with “old-fashioned tomato taste” (I must admit I don’t get it: I find it rather bland!)
But the choice is yours: there are hundreds of varieties of tomatoes and there’s bound to be at least one that will suit your needs. You can find seeds in garden centers and online.
Starting Your Own Tomato Plants
When it comes time to start your first seedlings, here’s what to do, step by step.
1. Sowing
- Start by moistening the growing mix. Pour some into a bowl or bucket, then add lukewarm water and stir until the mix is evenly moist. You’ll want it to be the consistency of a wrung-out sponge.
- Using a spoon, fill the chosen containers with mix. However, don’t fill the container to the brim, but instead leave a half inch or so (1 to 1.5 cm) free of mix at the top to facilitate watering in the future.
- With a spoon, pen or pencil, make shallow holes about ? inch (3 mm) deep (about three times the height of the seed) in the potting soil.

- Drop two seeds in each hole (the duplicate is for backup in case one of the seeds doesn’t germinate).
- Cover with moist mix.
- Spray with lukewarm water to settle the mix a bit.

- Put the pot or pots on a tray and cover with a transparent dome to maintain high humidity during germination.
- Move the resulting “mini-greenhouse” to a warm (21–24 °C), well-lit location, but keep it out of direct sunlight for now, otherwise it can become too hot.
- As long as the pots are covered by a dome, no watering or special maintenance will be necessary.
2. When the Seeds Germinate

- Germination will take place fairly quickly, usually in 5–10 days. As soon as the seedlings are present and their cotyledons (the first two leaves) fully outstretched, remove the dome to increase air circulation.
- If two seedlings germinate in the same spot, thin by cutting the weaker of the two at the base with scissors.
3. Give the Seedlings Sun
- Now place the tray of pots in the sunniest spot you have available. You could also place the seedlings under a fluorescent or LED lights using a timer set at 16 hours a day.

- If your seedlings are growing in front of a window, give the pots a quarter turn every four or five days; otherwise they’ll lean towards the sun. That won’t be a problem under lights, since plants growing there receive light not from the side, but from above.
4. Water Carefully
- Keep an eye on the growing mix: as soon as it feels dry, and that may only take 2 or 3 days, water thoroughly but gently. Any excess water will drain into the tray through the pot’s drainage hole. Empty the tray of any residual water about 15 minutes after watering.
5. Transplant into Larger Pots

- Tomato seedlings grow very quickly. When the leaves of plants sharing a larger container start to touch, it’s time to transplant them into a larger pot. Seeds started in small containers, such as cell packs, will also need more space. Usually, a 4-inch (10-cm) pot will be enough to keep the plant in shape until planting out time.
- Fill the new pot with moist soil, again not quite to the brim.
- Dig a hole large enough for the root ball with a spoon.
- Carefully dig out the plants, holding them by a leaf (never by the stem, otherwise you could accidentally crush it which would kill the plant) with one hand and using the spoon as a lever with the other.
- Place the root ball in the previously prepared hole in the new larger pot.
- The seedling can be planted more deeply, up to the base of the cotyledons or even covering the spot where they were if they’ve already fallen off: this will give a stronger plant.
- Fill in with mix and water well.
- Return the seedlings to the lighted location.
6. After transplanting
- Continue watering as needed, that as, as soon as the soil feels dry to the touch.
- Start adding a water-soluble fertilizer to the water at one quarter of the manufacturer’s recommended dose about once a week.
7. Hardening Off

- When the weather permits (nights below 50 °F/10 °C can stunt their growth; 40 °F/4 °C nights can damage them seriously), start acclimatizing your plants to outdoor conditions: this is called hardening off.
- Give them a few days in the shade, a few days in partial shade and a few days in the sun.
- During this period, don’t hesitate to bring them indoors temporarily if nights turn cold.
8. Transplanting Outdoors

- When there is no further risk of cool temperatures (check weather forecasts: they give fairly reliable predictions 2 weeks in advance), transplant the tomato plants into the garden or into their summer container. They need a sunny location and prefer rich, friable soil.
- When transplanting, again set the plants more deeply than before, up to the base of the lowest leaf, as the tomato plant has the ability to root on the buried part of its stem.
- Finish the planting by watering thoroughly.
9. Summer Care
Summer care is really a different subject, but in resume:
- Continue watering when the soil dries out, adding fertilizer to the water regularly if you’re growing them in containers.

- Stake tomatoes, especially indeterminate ones, or use a tomato cage to keep them growing upright.
- Flowering will follow shortly, then small green fruits will appear … and a few weeks further along, you’ll be harvesting the delicious, sun-ripened tomatoes! It’s so easy!
Good gardening!
Pingback: Should You Grow Tomatoes from Seeds or from Young Plants? - Garden E-Mag
Nice!! wish i would have read this before I almost killed my tomatoes …. lol….
Tomatoes grow like weeds for us. Seriously, they look like weeds with tomatoes hanging from them. I am SO bummed that I will not grow them this year!