


By Larry Hodgson
Here’s a gardening tip I’ve been sharing with home gardeners for almost 40 years. I first discovered it an article I read in the now-defunct magazine Organic Gardening and it totally changed my gardening life. No longer do I waste time and effort double-digging in the usual crummy landfill soil that surrounds the average home, trying uselessly to improve it. If I want to start a new bed now, I build it up rather than dig down!
You see, the secret to easy and productive vegetable growing is to garden in rich, friable, weed-free soil. The method described below will allow you to start from scratch in an area where there has never been a vegetable bed before, but probably a lawn, or maybe a field or meadow. The goal of building a raised bed over poor, weedy soil is to create in just an hour or so a vegetable garden ready to plant and completely weed free.
Step by Step
- Mow the plants that are there if they are taller than 4 inches (10 cm). There is no need to remove the resulting plant debris: leave the chopped leaves on the ground so they can decompose and enrich the soil.

- Cover the entire area with 7–10 sheets of newspaper*, a sheet of thick kraft paper or a layer of unwaxed cardboard (you could also use coco fiber mats), making sure the sections overlap to create a complete barrier over the original plants, usually mostly invasive lawn grasses. The idea of a barrier to cut off their only source of energy: sunlight. This will prevent them from invading the fresh soil and taking over the garden as weeds. Without light, they’ll die and turn into compost, enriching the soil.
*Before you ask the question, no, the color ink in newsprint is not toxic. It used to be largely composed of heavy metals, but today’s inks are plant-based.

Helpful Hint: If you start your new vegetable bed, on a windy day, soak the newspaper in a bucket of water before applying it so that it doesn’t blow away.

Warning! You don’t want to put a permanent barrier, like landscape fabric, under your raised bed. It will be there forever and it won’t allow deep-rooted vegetables like tomatoes, parsnips, asparagus and rhubarb access to the soil below. Paper, carton and coco fiber barriers, though, will only last long enough to smother the unwanted plants, then will break down and let your vegetables root as deeply as they need to.

- Assemble a frame for your new vegetable garden from planks (10 to 12 inch/25 to 30 cm planks are fine), preferably made from decay resistant wood such as larch, cedar or hemlock. Other products that could be used to frame a vegetable bed include logs, plastic lumber, concrete blocks, concrete edgers, rocks and bricks.
Avoid frames made of treated wood, though: it’s considered toxic to variable degrees depending on the type and is not accepted in organic gardening. Besides, do you really want to risk poisoning your vegetables? Railroad ties treated with creosote are no better: creosote, too, is toxic to plants.

- Now fill the frame with top-quality topsoil, pouring it over the barrier. Ask your garden center or local soil supplier to point out the best soil they have for a vegetable garden and use that. Remember, you can cut corners on many things in the gardening world, but never skimp on soil: you always want the best! Good soil will give good results for a lifetime with just regular maintenance. Junk soil will remain poor soil for just as long!

- Use a rake to level off the soil you added to the bed.

- Plant or sow. No, there is no need to wait days or weeks: you can install your raised vegetable bed and plant it on the same day!
- Water carefully.
- Now, to prevent weeds from returning from windblown seeds, mulch carefully all around your plants with 3 to 4 inches (7 to 10 cm) of a light organic mulch (mulch is an excellent weed suppressant). You can immediately mulch vegetables you planted as young seedlings (tomatoes, peppers, squash, etc.). Wait until seedlings of sown vegetables (beans, beets, spinach, etc.) are taller than the mulch before applying it.
The paper or cardboard barrier will disappear over time, normally in about a year (coco fiber, in about 2 years), so that the roots of your vegetables will be able to dig deep into the earth below the bed.
Yep, setting up a raised vegetable really is that easy. It only takes an hour or so to get started. A few hours’ effort that will give you years of fresh, healthy vegetables? It’s definitely worth it!
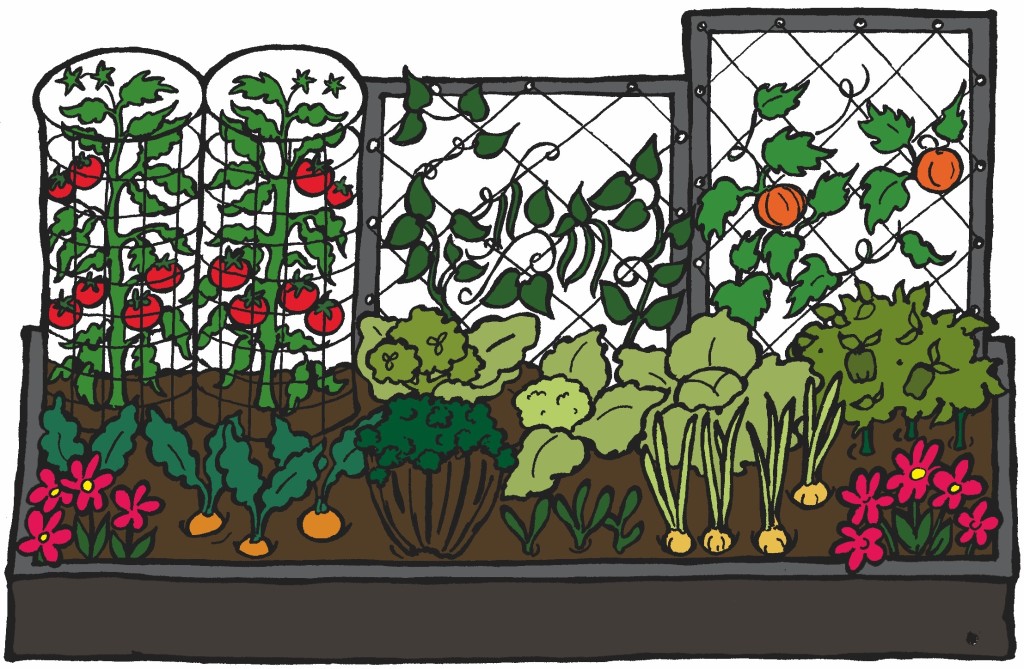
All illustrations are from the book Potager du jardinier paresseux by Larry Hodgson.