


By Larry Hodgson
Even if you’re a beginning gardener, you probably have some notion that some summer bulbs, such as cannas, dahlias, gladioli and tuberous begonias, aren’t hardy and need to be stored indoors for the winter. But maybe you’re not sure how to do this. Fortunately, it’s really very easy.
Let’s take a quick look at how to successfully overwinter tender bulbs in the fall.

Tender or Hardy?
The term tender bulb is applied to bulbs that can’t support cold winters, but that may not be a factor if you live in a mild climate. Many “tender” bulbs are hardy in USDA hardiness zones 7 to 9 and certainly in zone 10 and above and can be left in the ground all year there, although a good mulch may be needed in zone 7. Gladioli are even hardier: often to zone 6 or even 5. Tuberous begonias are among the least cold hardy and usually need to be stored indoors in all but tropical climates (zones 10 to 12).
Bringing Bulbs In

When the foliage of the bulbs is damaged by frost, or the frost threatens seriously, usually sometime from October to December, depending on the local climate, it’s time to start bringing tender bulbs in.
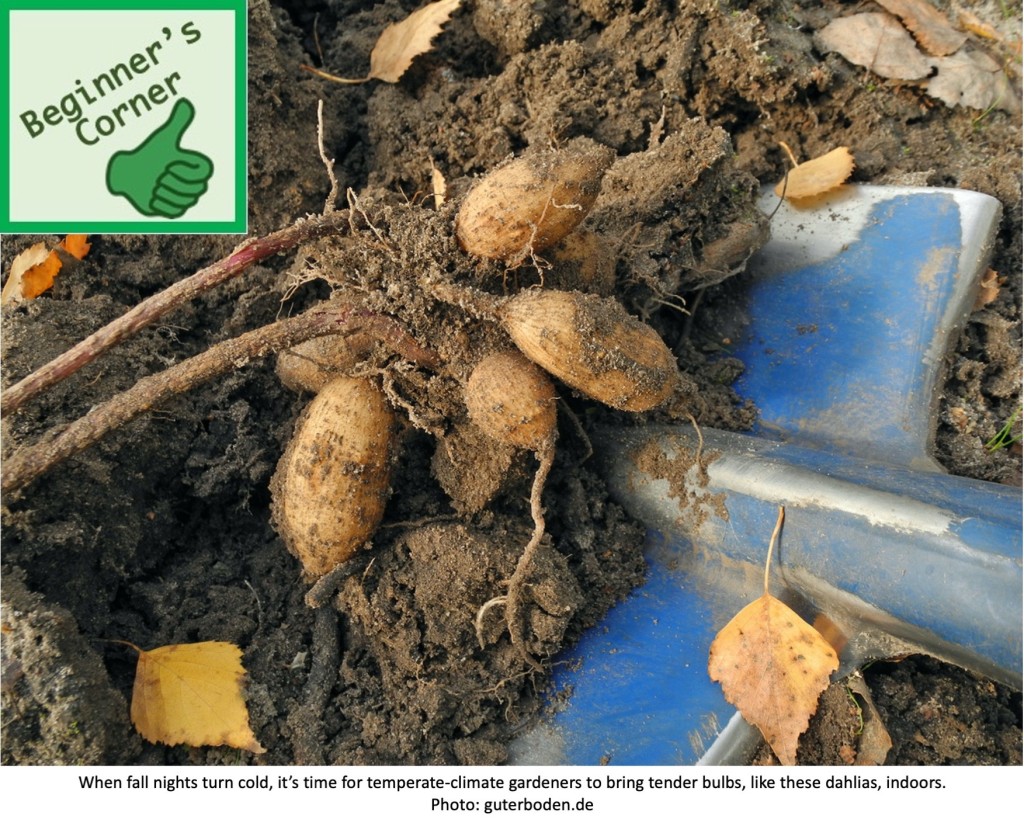
“Lift” the bulbs (pull or dig them up) using a garden fork or shovel and shake some of the soil off. Let the bulbs dry out on newspaper or cloth for about 10 days in a frost-free spot (in a garage or a garden shed, for example, temperatures will still be above freezing even as the first frosts hit outdoors). Next, clean them with a soft brush to roughly knock off the dried soil. (Don’t wash them – you’ll want them to remain dry.) No need to be thorough: just remove most of the soil.
In the case of many bulbs, the foliage will fall off on its own at this stage. Otherwise, prune it back to about 2 inches (5 cm) from the bulb. You can also cut off drying roots.
You can also sprinkle the bulbs with garden sulfur, as it can help prevent rot.
Helpful Hint: If you grew tender bulbs in pots over the summer, care is even easier. Just bring the pot in without digging up the bulbs, cut back the foliage, and keep the container dry over the winter … and cool too, if possible!
Storing Bulbs

Store the bulbs in a wooden or cardboard box or in a paper bag, covering the bulbs with vermiculite, peat, sawdust or shredded newspaper to reduce evaporation. Or wrap them in newspaper or other recycled paper and place them in their container. Don’t completely seal the container: there should be a least a little air circulation.

Helpful Hint: Remember to label your bulbs before storing them!
In the good old days, every gardener had access to a cool to cold but frost-free basement, root cellar or storage shed where bulbs could be stored. And indeed, a cool, dry spot between 45 and 55 °F (8 and 12 °C) would be ideal. But today, your only cool spot may well be your refrigerator, which is too cold for many of these bulbs… and besides, you need the fridge to feed your family! Fortunately, cool conditions are not absolutely vital. If you don’t have a cold storage area, just keep your bulbs at room temperature and check them for dehydration a bit more often.
Quick Check
During the winter, you should check your bulbs anyway at least monthly, especially looking for any bulbs that start to rot, as rot can spread from damaged bulbs to healthy ones. Also, if the bulbs start to shrivel (again, especially a problem when they’re stored at room temperature), just spray them lightly with water before putting the container away again. That will plump them up.
A New Season Begins
By March or April, most bulbs will be starting to show signs of sprouting. Some you may need to start indoors a few weeks early (cannas, tuberous begonias, etc.), so you can pot them up, but you can simply plant the others outdoors once spring is well underway.
Yes, storing tender bulbs over the winter really is as simply as that!