


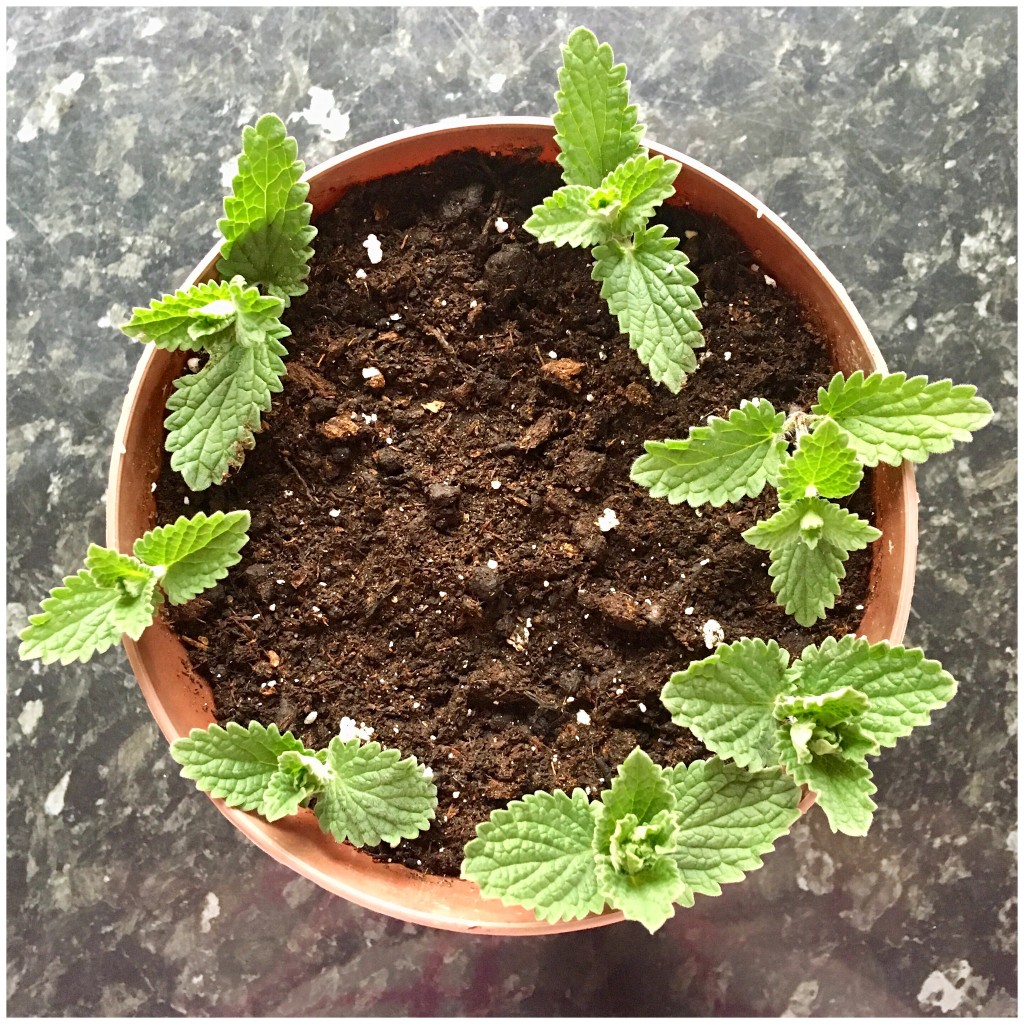
When you think about it, it’s pretty amazing to be able to cut off a piece of a plant to create another one. It’s a bit like being able to cut off your own little finger to create another human being that’s exactly the same as you! However, with plants, such a miracle isn’t science fiction, but a completely natural process. For many plants, it’s even their usual method of reproduction: cuttings.

Cutting to Multiply
In fact, many plants have long since adopted cuttings as their primary means of propagation. Almost all trees growing on the water’s edge: willows, poplars, etc. have the ability to regenerate from a broken branch. The branch falls into the water, is carried away by the current and, if it lands on a sandbank, takes root and grows into a new tree. In fact, many islands have their origin in sandbanks that were formed by these “traveling willows”.
In the far north, too, cuttings are a common means of reproduction. During the short, cold Arctic summer, seedlings do not always have time to reach maturity before the cold arrives, but a twig broken by the wind or an animal passing by has time to take root… and so it is that sometimes, over several square kilometers, all the larches, spruces, blueberries or arctic willows, dwarfed by the cold to the point of being nothing more than flattened and stunted bushes, are completely identical, the result of large-scale cloning from a single parent that may have taken root several thousand years ago.
But you don’t have to live in the far north or on the waterfront to take cuttings: you can easily imitate Mother Nature’s work in your own home, with materials you probably already have on hand.

A Whole Range of Choices
Almost all houseplants can be cuttings: green plants, flowering plants, cacti, etc. The only plants that stubbornly refuse to participate are palms! Some plants, such as the spider plant (Chlorophytum), even make it particularly easy to take cuttings, as they already produce babies, complete with roots, at the end of their drooping stolons.
For your first pruning experience, choose an “easy” plant, such as spider plants, coleus, philodendron, impatiens, etc.
Avoid plants with woody stems, i.e. with a wooden trunk, as they are slower to root, which increases the risk of failure.

A Foolproof Method
You only need a few basic materials for homemade cuttings: potting soil, a clean pot, a sharp knife and a clear plastic bag. Rooting hormones are available for sale, but you should know that they are only needed for plants that are difficult to cut.
Fill the pot with moist potting soil. A small pot of 2–3 inches (6.5 to 7.5 cm) in diameter is perfectly suitable for a single cutting.
A large pot, on the other hand, could hold several: you can, for example, prepare a hanging basket for the summer garden by inserting seven or eight cuttings in a 20 or 25 cm planter.

Cuttings in Water
It is true that you can also take cuttings in water… but this technique isn’t recommended, because these cuttings make “water roots”. When you transfer them, in potting soil later, they tend to rot. It is therefore better to take cuttings directly in potting soil if you want to obtain a complete success.


How to Do It
Take a section of stem with at least three to seven nodes (places on the stem where the leaves attach). The cutting can therefore be 6 to 8 inches (15 or 20 cm) long for a large plant with well-spaced nodes or only 3 to 4 inches (7.5 to 10 cm) for a smaller plant with very close nodes.
It’s better to cut the cutting with a sharp knife than with scissors: a knife cuts cleanly while scissors crush the stem, which can lead to rot.
Now hold the cutting upright, i.e. with the tip facing upwards, and remove the lower leaves so that the base of the stem is exposed. Then put the stem into the already moistened potting soil and press the material so that the cutting stands upright. Now you just need to cover the pot and the cutting with a transparent plastic bag to maintain good humidity without turning off the light.
It’s in the Bag!
A well lit, without direct sun at midday, with normal heating is ideal for cuttings: for example, near an eastern window or under artificial light. As long as the cutting is sealed in its plastic bag, you will not even need to water it.
You’ll know that the cutting has taken root when it begins to grow, which may take only a few days for a coleus or more than a month for a woody plant. You can then open the plastic bag and, after two or three days (the time it takes for the cutting to get used to its exposure to the air), remove it completely. Your “cutting” is now a completely independent plant and will need the same care as the adult plant: lighting, temperature, watering frequency, etc.

A Little Miracle
So a real miracle has just happened in your home. The kind of everyday miracle that only Mother Nature is capable of, but you are the one who instigated it… and you can be proud of it!