


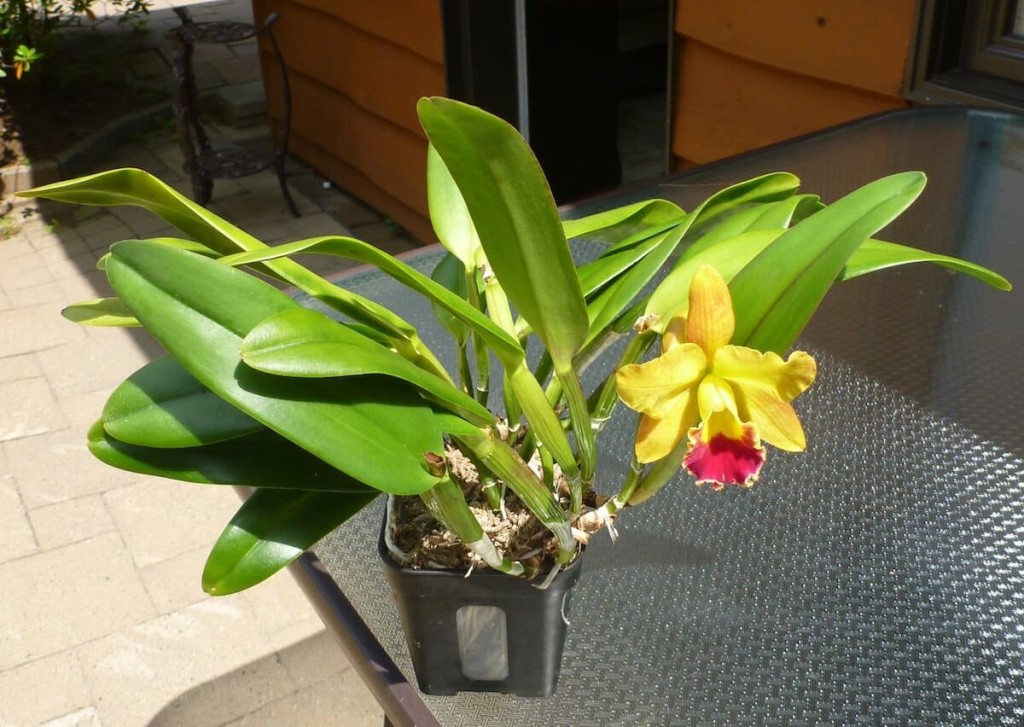
In the previous columns of this series, we explored the fascinating dual personality of orchid roots and how to replace commercial sphagnum moss with a more durable substrate. Today, I propose to go a little further in the proper management of roots by addressing a cultivation technique that, in my opinion, should be part of every serious orchid lover’s toolkit: linear cultivation, particularly well suited to sympodial orchids with rapid lateral growth, such as Cattleyas.
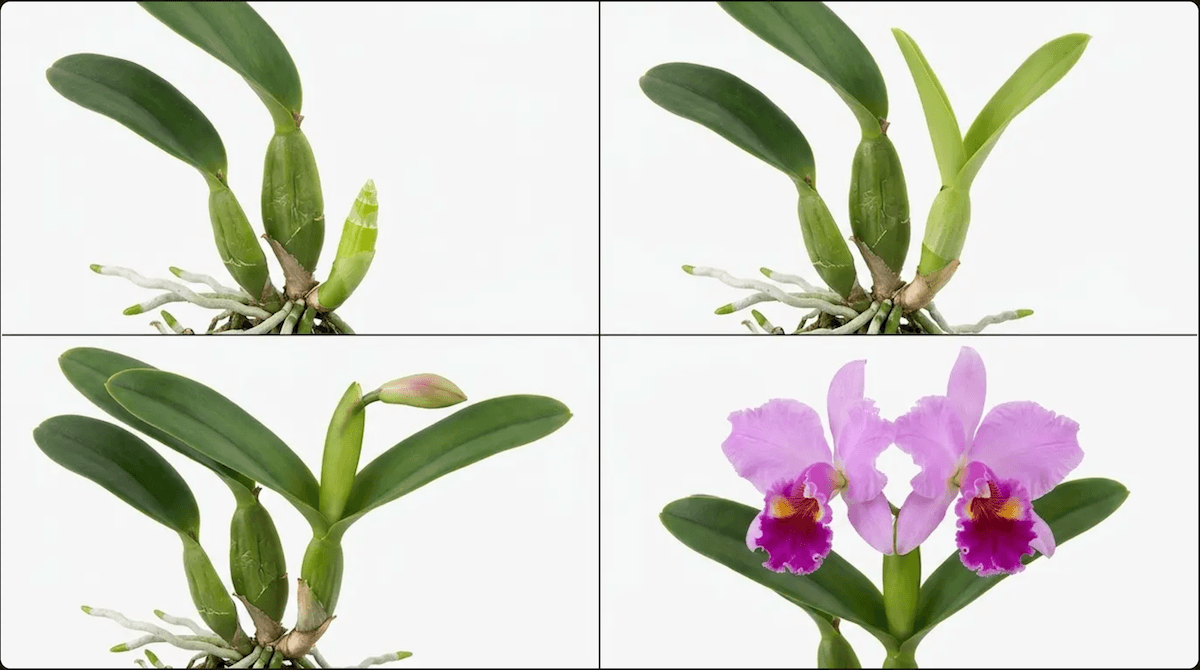
Some orchids are sympodial—that is, they grow horizontally
Orchids fall into two main categories according to their growth pattern. On one side, monopodial orchids (such as Phalaenopsis and Vanda) grow vertically from a single growing point, like a palm tree. On the other side, sympodial orchids develop horizontally, stretching along a creeping rhizome, much like the bearded irises in our gardens. Cattleya, Oncidium, Dendrobium and Cymbidium are among the best-known sympodial orchids.
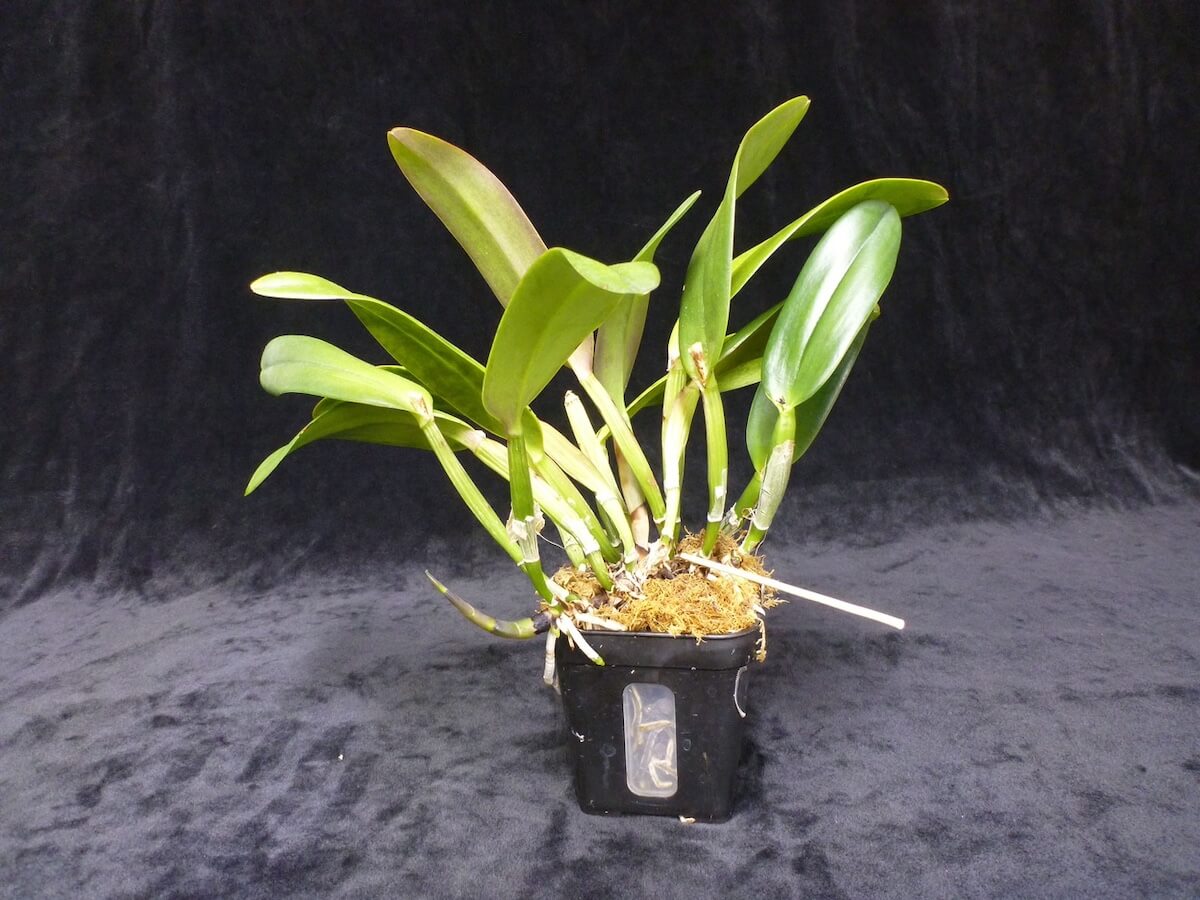
This lateral growth, perfectly adapted to epiphytic life on the branches of tropical trees, however becomes a real headache in domestic cultivation. Indeed, the rhizome cares not in the least about the limits of your pot! It continues its progression outward with almost mathematical regularity, until the young shoot finds itself dangling right over the edge into thin air.
The attentive collector must therefore intervene regularly to re-center the plant in its pot. Over the years, some experienced collectors have refined a repotting technique particularly well suited to this rapid lateral growth: linear cultivation.
Linear cultivation to recenter those wandering orchids
The basic idea of linear cultivation is as simple as it is elegant: rather than waiting until the plant has completely outgrown its pot to perform a traumatic division, an annual repotting is carried out, which essentially consists of removing the oldest part of the plant and recentering the young shoot in the middle of the pot. The disturbance is therefore minimal, and the young shoot finds a fresh space each year in which to thrive.
The advantages of this approach are significant:
• Minimal disturbance of the young shoot with rapid growth—it is the one that will produce the next flowering, so we treat it with the greatest care.
• Stimulation of new root production thanks to a fresh, well-aerated substrate in the expansion zone.
• Maintenance of a limited size for the expanding plant.
• Elimination of old growths that will no longer flower anyway.
Let us specify from the outset that this technique is not a traditional division aimed at multiplying the plant. Its purpose is rather to maintain a vigorous and well-centered plant, year after year, without traumatizing it. It is an approach that requires a little patience—the procedure is carried out in two stages, separated by about a month—but the result is well worth the effort. Now let’s look at the steps in detail.
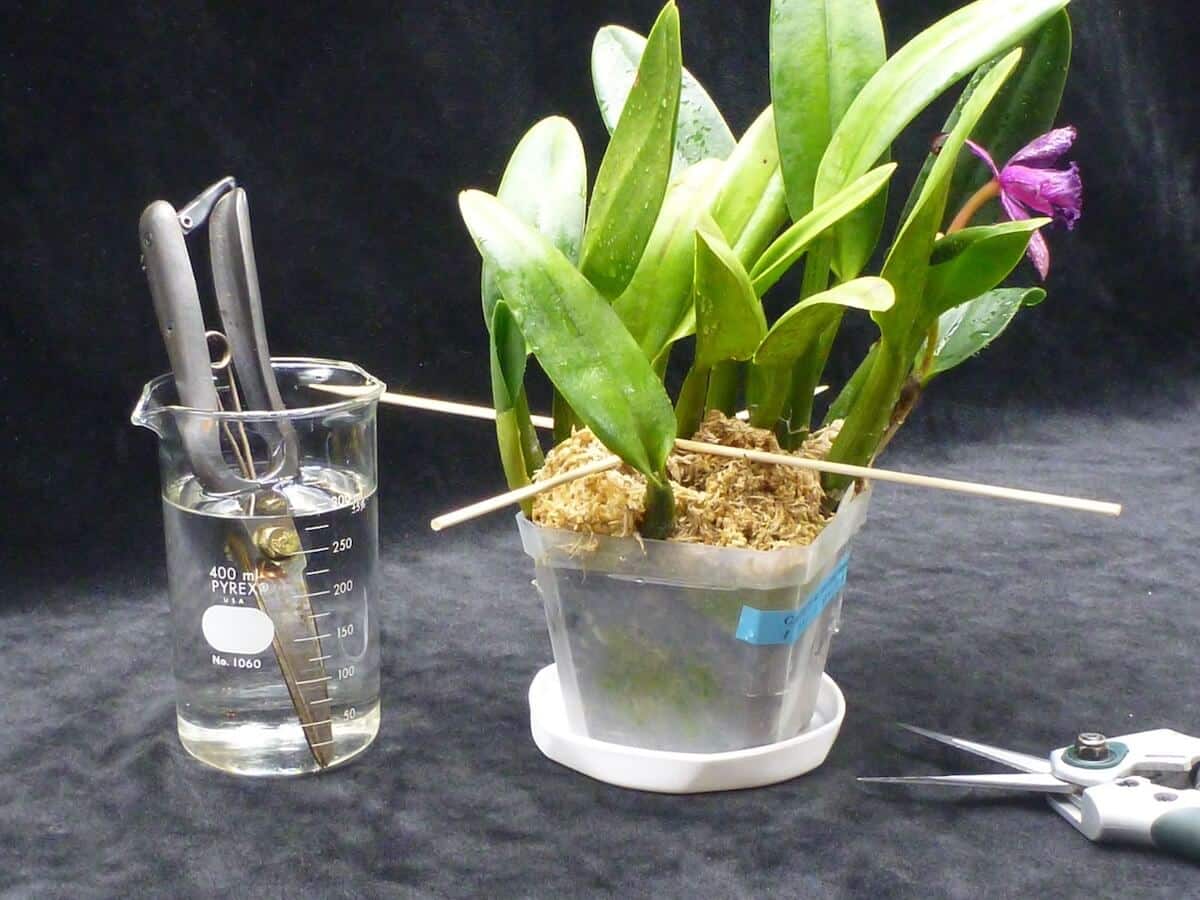
Step 1: Cut the rhizome to interrupt the sap flow from foliage older than 2 years
The first step is ideally done during the dormant period, when the plant is not in full metabolic activity. First, identify the part of the plant that is more than two years old. How can you recognize it? Old pseudobulbs are generally smaller, more wrinkled, sometimes even stripped of their leaves. Then mentally trace the path of the rhizome from these old pseudobulbs to the youngest ones—those bearing the vigorous green leaves.
Using shears or pruners that have been carefully disinfected (with 70% isopropyl alcohol or diluted bleach), cut the rhizome cleanly between the older portion and the young shoot to be kept. Ideally, your cut should leave at least four to five healthy pseudobulbs on the young-shoot side—ensuring it has sufficient reserves to perform well.
At this stage, do nothing else. Leave the orchid in its pot, continue to water it normally, and give it time to reorganize the circulation of its sap without disturbing the root system. Cutting off the sap supply from the old part will already be stressful enough for the young shoot!
This pause of about a month is crucial. It also allows the dormant eyes located at the base of the young shoot to react to this new stress. You may be surprised by the rapid appearance of new roots. This is precisely the signal we are waiting for to move on to the next step.
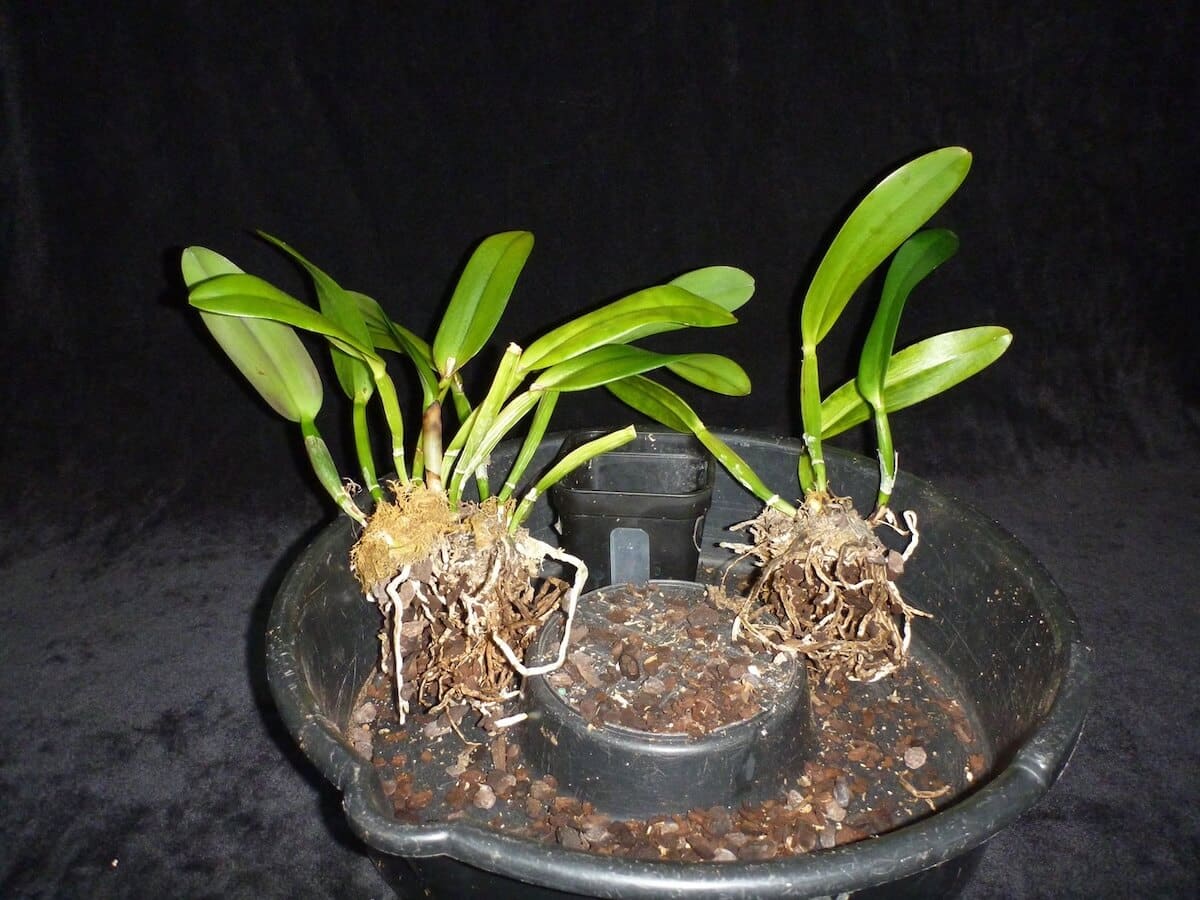
Step 2: When new roots emerge, repot by removing the old foliage section
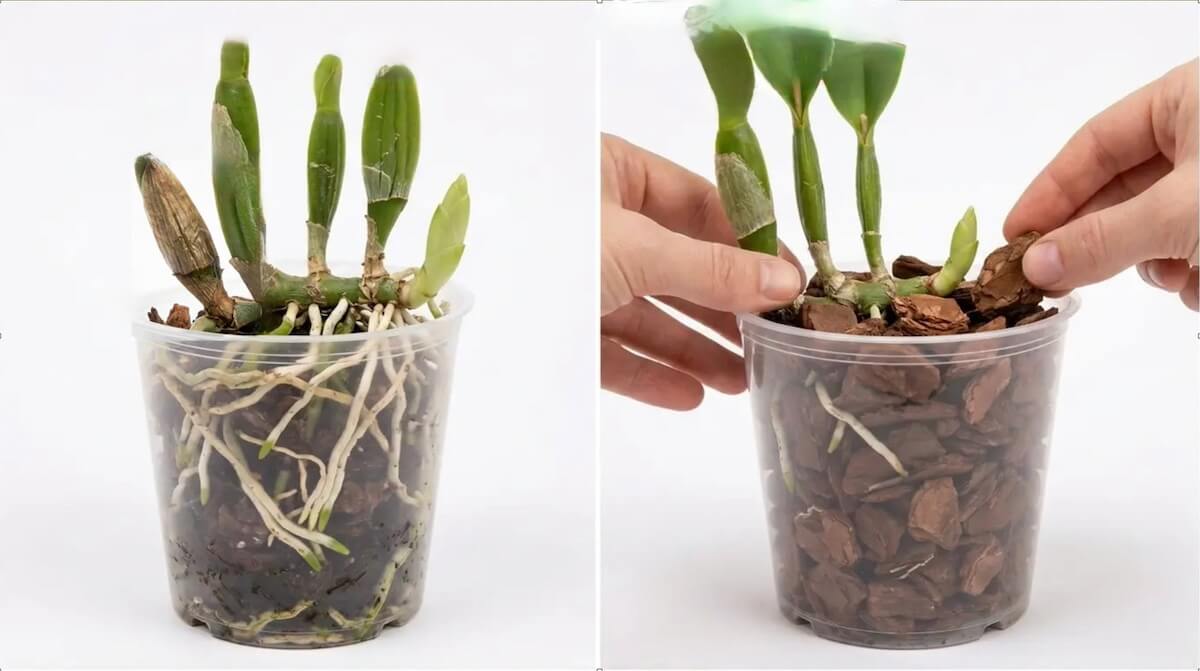
After about a month, carefully observe the base of the young shoot. When you see the first green tips of new roots appearing, this is the ideal time to proceed with repotting. This timing is very important: emerging roots will re-establish themselves much more quickly in their new environment than already well-developed roots.
Gently remove the plant from its pot. You will then notice that the rhizome division performed the previous month makes the operation almost trivial: the old section detaches easily, since its roots are now largely disconnected from the young shoot.
At this stage, take care to minimize disturbance to the roots of the young shoot. Unlike a standard repotting, do not break up the root ball, do not clean the roots, do not renew the substrate around the young shoot. Why? Because these roots are functioning well—they have absolutely no need for a change of substrate!
Place the young shoot in the center of the new pot, orienting the future direction of growth toward the open space. The existing root ball will therefore occupy only a fraction of the pot’s volume. Then fill the vacant space with fresh substrate (pine bark of appropriate caliber or standard mix for Cattleya). It is in this fresh substrate, free of any competition, that the new root growth can establish itself and thrive in optimal conditions.
Step 3: Top-dressing is a recommended but optional practice
To stabilize the plant in its new pot, it is recommended to add a 1 cm layer of “fresh sphagnum moss on top of the bark substrate to form a sort of sphagnum net on the surface of the pot.. This practice is very useful and easy to do. Then gently press the moss around the edge of the pot to wedge it in place around the perimeter. Avoid pressing on the moss near the roots to prevent damaging them. The layer should remain light and airy.
This protective layer brings several benefits:
• it limits the dispersion of bark particles still loose (during watering);
• it stabilizes the orchid in its new container;
• it filters and holds excess fertilizer;
• later, when the plant resumes its root growth, this layer of sphagnum on the surface will be very useful for guiding aerial roots toward the substrate.
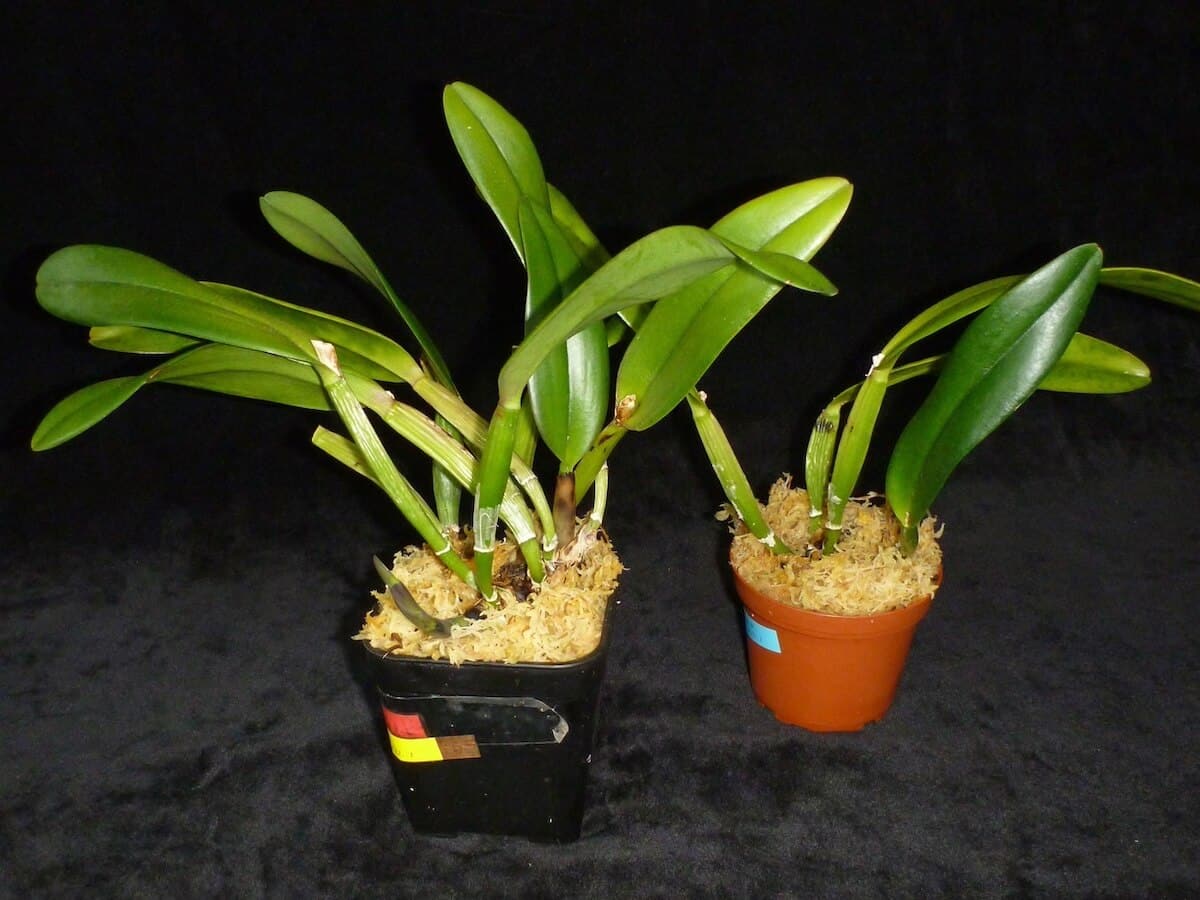
Step 4: Identify the orchid and water it
If your orchid has an identification tag, don’t forget to transfer it to the new container. If it doesn’t, I recommend creating one and inserting it into the pot. You will write down the botanical genus (for example, “Cattleya hybrid”), the flower color (for example, “cream pink”), the repotting date (for example, “P: 2026.03.30”), and any other information that will help you keep track of the plant’s culture.
Sticky labels (for example, those of the P-Touch brand) are highly appreciated because they are easier to read than the sticks inserted into the pot. Moreover, they do not interfere with the lateral growth of the rhizome, unlike sticks that often have to be moved. For more details about labels, please have a look at this column:
Once identification is taken care of, water the plant generously to settle the substrate around the roots and place it back in your usual growing area. It should quickly resume its growth there.
In summary
The disturbance of growth has been minimized by dividing it into two stages separated by about a month. First, cutting the rhizome without disturbing the roots during dormancy. One month later, recentering the root ball to be kept and adding new substrate for the roots to come during the next year of growth.
This two-step approach respects the biological rhythm of the plant and allows it to continue its development without major shock. In my opinion, this is the best way to grow Cattleyas and their sympodial cousins in a limited domestic space—while keeping plants vigorous, well-centered, and reliable for the annual flowering rendezvous!
