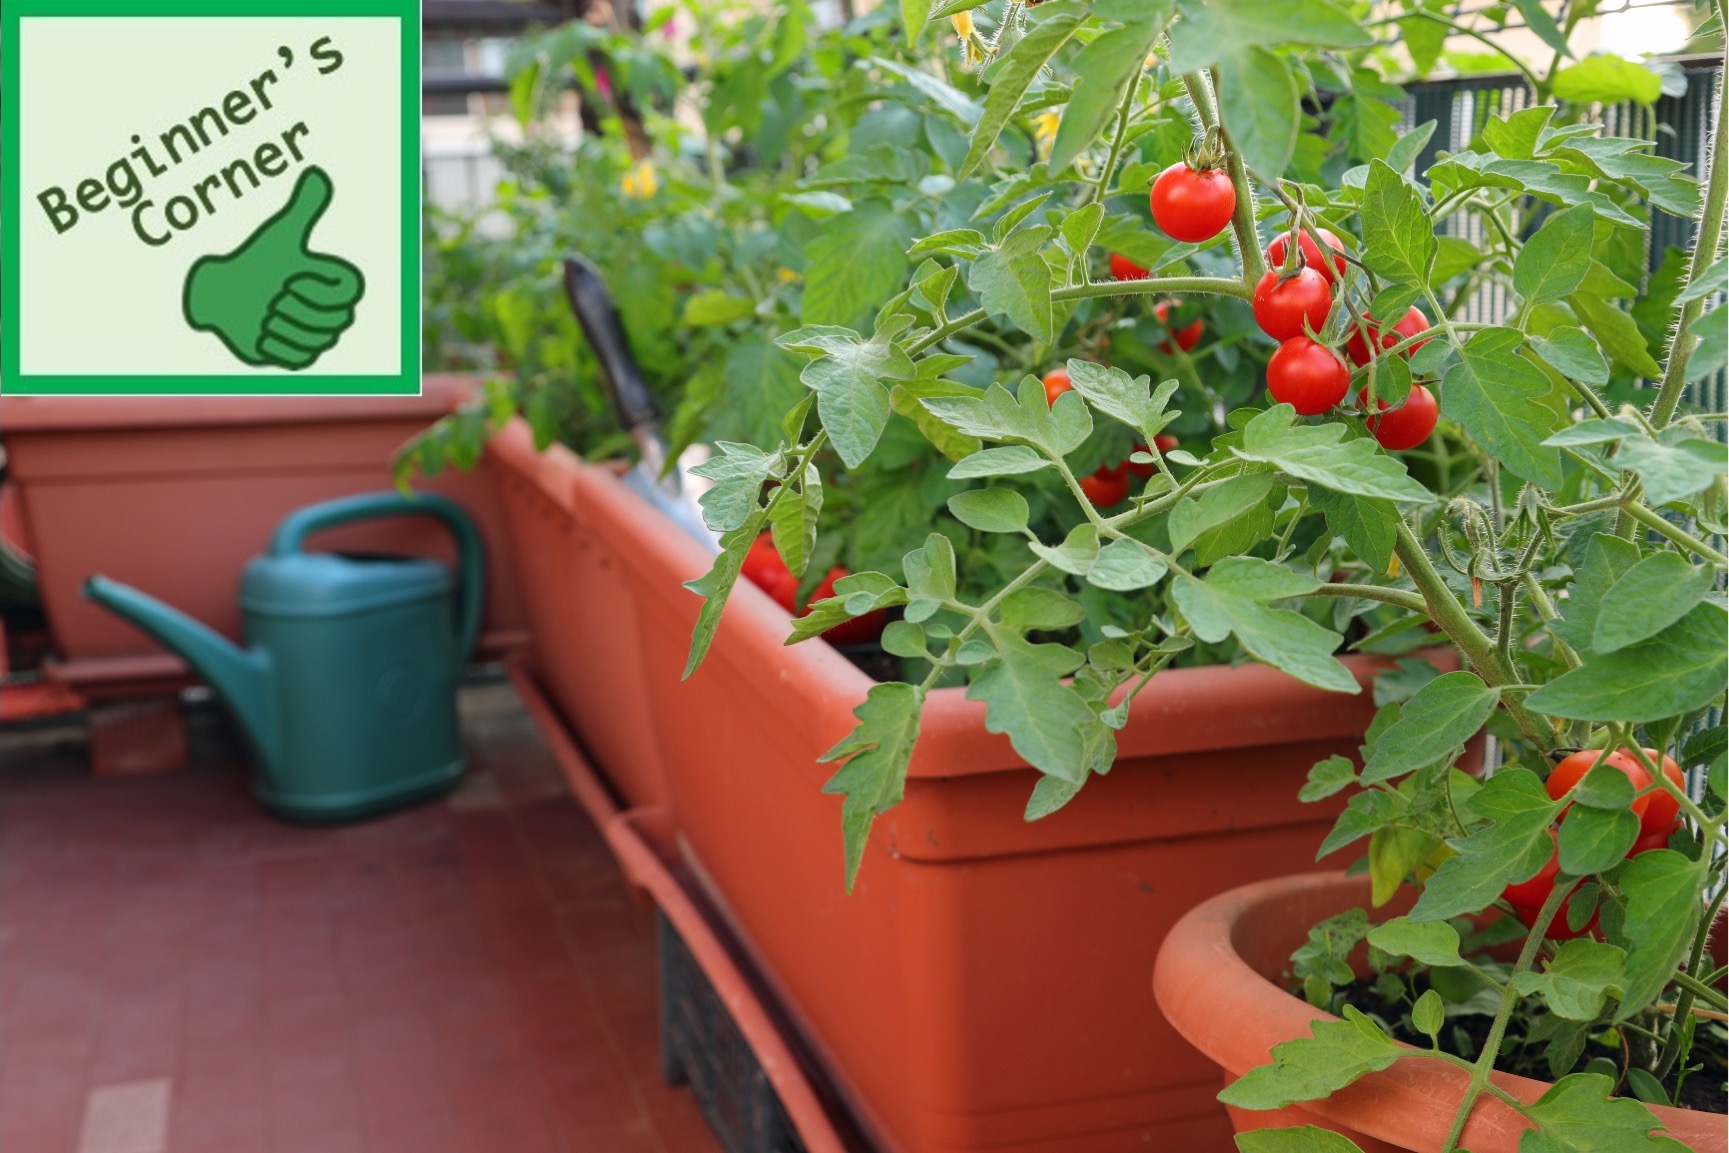
Yes, you can successfully grow a fine selection of vegetables and herbs in a simple container placed on the balcony or patio.
By Larry Hodgson
Here is a neat little project designed for a gardening novice. One who would like to start growing their own vegetables, but has no garden. Just don’t let a lack of “garden space” stop you from putting delicious, fresh, homegrown vegetables on your table. You can, in fact, grow vegetables almost anywhere, even on a patio or a balcony; at the limit on a windowsill. Fresh, colorful, sweet vegetables, full of vitamins and minerals, the kind you can only get from a home garden. And it’s you who will be able to proudly boast: “I grew them myself!”
The ABCs of Container Gardening
Location, Location, Location!
You need sun for a successful vegetable garden. Ideally 6 hours or more of sun per day. Vegetables are all fond of sunshine. If you can’t supply full sun, you’d do best to limit yourself mainly to leafy vegetables, which are more shade tolerant. Also, think about picking them quite early, as baby leaves. Young plants suffer less from shade than mature ones. Let’s hope, however, you do find a location where there is plenty of sun. It just gives you so many more possibilities!
Can the spot be too windy? Sometimes on a balcony there can be a lot of wind, but usually even then, most vegetables will adapt to it. Unless the situation is really extreme, that is: like, gale force all the time. In such a case, you might want to install a wind barrier or two and place your garden behind it.
You also need access to water, even if that just means carrying a watering can to and from the kitchen sink. If you’re planning a container garden miles from the nearest stream, tap or other source of water, that is not going to work very well!
Pots: Size Does Matter

The shape, color, texture, etc., of the pot are of only minor importance . . . at least, for the vegetables! (Your designing eye might see things differently!) Whether the pot is made of terracotta, plastic, fiber, etc., even an old paint can, you can make it work.
However, the dimensions of the pot are very important. That’s why I like to use the term “container gardening” to describe growing vegetables in a pot. It seems to me that it implies a good-sized recipient rather than a small flowerpot.
And that’s important, because it’s always easier to grow plants in a big container than a small one. Small pots dry out much more quickly than large ones, pushing their vegetables into a state of water stress that harms their development. Most importantly, small pots hold little water, and water is vital. After all, the average vegetable is over 90% water.
With a small pot, you may well find it necessary to water twice a day . . . and if so, it’s almost certain there will come a time when you can’t be there to do it for whatever reason, and that can have disastrous consequences. With a large container, and all that soil acting as a water reservoir, one watering per week is often sufficient in temperate climates. What a difference!

Always prefer a deep pot. Even a depth of one 1 foot (30 cm), which may seem lilke a lot to you, is barely sufficient from a plant’s point of view. Root vegetables, in particular, will find such a pot very limiting. You might want to stick with baby carrots and baby beets. An 18-inch (45-cm) high container is much better. That might still not be enough for extra-long carrots, but medium-length ones should do fine. I prefer pots at least 2 feet (60 cm) deep myself. It just makes gardening so much easier!
The width of the pot is of lesser importance when it comes to actually growing plants. Besides, deep containers are usually fairly wide. However, a wide pot also clearly gives you more space to plant more vegetables! I like a big rectangular “planting box,” one I can get at from all sides. Either a deep planter sold for that purpose, or a plastic storage bin converted into a gardening container. Both will give you quite a bit of space to grow in.
Commercial self-watering planters with a built-in water reservoir seem to be everywhere these days, both on-line and in garden centers . . . but you probably don’t need one. Many are not actually that good for vegetables, especially, again, root vegetables. These offer a large water reservoir, and that sounds good on paper, but that often takes up space your plants’ roots could have used. Remember that a certain depth of soil is needed if you want to see many vegetables produce a full root system.
Besides, lack of water is not usually a huge problem in big containers anyway: the soil that fills them is full of air spaces that fill with H2O after you water and act as a reservoir. So, with the soil serving as a water source, the need for an extra reservoir is considerably decreased.
I suggest starting with a regular container, with no reservoir or any other of the “bells and whistles” being offered these days. You’ll probably save yourself a bundle as well.

The bottom of any container has to have drainage holes. Otherwise, the bin will fill with water if there’s a heavy rain or if you overwater. And then your vegetables will rot or drown.
If your pot already has drainage holes, great. If not, take a drill and a ¼ inch (6.4 mm) drill bit and bore a few holes in the bottom, maybe one every 6–8 inches (15 to 20 cm).
You’re now ready to begin gardening!
Materials
A few weeks before you start, you can start assembling the materials you’ll need, including the seeds. On the other hand, only buy any living plants you’ll be transplanting to the container garden, plants like tomatoes, peppers, cucumbers and zucchinis, just before you need them: the day before or the day of the planting.
Here’s what you need:
- Vegetable and herb seedlings (last minute purchases),
- Vegetable and herb seeds,
- Light, airy growing mix,
- Compost,
- Slow-release fertilizer (all purpose is fine),
- Some sort of filter (newspaper, paper towel, etc.),
- Clean garden trowel,
- Watering can
- Planting stakes, tomato cage, trellis (for tomatoes and climbing vegetables).
Time to Plant?

Wait for a little summer heat to arrive before planting your container vegetable garden. Ill.: imgbin.com, pngall.com & netclipart.com, montage: laidbackgardener.com
Novice gardeners are often very eager to start their first container vegetable garden. The first time there are 3 warm days in a row, they’re ready to get at it. And that’s a sad mistake, as either they’ll fail or at least have to start some plantings over.

Experienced gardeners know how to wait until the weather has truly warmed up before planting out tender vegetables. So, beginners, please, take notice!
That’s because many vegetables are sensitive to cold. And in most temperate climates, cold weather can roll in in a flash. So, it’s better to wait not only until there is no longer any risk of frost, but also until the nights have thoroughly warmed up, and that’s usually a few weeks later.
Catch up with a local garden club if you need reassurance, but essentially, you should wait until nights are above 55?F (13?C) most of the time. In this day and age when there are lots of sources of weather information, you’d think anyone would know how to find weather predictions for the coming two weeks. But many people are clearly not doing it, as I regularly see people planting out tender veggies like peppers and eggplants when weather networks are announcing an upcoming frost!

One thing I’ve always found surprising is that in many regions throughout both temperate North America and Europe, ones where winter climates are spectacularly different, the usual planting out date is still somewhere around the end of May. It just seems it takes until then each year for the last of winter to leave us.
In years to come, you may find it interesting to start some more cold-hardy vegetables and herbs outdoors earlier, but let’s keep it simple for this first experience, and plant everything on the same day.
Step by Step Planting
So, let’s assume the time is right and you have everything you need on hand. What do you have to do?
- Start by placing your garden container in the desired location . . . it will be heavy and difficult to move once planted and watered!
- Place a filter of some sort in the bottom of the container, covering the drainage holes. It can be a sheet of newspaper, a paper towel or two, mosquito netting, used coffee filters, etc. The role of the filter is simply to allow any excess water to drain through the drainage holes while preventing potting soil from flowing out.
Do not add gravel, pot shards or any other “drainage layer” materials to the bottom of the pot. Do not add big chunks of Styrofoam or Styrofoam packing peanuts to “lighten the soil”: they just take good growing space away from plant roots that need it. Remember too that soil is an excellent water reservoir. Styrofoam will ruin that!

Take a top quality, light, airy potting mix to fill the container, such as Coco Terro potting soil mix. Photo: Coco Terro.
- Now fill the pot with a top quality potting mix. You need a light, well-aerated one, such as Coco Terro potting soil mix. It’s an organic mix based on coco fibers and is sold in blocks, but swells up and breaks into a rich, fibrous soil mix when you add water.
Never use soil taken directly from the garden for container cultivation. It is too heavy and dense and quickly starts to harden into almost concretelike consistency. And it can carry many unwanted bugs and diseases to your plants.
- You can add compost to the soil mix, though, up to ¼ of its composition.
- Add a slow-release fertilizer, according to the manufacturer’s recommendations. It is true that potting soils like Coco Terro already contain an organic fertilizer and therefore offer a good supply of minerals, but this addition will act as a supplement to vegetables, as they are more needy than most other plants.
- Mix both the compost and fertilizer in well.

Helpful Hint: Don’t fill the container up to the rim, but instead leave at least 2 inches (5 cm) free of potting soil at its top. You need somewhere you can pour water on when the soil is dry. If the container is full to the top, you’ll hesitate to apply enough water for fear that the pot will overflow . . . and the last thing you want to do is not give growing vegetables the water they need!

- We’ve finally come to the best part: planting your container garden! Do note that vegetables can be planted a bit more closely together in a container than in the ground, because the soil is looser and richer. Also they can arch somewhat out of the container for more light. Of the vegetables you’ll be buying as young starts (or will have sown indoors beforehand, a topic I didn’t cover here), consider leaving about 8 inches (20 cm) between cucumbers, peppers and eggplants (aubergines) and 12 inches (30 cm) between tomatoes and zucchinis.

- Dig a hole for each plant deep enough to accommodate its root ball.
- Remove the pot and plant the root ball at the same depth as it was in the original small pot. The tomato is an exception. Plant it deeper than before, burying the lower part of its stem down to a pair of healthy leaves, as this plant has the ability to produce roots on the buried stem.
- Once the plant is in place, fill in all around the root ball with potting soil and tamp down lightly.

Plant first, then sow. You only need to buy a few plants for your garden, mostly the ones discussed above. You can grow most other vegetables from seeds, sowing directly into your container garden after you’ve planted the transplants.
Yes, from purchased seeds! Those little seed packets you bought contain life! It’s amazing to think that these seemingly mundane little brown lumps will turn into beautiful and delicious vegetables in just a few weeks, but indeed they will! What’s especially great is that the information needed on how to sow the seeds (seeding depth, spacing, etc.) is all on the seed packet! So, just follow its advice!
Let’s continue the “step by step.”
- Dig a shallow furrow, according to the recommended depth for that seed. In general, you’ll find you’re covering the seeds with soil to a depth equal to about 2 or 3 times their height.
- Place the seeds in the furrow according to the recommended spacing.
You may find that the seed packet instructions recommend that you sow fairly densely, then thin out later to give the seedlings more space. That doesn’t seem logical to a beginner. Why plant too many and then get rid of most of them. But the idea behind this is to compensate for any seeds that don’t germinate, as the germination rate of seeds is rarely more than 75%… and it can sometimes be much lower. So, sow densely.
- Cover the furrows.
- Now that you have transplanted the seedlings and sown the seeds, water well.
And that’s it! It’s up to Mother Nature to do most of the rest!
Summer Care
Get into the habit of checking 2 or 3 times a week to see whether your container needs water (assuming you took my advice and picked a large container, otherwise check twice a day!).

Stick your index finger into the soil to the second knuckle. If the soil is dry, water slowly but thoroughly, stopping when drops of water start to drip out of the drainage holes.
But if your finger feels that the soil is still humid, don’t water.
Helpful Hint: It’s so easy, isn’t it, just to let your index finger tell you when to water!
You probably noticed I didn’t give a watering frequency. That’s because there are so many factors involved—temperature, rainfall, wind, light intensity, plant size (the closer plants get to maturity, the more water they use), etc. You really need to do that finger test!
Climate still remains the most important factor in watering. I live in an area where summers tend to be on the cool side and quite rainy, so some years Mother Nature takes care of almost all the watering for me! (Then every now and then she sends a dry summer and makes me work a bit harder!) But a gardener living in a hot, arid climate will have to test and water much more carefully!
Vegetable seeds germinate quickly, or at least most do: usually in 3–7 days, rarely more than 14. Carrots and parsley are two exceptions; they may take 3 weeks or more to show signs of life.

When the seeds germinate and grow, they eventually reach the point where the seedlings become too dense and start to mingle together. That’s a sign you need to thin them out.
You have to be ruthless when it comes to thinning, because to produce properly, each small vegetable needs its own bit of space. But the good news is that most vegetable seedlings are edible. (Among the few exceptions are tomatoes, potatoes, and rhubarb.) So, see this action not as thinning, but rather as your first mini harvest!
Some vegetables (radish, lettuce, arugula, etc.) grow quickly. You have to harvest them young, before they “go to seed” (start to flower); otherwise they become bitter. But that leaves an empty space in the garden. So, sow others in the space you just freed up. There can be 2, 3 or even 4 harvests of certain fast-growing vegetables in one summer depending on the local climate.
You may also find it necessary to add some extra soluble fertilizer once very two weeks starting in July if your plants start to seem less vigorous.
And you always have to be ready to water, of course, throughout the season.
Helpful Hint: When it comes to harvesting, every vegetable is different. If you want to know if one of your vegetables is ready to harvest or not, however, think about what that same vegetable looks like when on display in the supermarket. When it’s at that stage in your garden, it’s time to harvest it!
Of course, there are many other small details you might need to know about container gardening, such as how to stake tomatoes or install a tomato cage, how to train climbing cucumbers, peas and pole beans on a net or trellis, how to ensure pollination of fruiting vegetables, watching out for pests and diseases, etc., but you should be able to manage, because you will find information on all these subjects and many others by entering appropriate keywords in the Search box of this blog!

Have great success with your container vegetable garden this summer!
This article was produced thanks to the collaboration of Coco Terro.
Top photo: Chicco Dodi FC, depositphotos, illustrations from
the book Les 1500 trucs du jardinier paresseux.
I am glad you emphasized filling the containers with the potting soil right to the bottom. There are too many garden sites on the internet telling people to put styrofoam, empty bottles and other things in the bottom of their containers to fill up the space to cut the cost of using so much potting soil and it just messes with the drainage and amount of space plants need to grow.
?
All of your comments are spot on. Years ago I tried to save money by grinding up styrofoam with the reasoning it was like perlite. The seedlings did terribly and I threw out that potting soil. Looked it up and nasty chemicals leach out of said foam, it takes a week or two. i.e. don’t put it at the bottom of containers either.
?
Very interesting,I’ve been gardening for years but never container gardening.Do you recommend pots of annual flowers to attract pollinators to the container garden?