May often entices gardeners with its warm afternoons, swelling buds, and buzzing insects. It’s tempting to rush out and start planting your vegetable garden.
But spring warmth can be deceptive. A few sunny days don’t mean the soil is actually warm or that the risk of frost has passed. Many vegetables, especially heat-loving ones like tomatoes, remain sensitive to cool nights and soil that’s still cold. Planting too early often slows their growth more than waiting does.
The same goes for the soil. Gardening too early, before it has dried out properly, can compact it. This hinders drainage, root growth, and all soil life for the rest of the season. In spring, patience is often a gardener’s best tool.
While the garden soil may still need to rest, the soil in your containers is already ready for work. May is the ideal time to prepare your pots, choose the right potting mix, set up stakes, and gradually harden off seedlings to outdoor conditions. The season may be just beginning, but a successful tomato crop starts with preparation, not rushing.
Types of tomatoes
There are two main categories of tomatoes, and this choice affects several stages of cultivation. It is therefore important to recognize them from the start.
Determinate tomatoes have limited growth. They are genetically programmed to stop growing after a certain period of time and generally reach a height of between 60 and 100 cm. Their fruit production is concentrated over a short period, often 2 to 4 weeks, and then it’s over. Since they remain more compact, they require a smaller pot and a simpler support. It is rarely necessary to remove side shoots, as this often reduces the harvest.
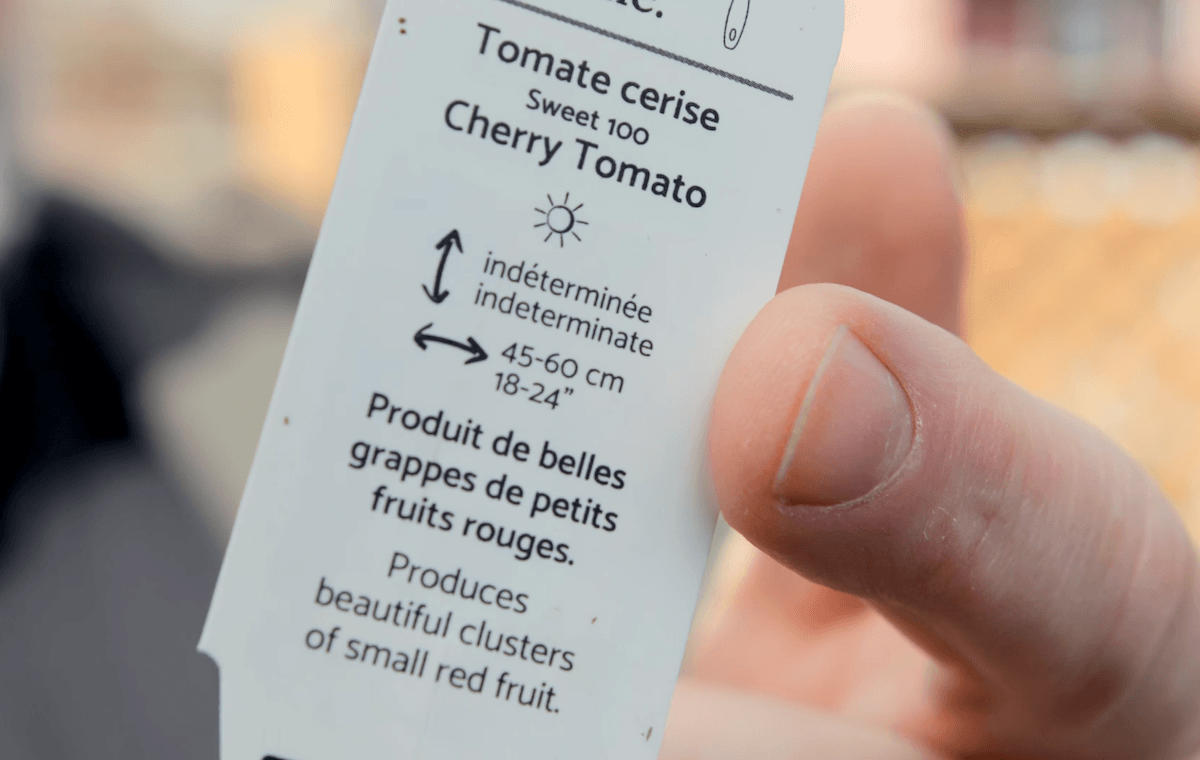
Indeterminate tomatoes, on the other hand, continue to grow as long as the temperature allows, often until the first cold snaps of fall. They produce fruit all along the stem and can easily grow over 2 meters tall. Depending on the growing method chosen, you can simply let it grow freely with a sturdy support, or slightly restrict its growth to better adapt it to the available space. It’s more of a marathon than a sprint: you’ll therefore need a larger container, a sturdy support, and appropriate fertilization.
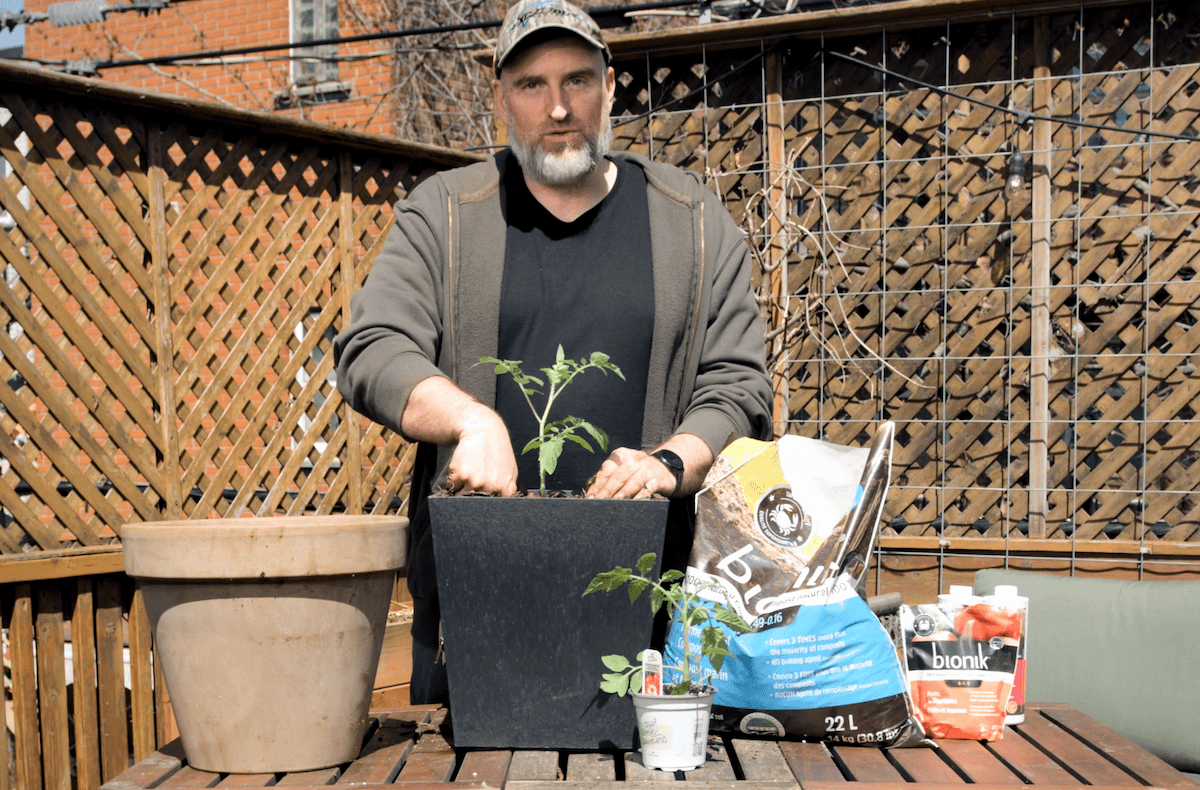
The container
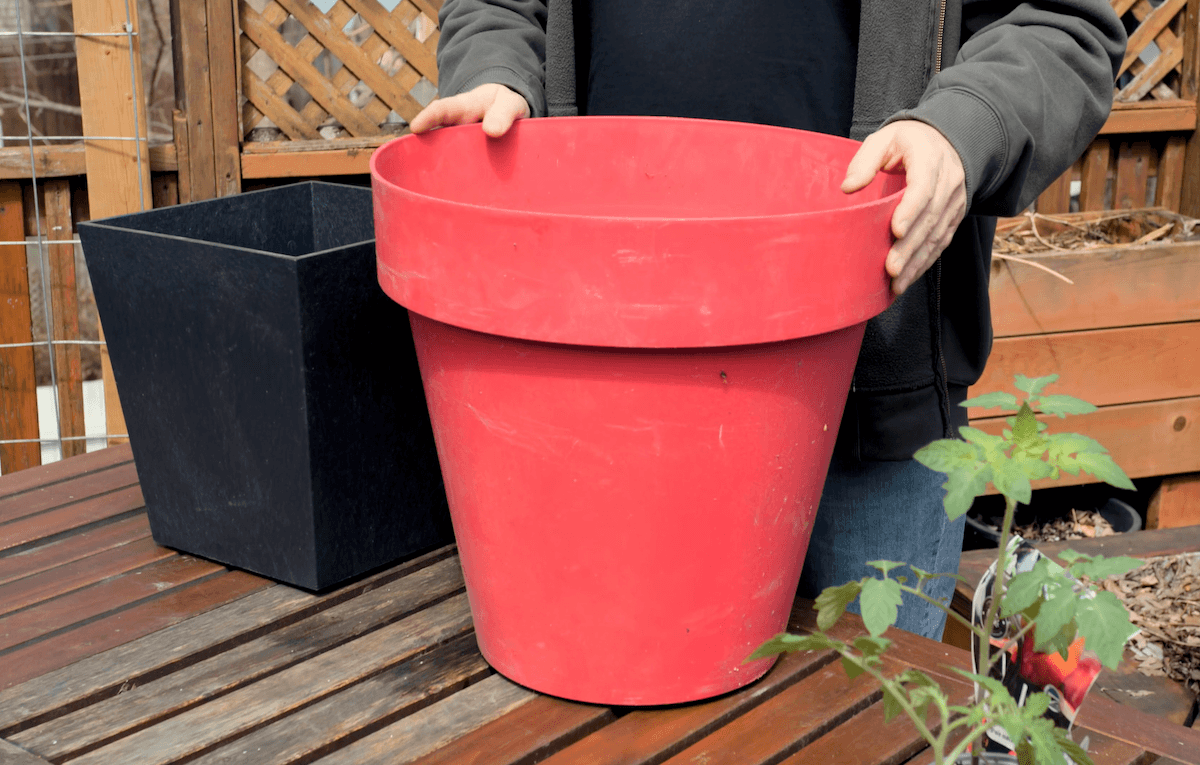
The size of the tomato plant you choose directly affects the size of the container. To put it simply, for a determinate tomato, I recommend a pot of at least 20 liters (5 gallons), and ideally 40 liters (10 gallons). For indeterminate tomatoes, opt for a container of at least 40 liters, and even better, 60 liters (15 gallons).
The larger the volume—within certain limits—the better the roots will be protected from fluctuations in temperature and humidity. The potting mix acts as a water reservoir: the more of it there is, the less you’ll have to worry about watering.
Which materials should you choose?
When it comes to materials, there are several options depending on your budget. Plastic retains moisture well and is inexpensive, but its environmental impact is well known.
Growing bags allow for good aeration of the soil and prevent root binding (spiraling), but they require more watering. They are also well suited to our winters.
Wood is an attractive option since you can make your own containers, sometimes using recycled wood. However, even naturally durable woods like cedar eventually deteriorate when used outdoors.
Metal is very durable but often more expensive. There are also fiberglass pots, which are similarly more expensive.
Terracotta pots are, in my opinion, the most beautiful, but they don’t hold up well to freeze-thaw cycles. I therefore reserve them for plants that spend the winter indoors.
The issue of drainage
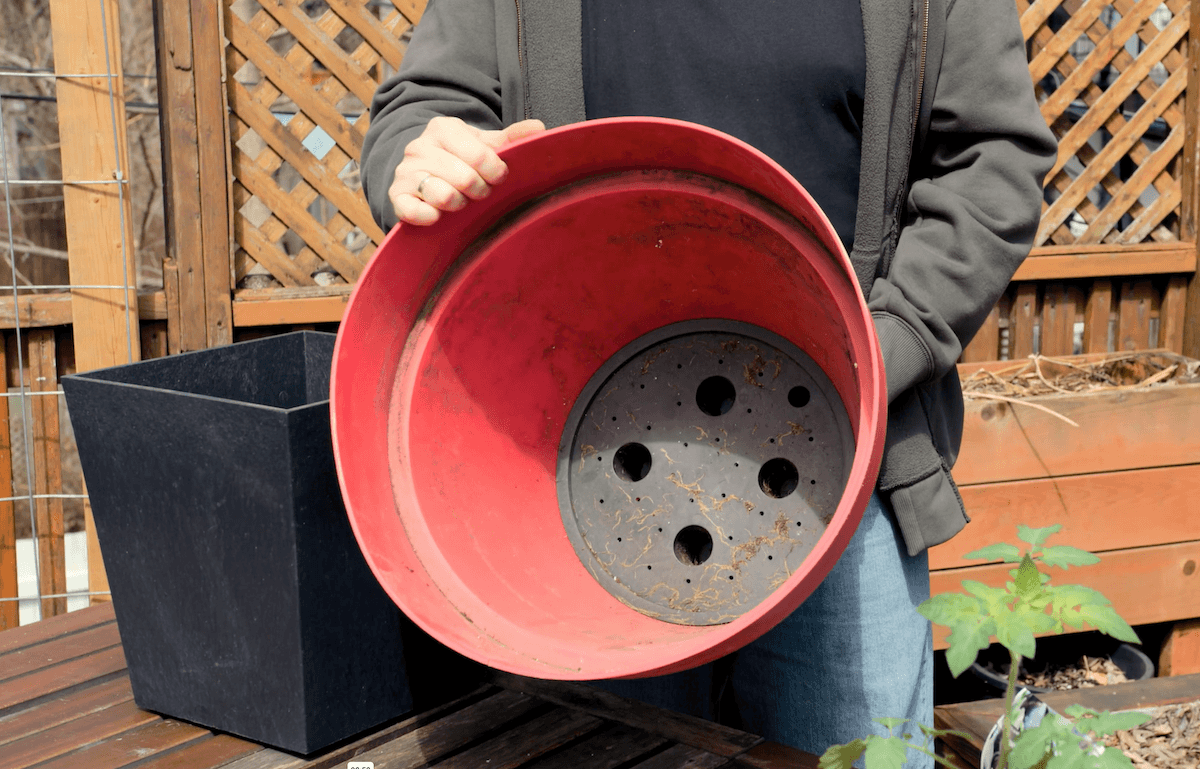
No matter what you choose, make sure the container has good drainage, with several holes in the bottom. If not, you’ll need to drill some. Adding a layer of gravel to the bottom is unnecessary: it reduces the space available for potting soil and roots. Finally, light-colored containers heat up less in the sun than dark ones, which helps protect the roots in the middle of summer.
Containers with built-in water reservoirs may seem convenient, but they also have their drawbacks. The water that collects at the bottom of the pot keeps the soil constantly moist—sometimes too moist—which can lead to root rot. Additionally, this reservoir takes up space that could be used for soil. A pot filled entirely with good potting soil already provides an excellent water reserve, while leaving more space for root development. However, they can be practical when you can’t be there to water regularly. If you use this type of pot, make sure it has an effective drainage hole to prevent excessive water buildup and root suffocation.
Potting soil
Don’t use garden soil in containers. It’s too heavy and too dense for this purpose. Don’t be fooled by black soil either, which looks rich at first glance. It’s often low in nutrients and made up of fine particles that compact over time, which impairs drainage and can suffocate the roots.
Instead, use a potting mix designed for containers or houseplants. Personally, I use the same potting mix both indoors and outdoors.
A good potting mix is generally made of sphagnum peat moss or coconut coir, to which various ingredients are added depending on the use: wood fiber for structure, perlite to improve drainage, vermiculite to retain moisture, and lime to balance the pH.
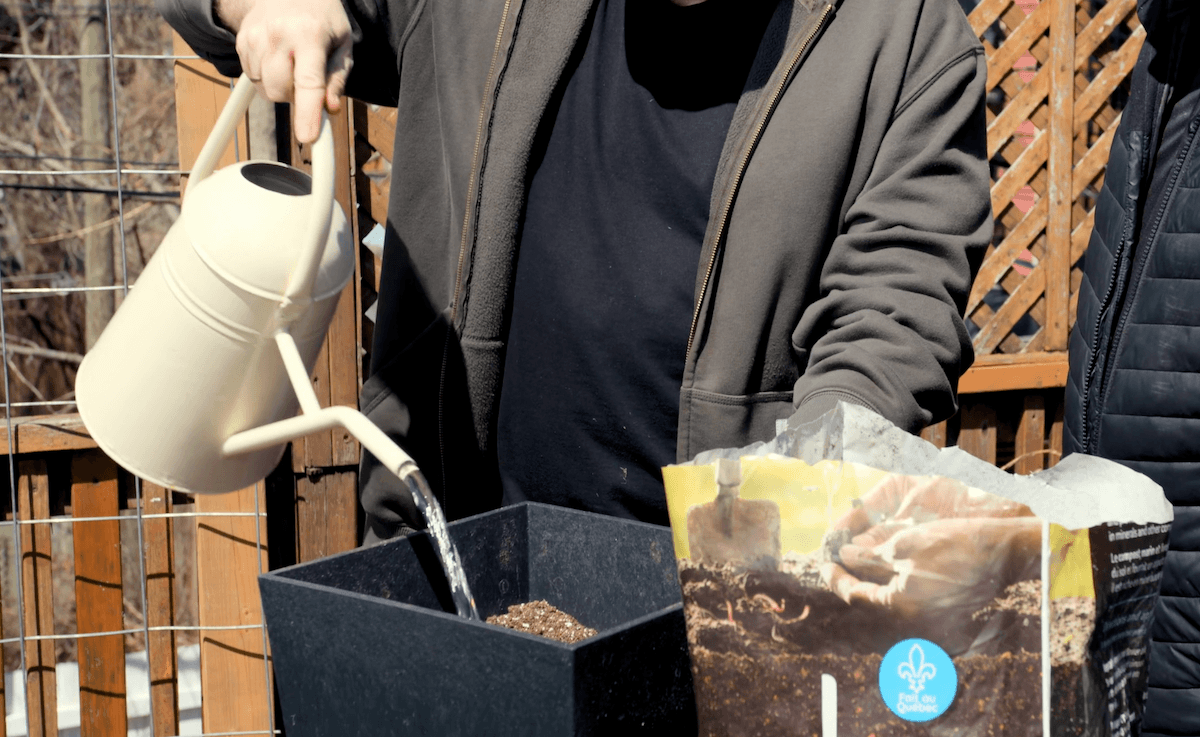
To prepare your containers, it’s helpful to moisten the potting mix before planting. When it’s completely dry, it becomes water-repellent and pushes water away. Mix it in a wheelbarrow or large container, gradually adding water until it’s moist but not soggy. When you squeeze a handful in your hand, it should form a light, moist clump that doesn’t drip.
Potting mixes usually contain few nutrients for plants and very little microbial life. Even when a small amount of fertilizer is added at the factory, it is often insufficient for a heavy feeder like the tomato.
Compost
The first ingredient to add to your potting mix should be good-quality compost, making up about 10% of the total volume, to prevent the mixture from retaining too much water and becoming too dense. Compost is made up of decomposed organic matter that acts as a nutrient reservoir, gradually releasing minerals over time. It also acts as a natural sponge that helps retain moisture, regulates watering, and limits nutrient loss through leaching.
But above all, compost acts as an inoculant for your potting mix, which is often nearly sterile. Good compost contains vast quantities of bacteria, fungi, protozoa, and other forms of microbial life. This life transforms organic matter and minerals into a form that plants can absorb, and some of these interactions even occur in symbiosis with the roots. It is this biological activity that “digests,” so to speak, the organic fertilizers you will later add, making them truly available to the plant.
Compost can be mixed into the potting soil before filling the container, ensuring even distribution throughout the pot. You can also simply spread it on top of the potting mix already in place, leaving enough space at the top of the container, then work it in by hand or with a small trowel into the top 15 to 20 centimeters (6 to 8 inches). This is where most of the active roots are concentrated and where oxygen exchange is best for supporting the soil’s biological activity.
Nutrition
In the ground, personally, I use little to no fertilizer. The soil there is more stable, more alive, with greater reserves of water, nutrients, and microbial activity. In containers, it’s different. The volume of potting mix is limited; it heats up faster, dries out quicker, and watering easily washes away nutrients. There is also much less biological activity than in garden soil. Fertilizer therefore becomes almost essential for successfully growing tomatoes in containers.
Since plants can’t read labels, don’t get obsessed with the exact number on the bag. What matters most is soil health, the presence of organic matter, and regular, crop-appropriate nutrition.
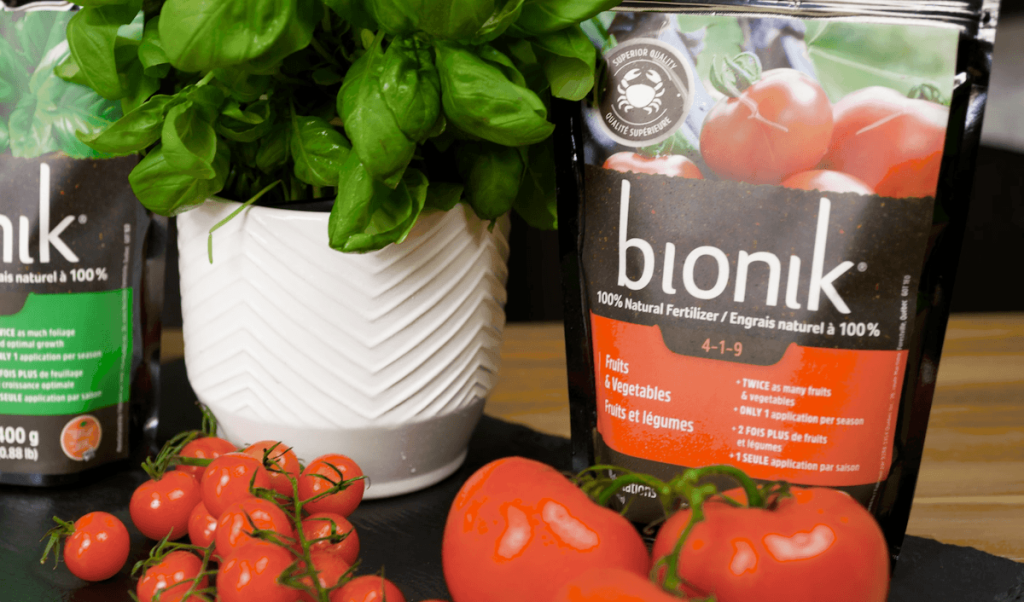
For tomatoes and other fruiting vegetables, I generally prefer an organic fertilizer with moderate nitrogen and higher potassium levels. Nitrogen supports leafy growth, phosphorus encourages root development and flowering, while potassium plays a major role in fruit quality, flavor, water regulation, and stress resistance.
Organic fertilizers also release nutrients more gradually, reducing the risk of root burn while helping support the biological life of the potting mix.
I often use whatever organic vegetable fertilizer I already have on hand rather than chasing the “perfect” formula. Tomatoes are surprisingly forgiving when the soil is healthy and rich in organic matter.
A winning combination
Compost and fertilizer are a winning combination. Compost provides the microorganisms that break down the fertilizer into nutrients that roots can absorb. Thanks to this gradual release and the water-holding capacity of organic matter, a single application can nourish the plant for about 12 weeks.
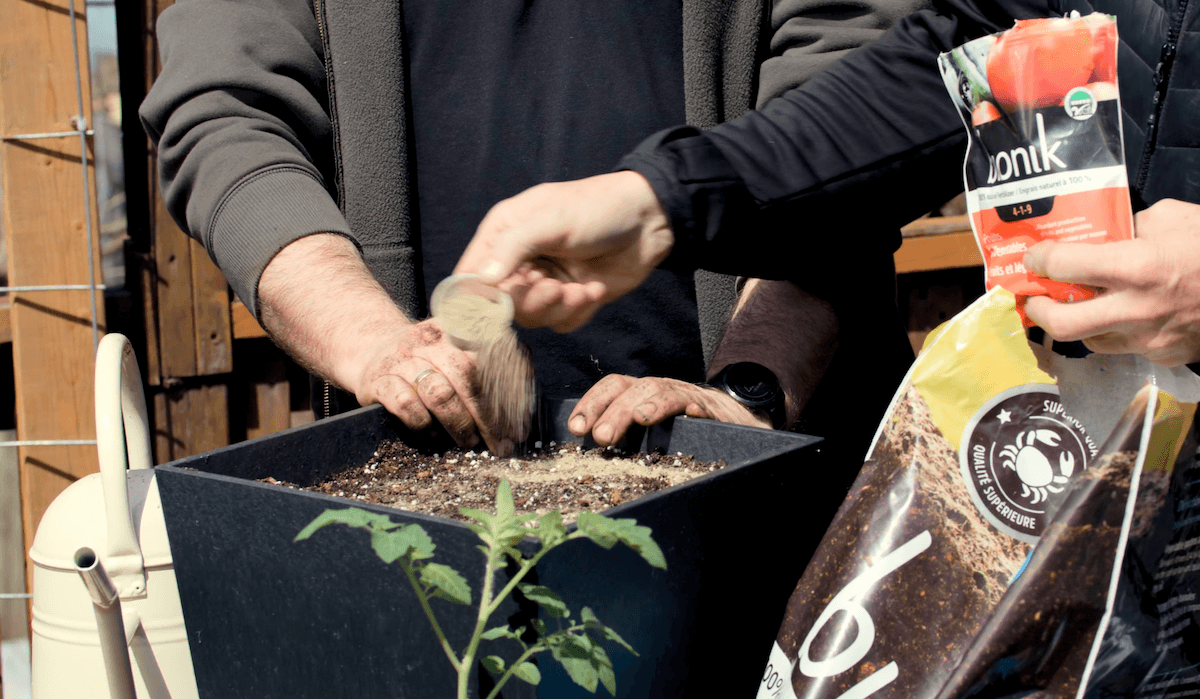
When planting, sprinkle the recommended amount over the surface of the pre-moistened potting soil, then work it lightly into the top few centimeters. This is where the young roots will quickly develop.
Determinate tomatoes, which produce their crop over a few weeks, often need only this single application of fertilizer. Indeterminate tomatoes, which produce all summer long until the first frost, may benefit from a light additional application in mid-summer: half the recommended dose added to the surface, gently worked in, and well watered—just enough to help the last fruits ripen before fall.
The starting signal
Tomatoes are native to subtropical and tropical regions. They are sensitive not only to frost but also to cold temperatures. A few nice, sunny days aren’t enough to determine that it’s time to plant.
Tomatoes are native to subtropical regions. They are sensitive not only to frost but also to cold temperatures. A few nice, sunny days aren’t enough to determine that it’s time to plant.
The real indicator is nighttime temperatures. Check the 10- to 14-day forecast: when lows generally stay above 12°C (54°F), you can plant with confidence. A night or two around 10°C (50°F) is still acceptable, but that’s really the absolute limit.
In open ground, it’s also best to wait until the soil has reached about 12°C (54°F) before planting, since roots in cold soil don’t function well. In containers, the potting mix warms up faster, so this factor becomes a bit less of an issue, especially when starting with a fresh mix.
Why these temperatures? Because when the temperature drops below 10°C (50°F), the tomato plant begins to prepare for the cold rather than grow. It alters its metabolism, producing protective pigments such as anthocyanins, and uses its energy to survive rather than to grow.
Growth can be slowed for several weeks. Very often, a plant set out a little later, in well-warmed potting soil, quickly catches up to and surpasses a plant that has suffered from the cold due to being planted too early.
Acclimatization
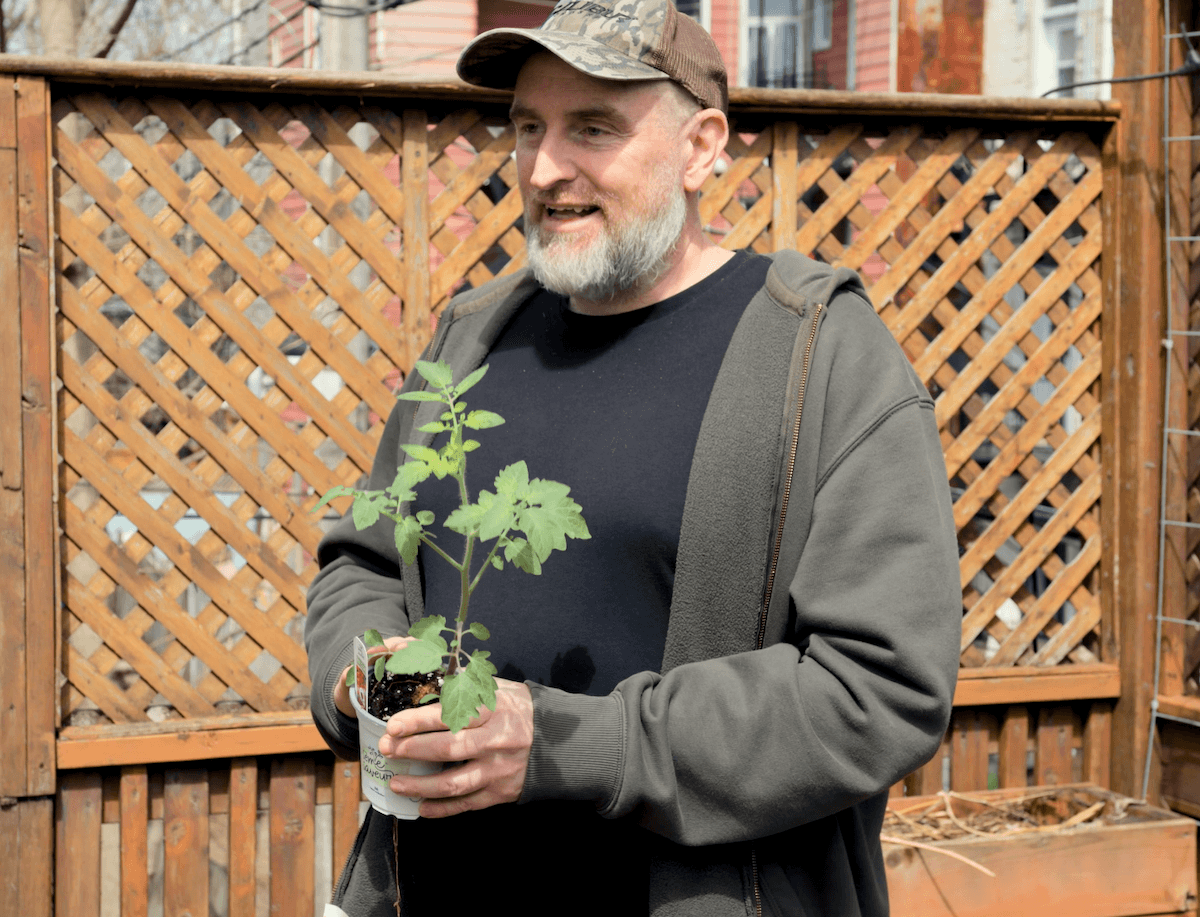
Before moving the tomato plants outdoors permanently, you need to harden them off. A plant grown indoors isn’t ready to face direct sunlight, wind, and spring temperature fluctuations right away.
Indoors, in a stable environment around 20°C (68°F), the tomato develops a very thin cuticle—a sort of protective layer on the leaves. Outdoors, the sun, UV rays, and wind cause water loss much more quickly. Without a transition period, the leaves can turn white, burn, or wilt. Acclimation allows the plant to thicken this natural protection.
Wind also plays an important role. These small mechanical stresses force the stem to strengthen. The plant transitions from a tender, fragile seedling to a stockier, sturdier plant.
You also need to respect their biological rhythm. Below 15°C (59°F), their metabolism slows down. If you move them outside too quickly or too early, they may stop growing and take several weeks to recover.
The basic rule is simple: start moving the plants outside only when the temperature is around 15°C (59°F). If the temperature drops below this threshold, bring them back inside. The goal is to gradually transition them from the comfort of the house to the outdoor climate without any shock.
For the first 2 or 3 days, place the plants only in the shade. Then, for a few days, expose them to partial shade or gentle morning sun. This is when they develop their protective pigments against UV rays. After about a week, they can generally tolerate full sun all day long.
You should only leave the plants outside overnight if temperatures stay around 15°C (59°F) all night. It is at this temperature that the plant actually continues to grow.
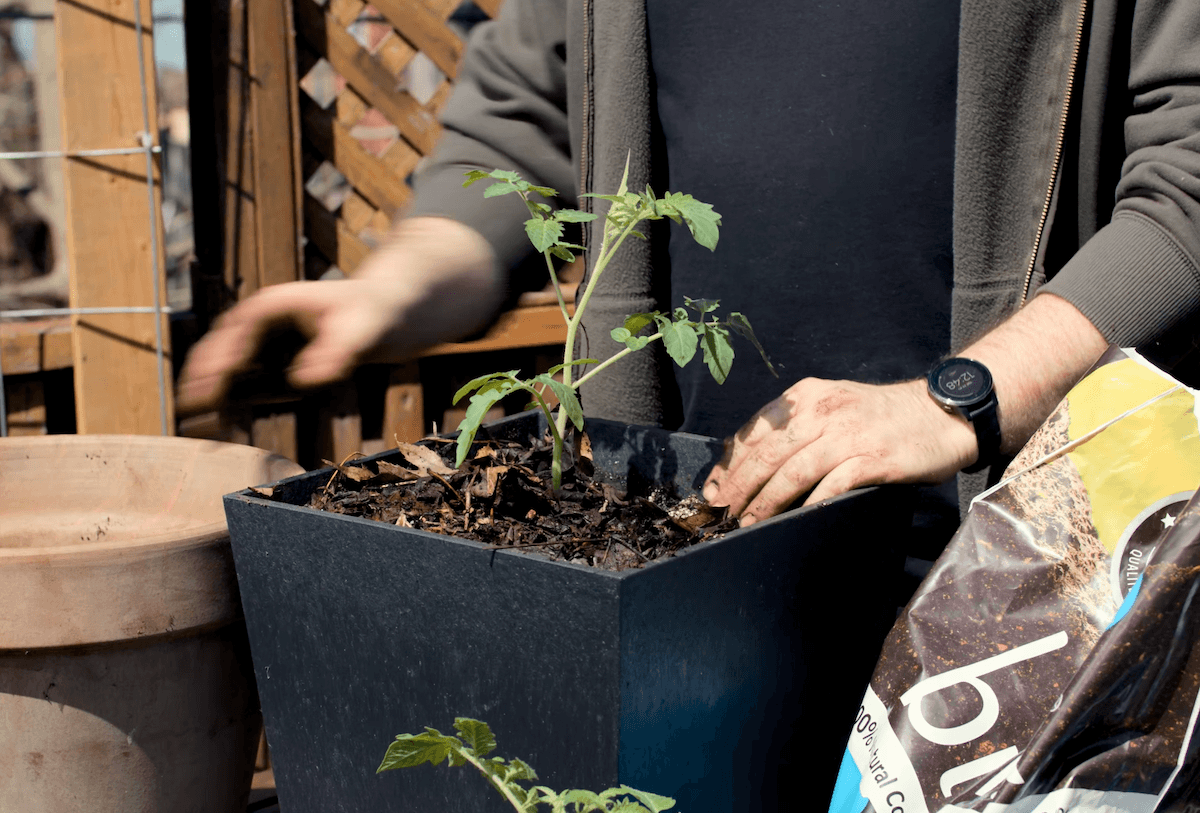
The plantation
Tomatoes have a unique ability that few other vegetables possess: they can produce roots all along their stems. These are called adventitious roots. The more of the stem you bury, the stronger and more stable the root system becomes, enabling it to draw up water and nutrients.
Before planting, remove the cotyledons—the two small, smooth leaves at the base—as well as the first true leaves at the bottom. However, it is essential to keep at least 3 to 4 sets of leaves at the top so that the plant can continue growing while it develops its new roots.


The general rule is simple: you can bury up to half, and sometimes even two-thirds, of the plant’s total height. If the plant is a bit leggy—long and spindly because it didn’t get enough light indoors—this is actually an excellent way to correct the problem.
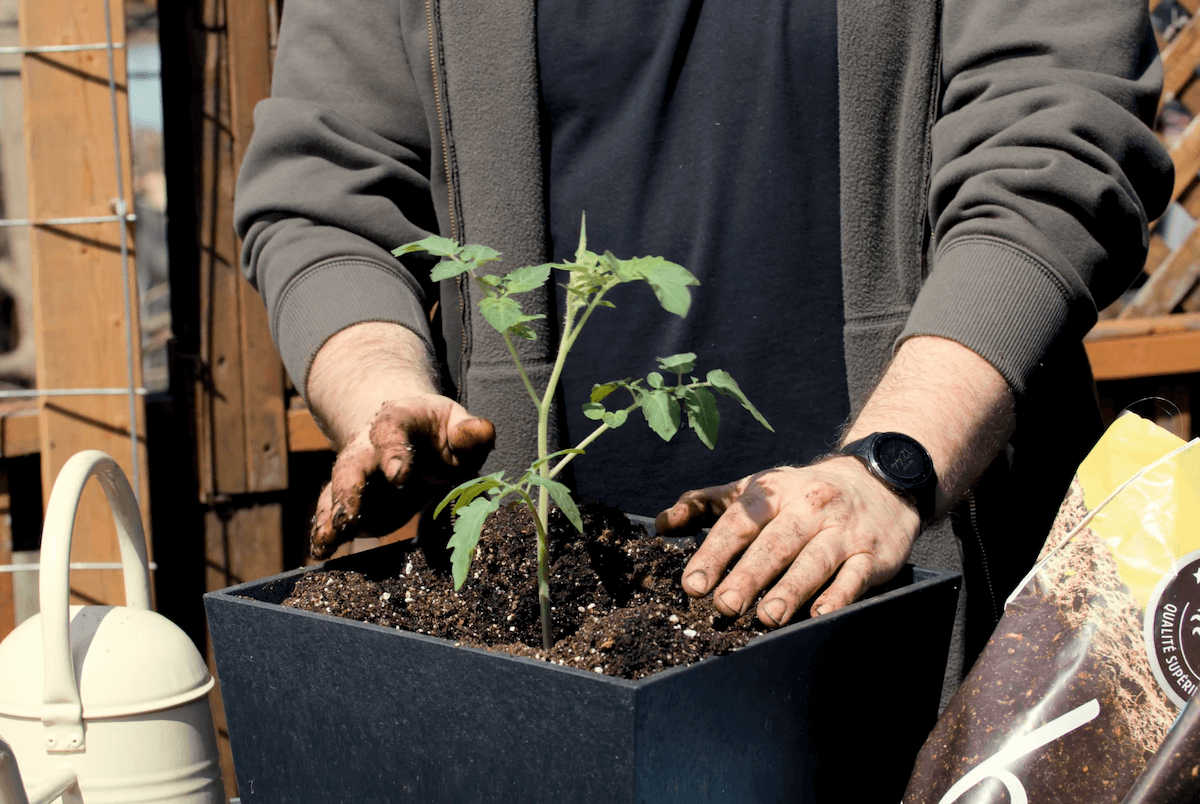
Next, place the root ball at the bottom of the hole, then fill it in with the mixture of potting soil, compost, and fertilizer without packing it down too tightly. The goal is to maintain a well-aerated structure around the roots.
The stake or cage should be installed immediately upon planting. Waiting until later risks damaging the new roots that you are trying to encourage.
Even if the potting mix has already been moistened, always finish by giving the base a good watering. This initial watering helps eliminate air pockets and ensures good contact between the roots and the growing medium.
Mulch
Mulch plays an essential role, even in containers.
First, it significantly reduces water evaporation from the surface of the potting mix. This can easily make the difference between watering every day or once a week in the middle of summer. It also acts as an insulator, keeping the roots cooler during the heat waves of July and August.
Mulch also serves as a disease barrier. Many tomato diseases, such as late blight, originate in the soil and reach the leaves when rainwater or irrigation water splashes onto the foliage. A good layer of mulch helps limit this problem.
It also protects all the biological life in the soil. The microorganisms already present in the compost, as well as those introduced with it, do not like direct sunlight or dry conditions. Mulch provides them with the moisture and shade they need to remain active near the surface.
As a material, straw remains a classic choice: simple, effective, and water-permeable. Shredded leaves work very well too and, over time, add free organic matter.
Aim for a generous layer of 3 to 5 cm (1 to 2 inches). Any thinner, and light will still get through, causing water to evaporate quickly. A layer that’s too thick can hinder air circulation. You should also leave a small gap around the stem to prevent constant moisture from causing the base of the stem to rot.
Once the mulch is in place, there should still be a few centimeters (about 1 to 2 inches) of open space around the edge. This creates a basin effect: you can pour a full watering can without it spilling over; the water collects gently and seeps slowly through the mulch.
What about maintenance?
Once your tomato plants are firmly established, caring for them becomes much easier for the rest of the season, but a few key steps remain essential: watering, staking, supplemental fertilization, harvesting, and addressing any minor issues that may arise over the summer.
A good container, nutrient-rich potting soil, planting at the right time, and effective mulch already do most of the work. The goal isn’t to spend the summer tending to your tomatoes, but to give them the right conditions from the start so they require less attention later on.
We’ll be back soon with part two: how to care for your tomatoes all summer long without becoming a slave to the queen of the vegetable garden.
An app to slim body photos can be very useful for refining image style naturally ? I like how modern editing apps focus on smooth and realistic results.
Comprehensive. Thank you!
Good post. A lot of it I already knew, but I also learned a lot of new tips. Thank you for sharing.