Tomatoes sometimes have a reputation for being real divas. The queen of the vegetable garden is said to demand constant attention, regular fertilization, endless pruning, and a gardener willing to be her slave all summer long.
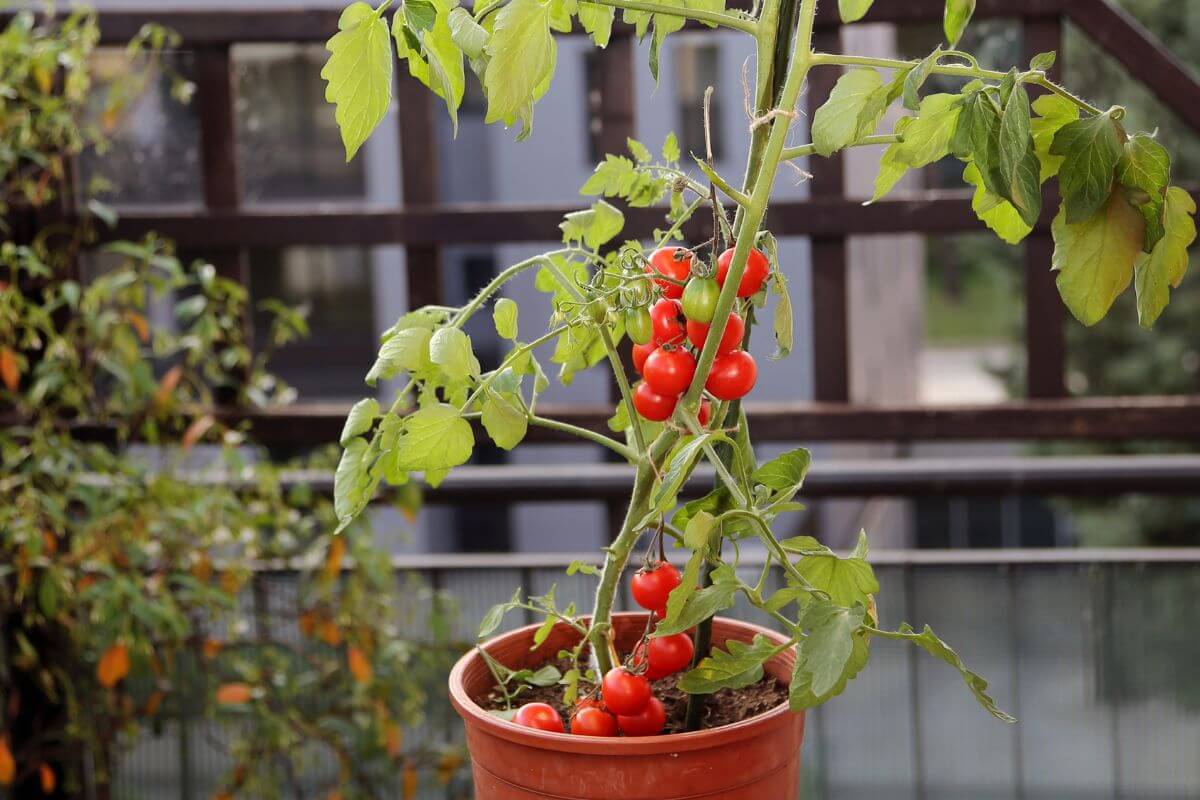
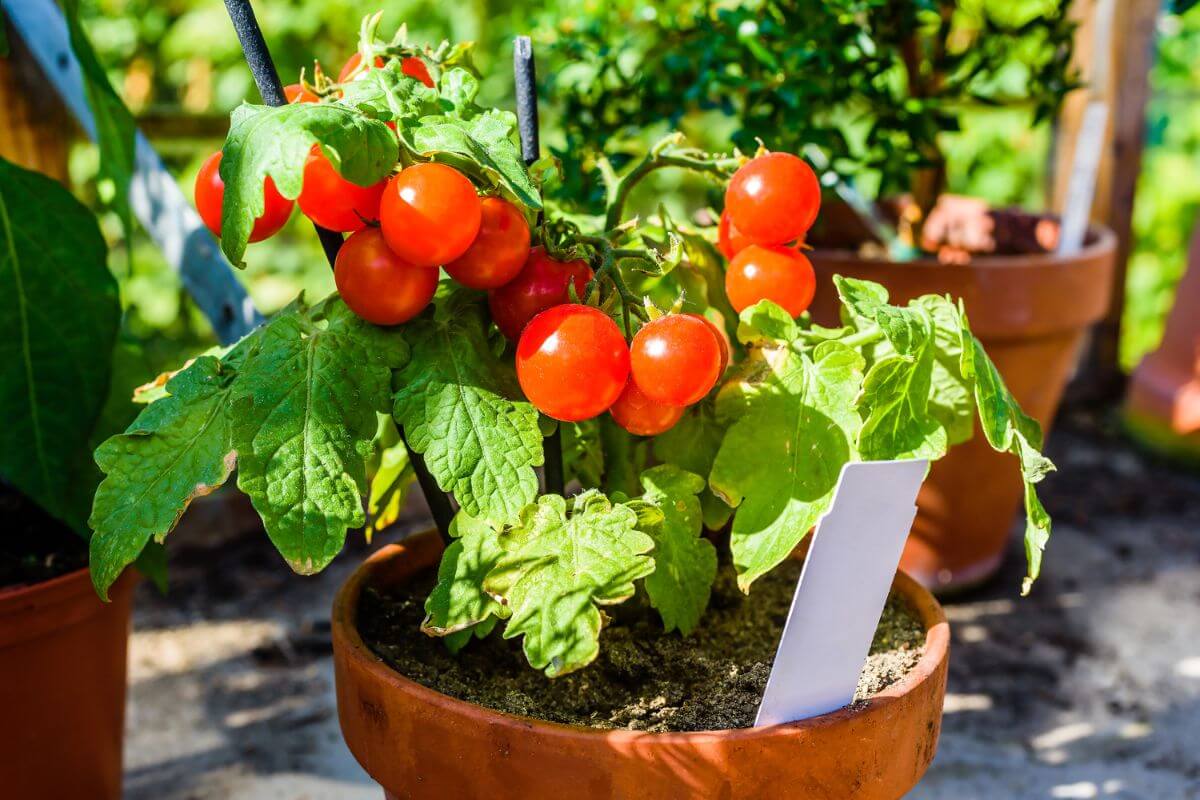
In reality, however, growing tomatoes in containers can be surprisingly simple once you understand the plant’s needs.
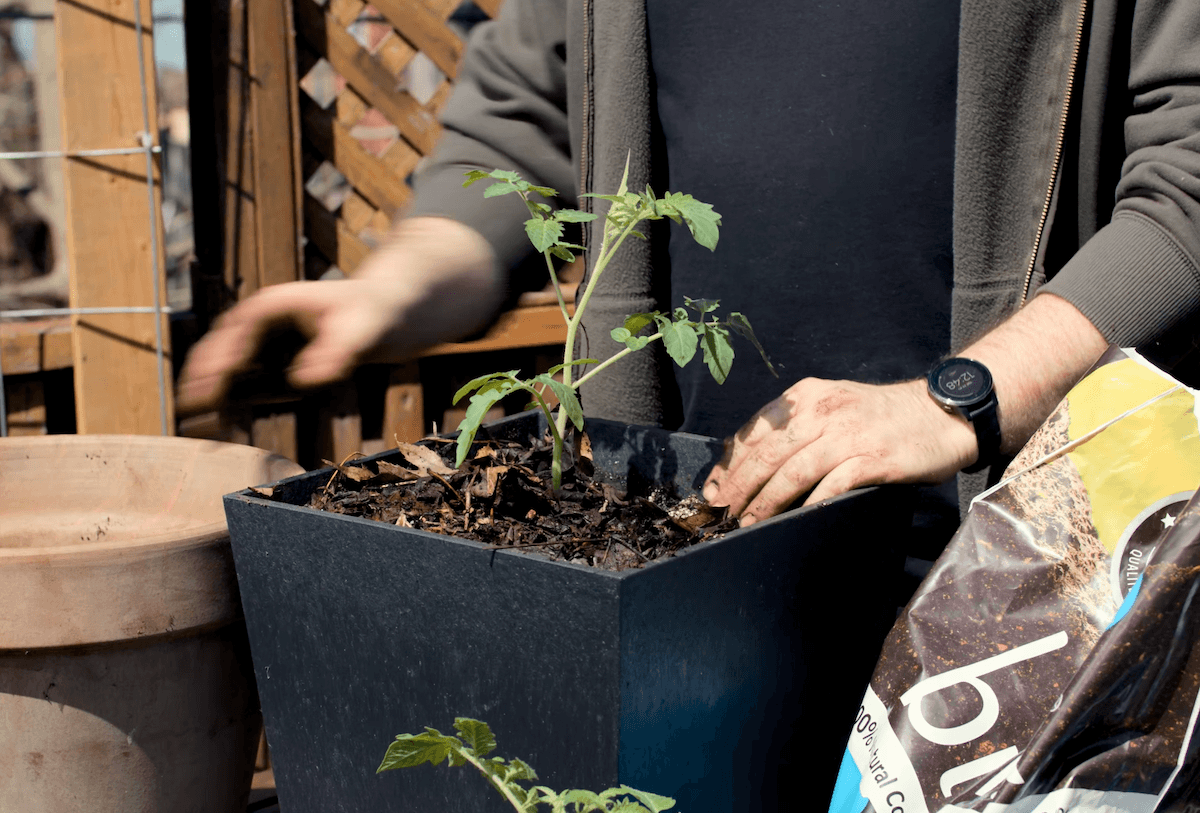
The real secret lies mainly in proper preparation: choosing the right container, the planting technique, the temperature at planting time, a nutrient-rich potting mix enriched with compost, organic slow-release fertilizers, and mulch to protect the soil and the plants’ roots.
Honestly, once these basics are in place—as we saw in How to Plant Tomatoes in Containers Without Messing Up—the bulk of the work is already done. But of course, there will still be a few tasks to tackle throughout the season. Her Majesty won’t water herself or pick her own fruit to drop directly into our mouths like hungry baby birds.
However, there are certain unique characteristics of container-grown tomatoes that you need to take into account: rapid growth, sometimes extreme conditions, accelerated nutrient leaching, and a heavy reliance on watering—conditions that are quite different from those in the ground.
So your tomatoes need you to keep an eye on them, even though they’re relatively self-sufficient… a bit like teenagers: capable of functioning on their own, but not always able to make the best decisions without supervision!
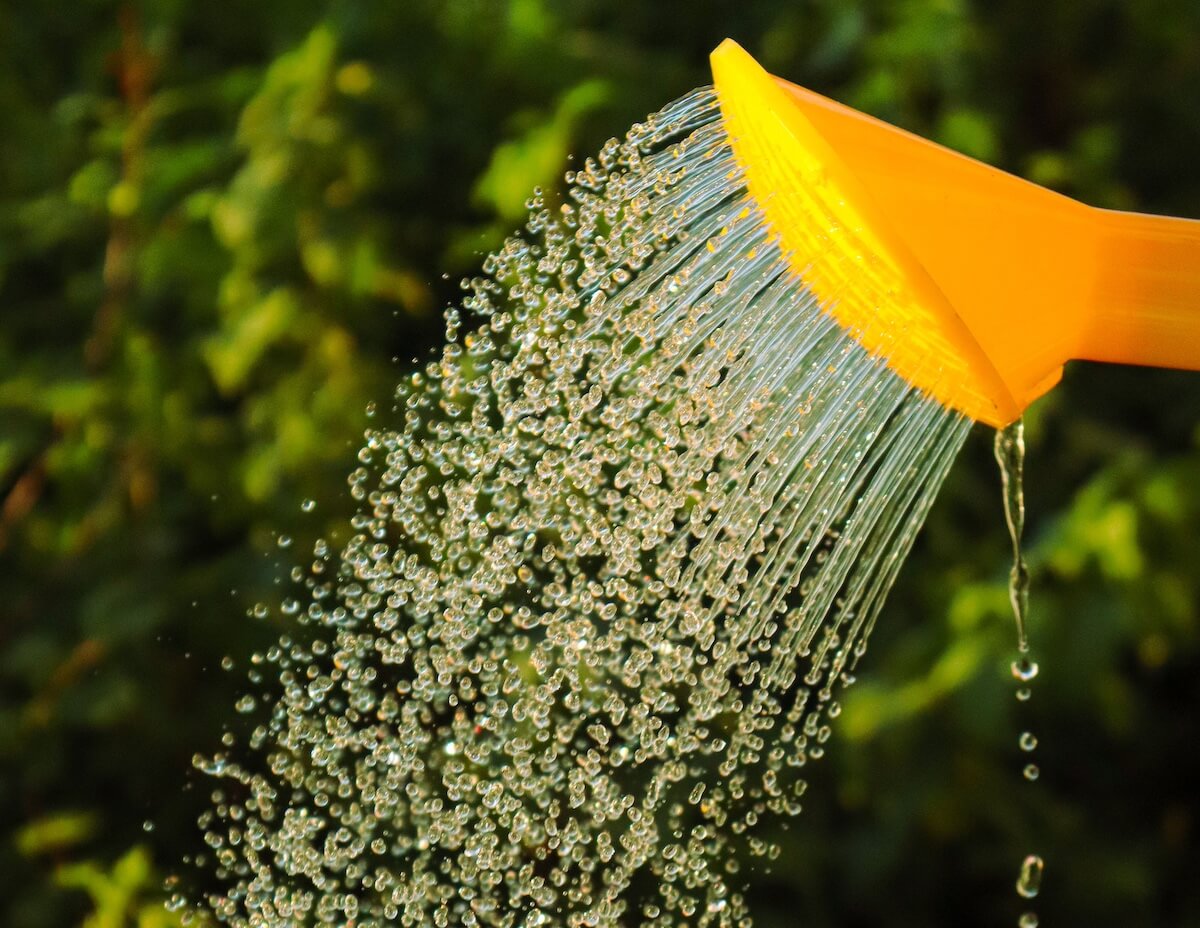
1. Watering
Tomatoes need plenty of water. Just like Goldilocks, they need just the right amount of water: not too much and not too little.
Significantly higher water requirements in containers
This is probably the most important factor to monitor when growing tomatoes in containers, as conditions on a patio or balcony can quickly become extreme. In these environments, which are often very mineral-rich and built-up, structures absorb the sun’s rays and create microclimates that are much warmer than in a garden. Concrete, walls, railings, and dark surfaces reflect heat, which greatly increases evaporation from the soil.
The hotter it gets, the more water the plant loses through evapotranspiration. Just as we sweat to cool our bodies, tomatoes also “sweat” to regulate their temperature. All this water must be absorbed by the roots, travel up the stems, and reach the leaves.
At higher elevations, such as on a balcony, the wind is often much stronger. This wind further accelerates water loss. It not only dries out the potting soil but also increases the plant’s transpiration by carrying away the moisture surrounding the leaves.
The more a tomato plant grows, develops a large root system, and produces fruit, the more its water consumption increases. By late summer, particularly with large indeterminate varieties, a single plant can consume several liters of water per day during hot periods.
Why do the containers dry out so quickly?
By definition, a container holds a limited amount of potting soil. Unlike in open ground, where roots can reach deep into the soil to find moisture, the plant depends entirely on the small supply of water in its pot.
And some containers make the situation even worse. Growing bags, for example, lose water not only through the top but also through all their sides.
Direct exposure of pots to the sun also heats up the potting mix significantly. This warming can be beneficial in the spring by accelerating root development, but it can sometimes become problematic in the middle of summer.
When the roots overheat
When the soil overheats, root metabolism is disrupted. The roots then absorb water, minerals, and nutrients much less efficiently. At soil temperatures above about 28°C (82°F), tomatoes begin to experience stress.
During heat waves when temperatures exceed 30°C (86°F), the soil in containers exposed to the sun can easily become much hotter still, particularly in small pots or dark containers. In some cases, container soil temperatures can rise well above 35°C (95°F) during the hottest part of the day.
At this point, much of the plant’s metabolism slows down significantly, or even stops almost completely. The roots function less and less effectively, eventually run out of oxygen, and may even begin to die.
The plant may then wilt despite moist soil, stop growing, drop its flowers, or halt the ripening of its fruit.
That’s why it’s important to use a container that’s large enough, to protect the potting mix with mulch, and, ideally, to choose light-colored pots or containers that are less prone to overheating. The larger the container, the more water it can hold, the more stable the temperatures inside, and the less stress the roots experience.
Consistent humidity: the real secret
Of all the dangers that threaten container-grown tomatoes, the worst is undoubtedly the roller coaster of watering. Whether due to forgetfulness, an unsuitable container, wind, heat, or simply poor watering technique, it is above all the irregularity of moisture that becomes a problem for tomatoes.
These constant fluctuations between drought and waterlogging can lead to stunted growth, flower drop, fruit cracking, reduced flavor, curled leaves, uneven ripening, or even the infamous tip rot, better known as “black bottom.”
To know when to water, the best tool is still… your finger. Push it into the soil beneath the mulch, about a finger’s depth. If the soil is still moist, wait. If it’s dry, it’s time to water..
Water thoroughly: slowly and deeply
Be careful not to just water the surface. Watering too quickly can sometimes only moisten the top few centimeters of the potting mix without actually reaching the bottom of the container or thoroughly saturating the entire root ball.
This often encourages the roots to stay near the surface, where the water is. However, the true water reservoir in the container is the entire potting mix. The more uniformly moist the entire potting mix remains, the longer the pot will retain moisture and the smaller the fluctuations in moisture levels will be.
De plus, lorsqu’un terreau devient très sec, il peut devenir hydrophobe, c’est-à-dire qu’il repousse l’eau. L’eau d’arrosage traverse alors rapidement le contenant en longeant parfois les parois ou certains canaux sans réellement réhumidifier le terreau.
La meilleure technique pour arroser manuellement consiste à arroser lentement, en plusieurs passages. On donne un premier arrosage léger, on laisse le temps à l’eau de s’infiltrer, puis on revient quelques minutes plus tard pour recommencer. L’objectif est d’éviter d’envoyer une grande quantité d’eau trop rapidement qui ne ferait que ressortir immédiatement par les trous de drainage.
Idéalement, on poursuit jusqu’à ce qu’un peu d’eau commence à sortir doucement sous le pot. Cela indique généralement que toute la masse de terreau a été réhumidifiée et que les racines profondes auront elles aussi accès à l’eau. Avec le temps, les racines se développeront davantage en profondeur et le plant deviendra beaucoup plus résilient face aux périodes chaudes.
Blossom-end rot: above all, a watering problem
Black rot, or apical rot, is caused by a lack of calcium in the fruit tissue. It is often mistakenly believed that simply adding calcium to the potting mix will solve the problem, but this misconception stems mainly from a lack of understanding of how plants function.
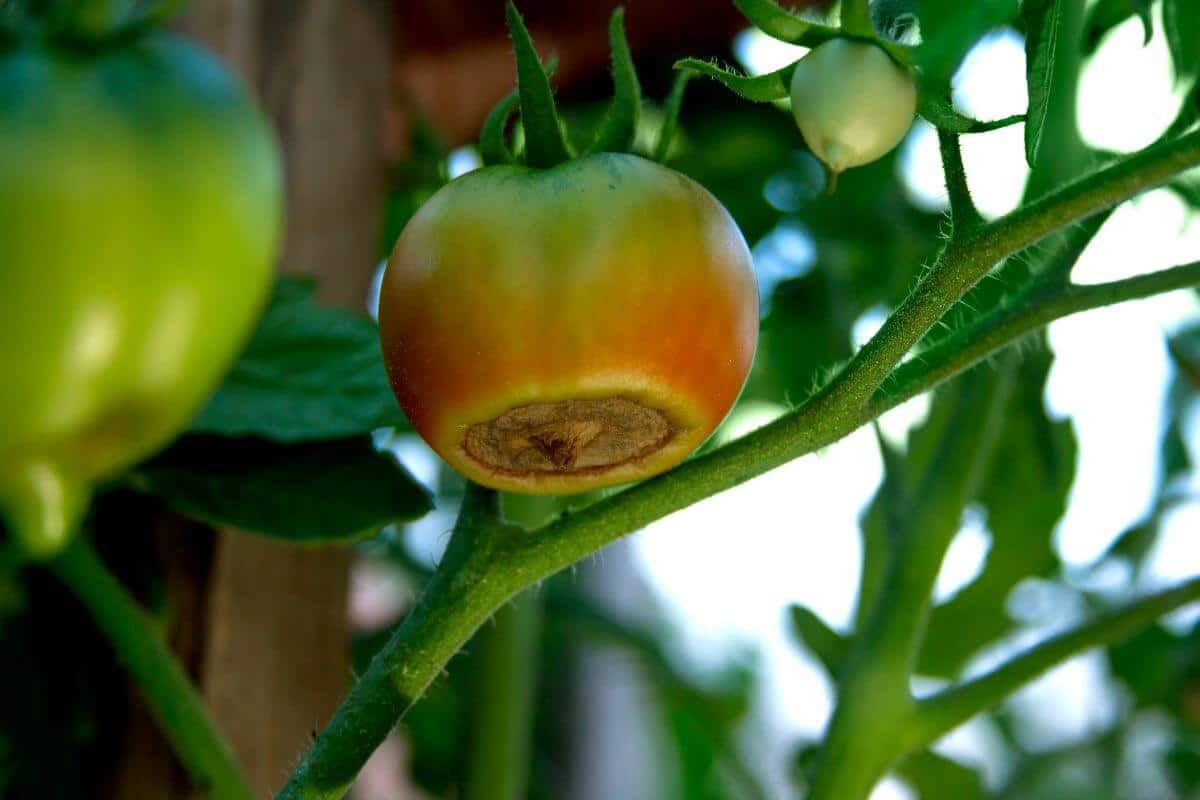
Good potting soil generally already contains sufficient calcium. The real issue is its transport.
Minerals like calcium move through the plant via water absorbed by the roots. This water then travels up through the plant’s tissues, from the roots to the leaves and fruit. When the potting mix lacks moisture—or, conversely, when it remains constantly waterlogged and the roots lack oxygen—the transport of calcium to the fruit slows down or stops.
The cells at the tip of the fruit then gradually die, causing that characteristic black spot at the base of the tomato.
Eggshells: a persistent myth
Eggs—specifically their shells—do indeed contain calcium. So, at first glance, it seems logical to use them to prevent blossom end rot in tomatoes. We often hear that simply burying an egg under the plant at planting time or scattering eggshells on the surface of the soil is enough to solve the problem.
First, as we saw earlier, blossom end rot is generally not caused by a lack of calcium in the soil, but rather by a problem with calcium transport within the plant.
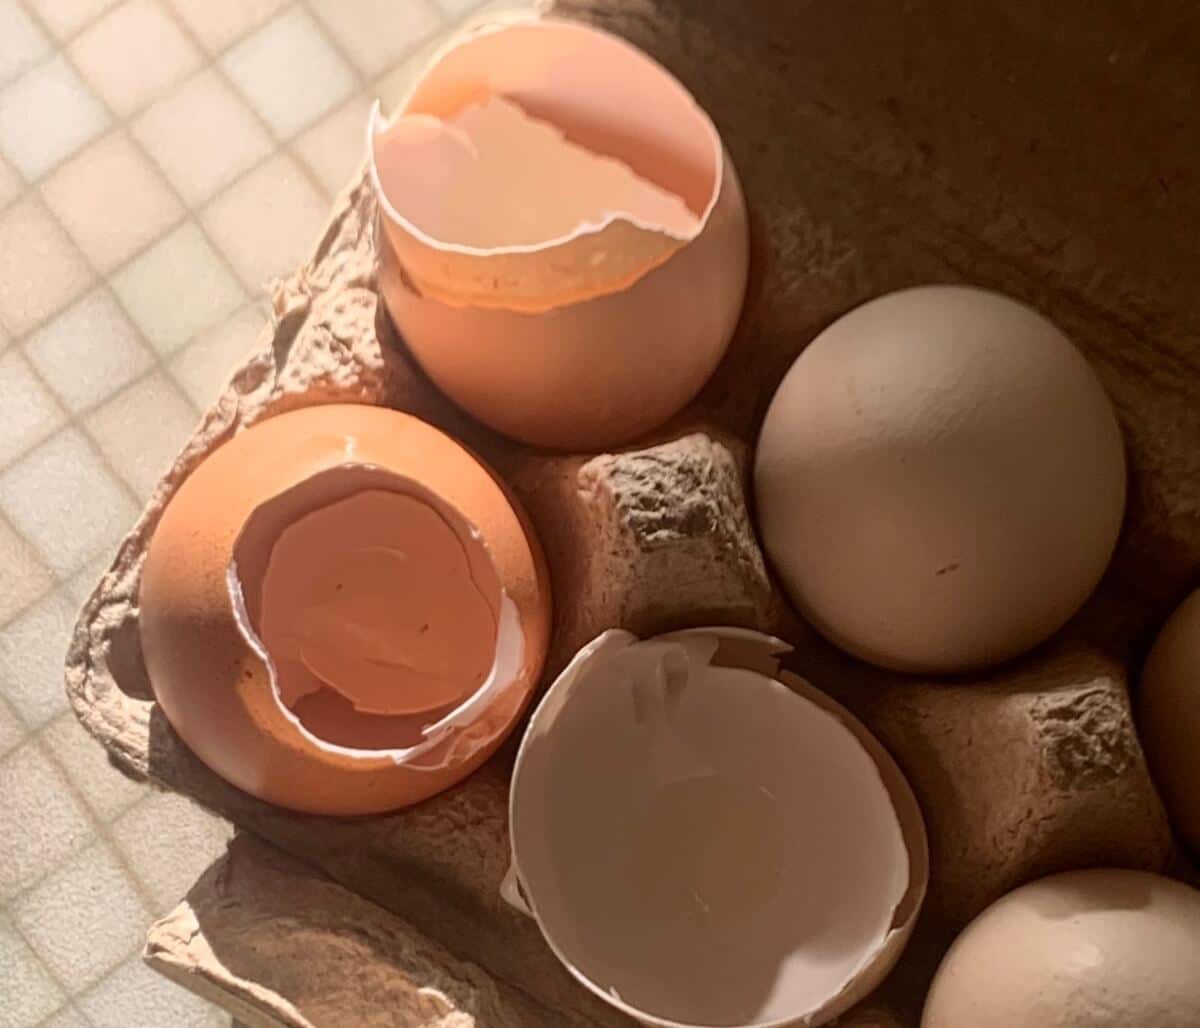
Furthermore, eggshells decompose extremely slowly. Even when ground into a powder in a blender, it often takes several years before their calcium becomes readily available to plants. In the context of an annual tomato crop, they therefore serve virtually no purpose as a quick source of calcium.
Burying a whole egg can even be counterproductive. As it decomposes, it can attract opportunistic animals such as rats, raccoons, or skunks, which won’t hesitate to rummage through your pots in an attempt to retrieve it.
Finally, given the current price of eggs, it will often be cheaper—and much more effective—to purchase a soil amendment or fertilizer containing calcium if a genuine deficiency is suspected.
When is the best time to water?
The best time to water is usually early in the morning. At that time, the soil is cooler, and the plant can replenish its water reserves before the day’s heat sets in.
Watering in direct sunlight on a hot day results in much greater water loss through evaporation. Watering in the evening is acceptable, especially during heat waves, but foliage that remains damp all night long can promote the development of certain diseases.
It is therefore best to avoid wetting the foliage. Water the soil directly, since it is the roots that absorb the water.
Mulch: even more important in containers
Even if you usually added mulch when planting, it’s never too late to add more. In containers, mulch is almost essential.
Whether it’s shredded leaves, straw, or another type of organic mulch, it acts much like a protective cover. It significantly reduces evaporation, shields the soil from the sun’s scorching rays, lowers the soil temperature, and stabilizes moisture levels.
This stability protects both the roots and the microbial life in the soil from extreme fluctuations in temperature and moisture.
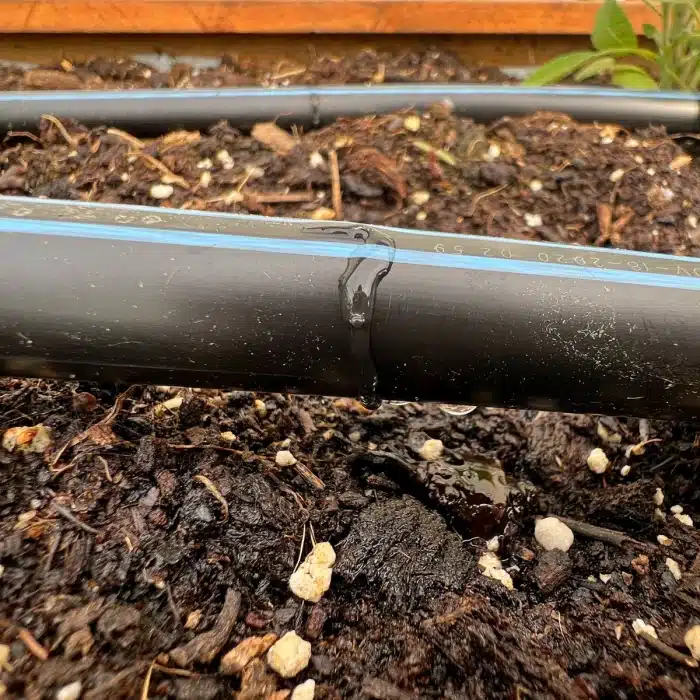
Drip irrigation: the laidback gardener’s ultimate solution
A few years ago, I installed a drip irrigation system on my patio, and I wouldn’t go back.
Besides the fact that you can add a timer to water automatically very early in the morning—around 4 or 5 a.m.—and ensure proper watering when you’re away, it’s probably the best way to water tomatoes in containers.
Since the flow is very slow—literally drop by drop—the water gradually seeps into the potting mix. Thanks to capillary action, moisture is distributed much more evenly throughout the container, resulting in much deeper and more consistent watering.
However, you should check the system from time to time to make sure it isn’t watering too much or too little. Soil that is constantly waterlogged becomes oxygen-deprived and can lead to root suffocation or rot.
Conversely, an underperforming system will cause the same problems as improper manual watering.
The system must therefore be adjusted as the season progresses. As plants grow, develop foliage, and produce fruit, their water needs increase. It may be necessary to increase the watering duration or flow rate later in the summer.
And above all, before leaving for a few days or weeks, it’s always best to carefully check that everything is working properly!
2. Temperature and microclimate
Tomatoes grown in containers are subjected to extreme conditions, unlike those planted in the ground. The roots are confined to a limited volume of potting soil that heats up and cools down very quickly. Added to this is often the unique microclimate of urban terraces and balconies, surrounded by concrete, asphalt, bricks, or structures that absorb and accumulate a great deal of heat during the day.
Wind also plays an important role. At higher elevations, such as on a balcony, it can significantly increase evaporation from the potting mix, but it can also accelerate the plant’s own transpiration by carrying away the moisture surrounding the leaves.
People often assume that tomatoes are tropical plants that thrive in extreme heat, but that is not entirely true. In the wild, their ancestors often grew in the mountainous regions of South America, where temperatures remained relatively moderate. Tomatoes like warmth—but not excessive heat waves.
When temperatures rise above about 30°C (86°F), several of the plant’s functions begin to be disrupted. Pollination becomes less effective, flowers may abort and drop, growth slows, and certain metabolic processes become much less efficient.
3. Nutrition
If you added compost to the potting mix when planting, along with a dose of slow-release organic fertilizer, you generally won’t need to fertilize constantly throughout the summer. But I strongly recommend doing this from the start.
Of course, it’s always possible to use a water-soluble fertilizer. This, however, involves either watering regularly with a fertilizer sprayer or installing a fertilizer sprayer or injector on the garden hose to add fertilizer at regular intervals. Honestly, that’s way too much work for the lazy gardener… and it also greatly increases the risk of forgetting.
I prefer an approach that more closely mimics the soil’s natural processes.
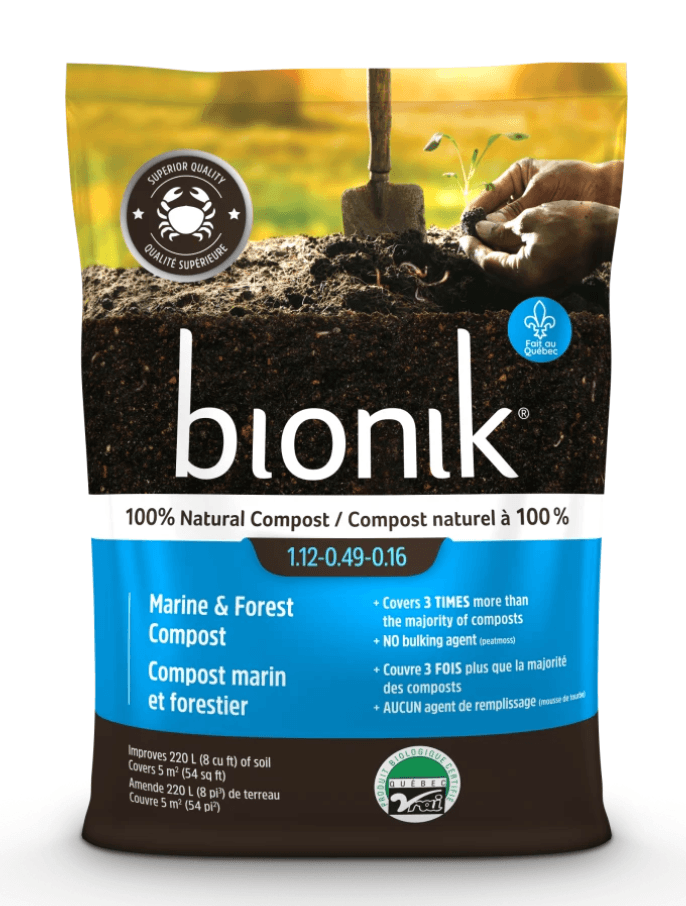
Compost is teeming with microbial and fungal life, in addition to containing a certain amount of nutrients. Slow-release organic fertilizer, on the other hand, is gradually broken down by this soil life into nutrients that plant roots can absorb.
In other words, it is not the granules themselves that directly feed the tomatoes, but rather all the life in the soil that gradually transforms them over the course of several weeks. It’s simple, natural, and saves a lot of work while avoiding many problems associated with over-fertilization.
A second fertilization mid-season?
A second application of fertilizer may be beneficial around August, especially in warmer climates or with indeterminate varieties that continue to grow until the first frost.
Compost and slow-release organic fertilizers generally provide nutrients for about 10 to 12 weeks. If you plan to continue growing your plants well into late summer, a second light application may therefore be helpful.
In the ground, I generally wouldn’t do this. But container gardening is much more prone to leaching. Each watering washes some of the nutrients out of the pot, a phenomenon that is much less significant in the garden.
Moderate supplemental fertilization is therefore often necessary to maintain the plants’ vigor through the fall.
Be careful not to over-fertilize
If you use water-soluble fertilizers, be careful not to overdo it. Contrary to popular belief, over-fertilizing doesn’t necessarily result in more tomatoes.
An excess of fertilizer, particularly nitrogen, can cause excessive foliage growth at the expense of fruit production. The plants then become huge, very green, and vigorous… but not very productive.
Over-fertilization can also weaken plant tissues, promote certain diseases, cause root burn, or lead to a buildup of mineral salts in the soil.
These salts can even end up hindering water absorption by the roots, thereby exacerbating water stress issues rather than resolving them.
4. Supports, size, and suckers
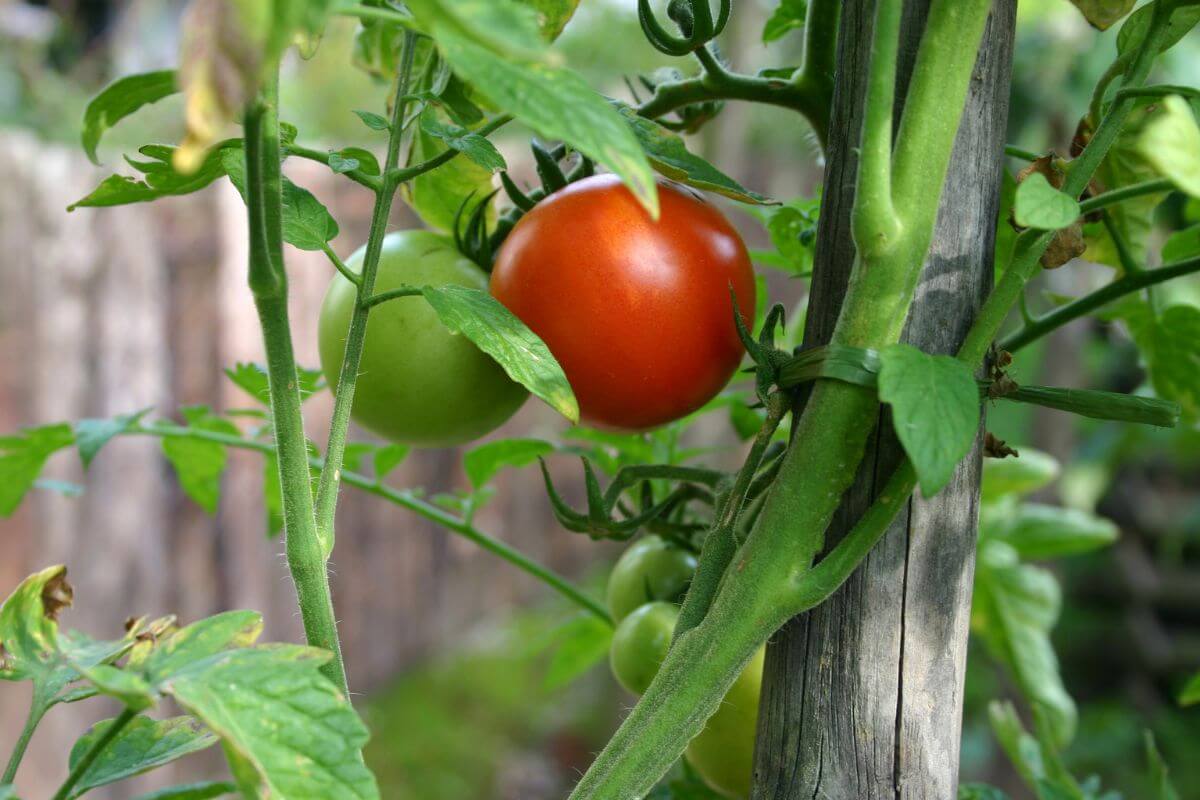
The tomato isn’t exactly a climbing plant. It’s more of a trailing plant—that is, a naturally creeping plant that uses the structures around it for support and to reach for more light. Unlike a true climbing plant, such as a bean or a grapevine, it has neither tendrils nor any mechanisms that allow it to cling on by itself.
When grown in a garden, tomato plants therefore generally need to be staked to a support to prevent the stems from spreading out on the ground under the weight of the foliage and fruit.
The famous “suckers”
The term “suckers” is actually a bit misleading when it comes to tomatoes. In fruit trees and shrubs, a sucker is a very vigorous shoot that grows from the trunk or branches and produces few or no flowers or fruit. It is essentially a branch that consumes a lot of energy but yields little fruit.
In tomatoes, what are commonly called “suckers” are actually just secondary stems that grow in the leaf axils, between the main stem and a leaf. And unlike true suckers on fruit trees, these stems are fully fertile.
Not only do they produce foliage capable of photosynthesis and thus of generating energy for the plant, but they also produce their own flowers and fruits.
In fact, these stems can be treated exactly like any other branch on the plant. A side shoot remains a productive stem.
Determinate tomatoes
Determinate tomatoes naturally stop growing once they reach a certain height. They generally take on a more compact, bushy shape.
For these varieties, a simple three-ring tomato stake is often sufficient, although I personally find these models a bit flimsy and unstable, especially when the plants become heavily laden with fruit.
In my opinion, pruning is rarely necessary with determinate tomatoes. Since their growth stops naturally, the plant mainly needs to retain its foliage in order to produce the energy required for fruit ripening.
Every leaf removed represents a loss of photosynthetic surface area and therefore a potential loss of energy.
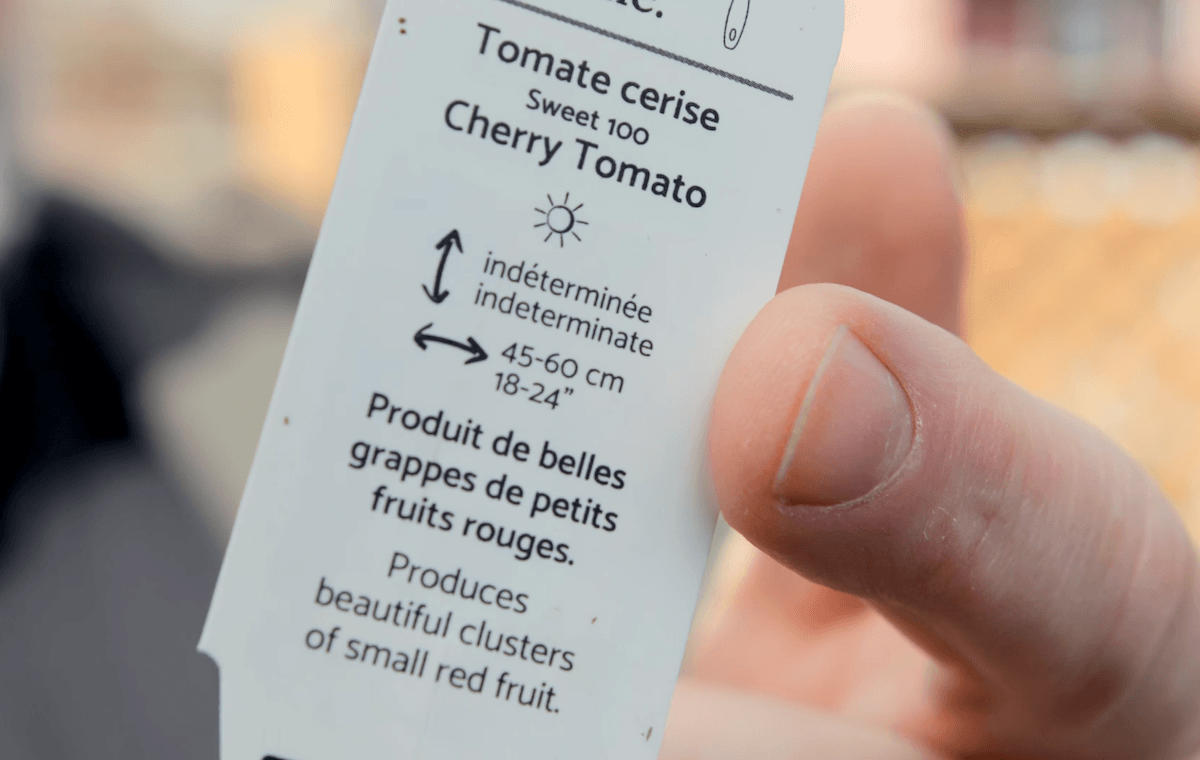
Indeterminate tomatoes
Indeterminate tomatoes, on the other hand, continue to grow until the first frost. They can grow to be enormous and produce vines several meters long in a single summer. In this case, a sturdy support is essential.
The small three-ring tomato cages found in most garden centers are generally completely inadequate for this type of plant. They often end up crushed or flattened under the weight of the plants.
There are several ways to support indeterminate tomatoes. Some gardeners use a simple stake to which they gradually tie the stems. Others use vertically suspended strings, around which the plant is wound as it grows.
Personally, my preferred system remains large cages made from wire mesh with openings of about 15 cm x 15 cm. You can use either sturdy fence wire or galvanized steel mesh panels normally used to reinforce concrete slabs.
Ideally, the structure should be at least 1.8 m tall.
You can roll the mesh into a cylinder held in place by metal rods or wooden stakes firmly secured in the container. You can also attach a mesh panel between two posts or against another sturdy structure.
One of the major advantages of these large cages is that they almost completely eliminate the need to prune the plants.
When the stems inevitably grow out of the structure, it is usually enough to gently push them back inside the mesh. That’s all. The plant eventually forms a massive column of foliage and fruit.
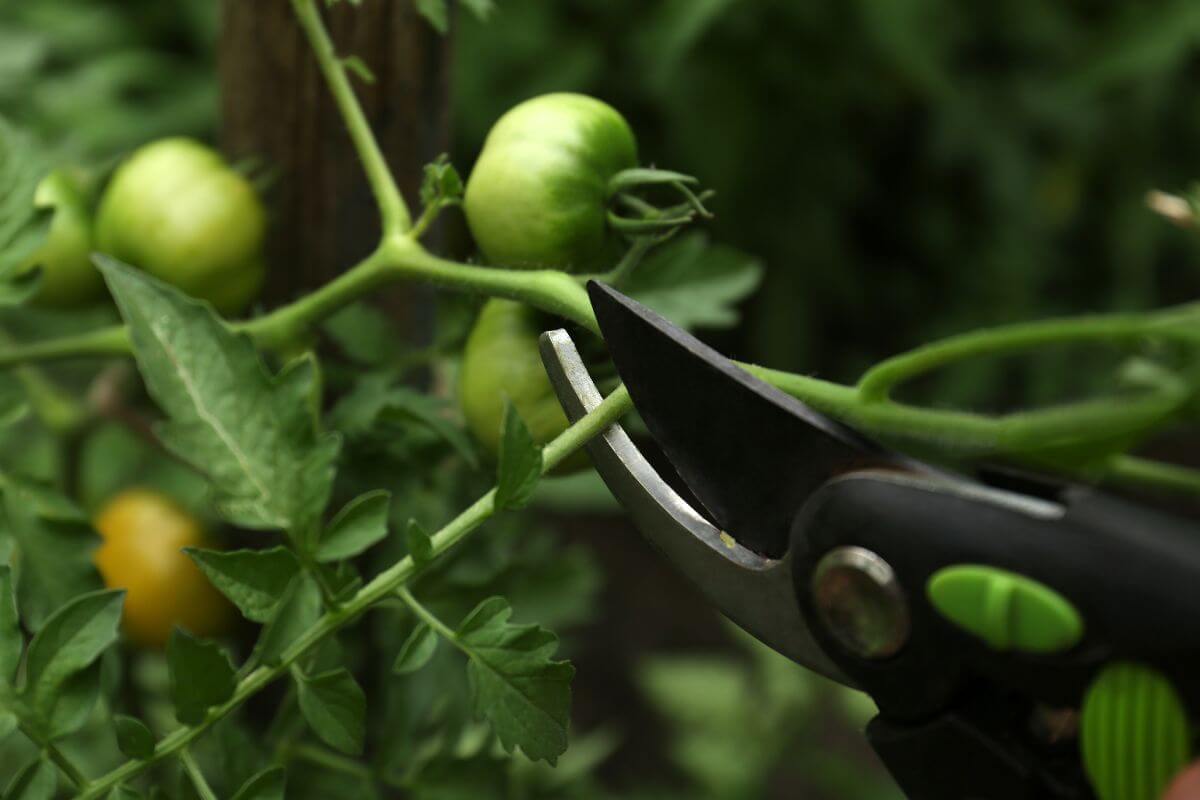
To prune or not to prune?
One of the main reasons people have gotten into the habit of pruning tomatoes is that this practice becomes almost necessary when growing the plants on a single string or stake. Since there is only one vertical support, side shoots are removed because they become difficult to tie up and manage.
But that doesn’t necessarily mean that this pruning always improves overall yield.
In fact, a heavily pruned plant often produces fewer fruits, but slightly larger ones. Conversely, a less pruned plant generally produces more tomatoes thanks to the photosynthesis carried out by its abundant foliage, even if the fruits are sometimes slightly smaller.
For an amateur gardener growing plants in containers, the difference is often much less significant than one might think.
Whether or not you choose to prune the “suckers,” certain steps are still worthwhile.
It’s best to remove broken stems, diseased foliage, or leaves that touch the ground to reduce the risk of disease. And when pruning, it’s important to regularly clean your pruning shears with rubbing alcohol to prevent spreading pathogens from one plant to another.
5. Pollinisation
Tomato flowers are both self-fertile and hermaphroditic. They are hermaphroditic because each flower contains both male and female reproductive organs, and they are self-fertile because a flower can fertilize itself without needing another variety of tomato nearby.
However, even though the flower has everything it needs to reproduce on its own, pollination still requires some movement. Pollen must be released inside the flower through vibrations caused either by the wind or by certain pollinating insects.
Bumblebees: tomatoes’ greatest champions
Bumblebees are particularly effective at pollinating tomatoes thanks to a process known as vibratory pollination.
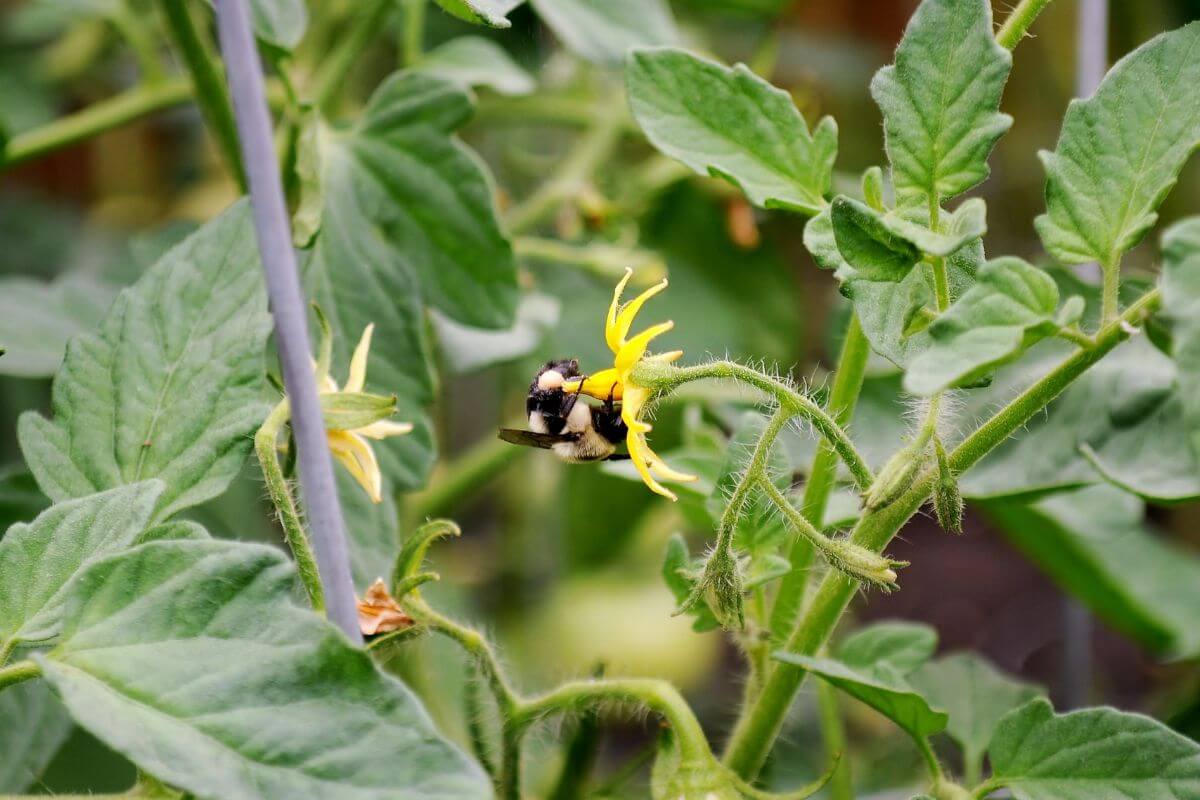
When a bumblebee lands on a tomato flower, it vibrates the powerful muscles in its wings extremely rapidly without even taking off. This vibration works much like shaking a salt shaker: it suddenly releases the pollen trapped inside the anther cone (the rigid tube formed by the flower’s male organs), enabling highly effective fertilization. It is this technique that explains why well-pollinated flowers generally produce tomatoes that are more uniform, rounder, and better shaped.
How to pollinate your tomatoes on a balcony
In some urban settings, particularly on high balconies or those that are very sheltered from the wind, pollinators may be scarce and the flowers receive fewer natural vibrations.
Fortunately, there is an extremely simple solution: shake the plants.
When the tomatoes are in bloom, simply give the plant itself, the flower clusters, or even just the cage or stake a gentle shake. This small vibration is often enough to release the pollen and ensure successful pollination.
Some gardeners even use vibrating objects to mimic the work of a bumblebee. And for those with a dirty mind, I’m talking about… an electric toothbrush!
The next challenge: identifying problems
With proper preparation, consistent watering, nutrient-rich potting soil, and a few well-targeted interventions, growing tomatoes in containers becomes much easier than you might think. Most problems arise when the plants are subjected to significant stress: drought, excessive heat, and extreme weather.
The goal of the lazy gardener isn’t to intervene constantly, but rather to create a stable environment where the plant can thrive naturally, almost on its own.
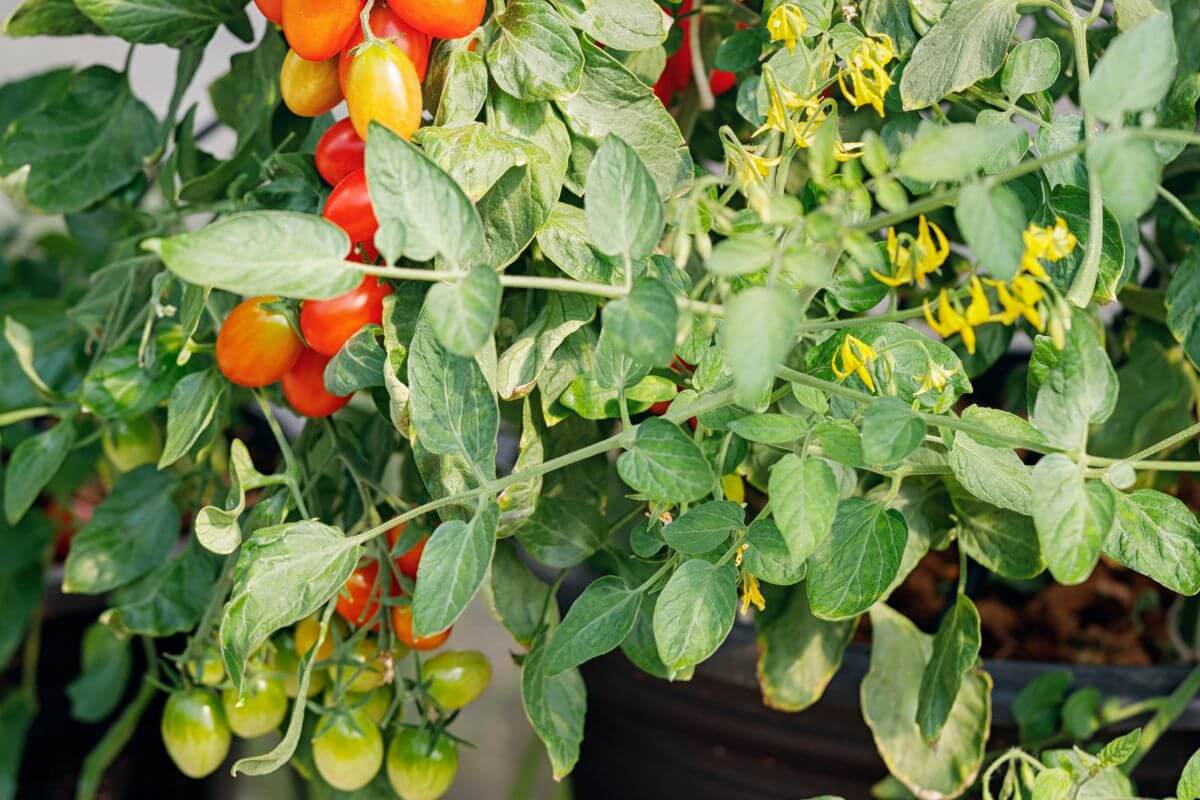
However, despite all our best efforts, certain problems may still arise over the course of the summer. Yellowing leaves, falling flowers, split tomatoes, diseases, or pests: next month, we’ll look at how to identify the most common problems with container-grown tomatoes, understand their causes, and, above all, avoid a lot of unnecessary worry.
0 comments on “How to Grow Tomatoes in Containers Without Becoming Their Slave”