
I posted a few videos on Facebook at the start of the summer whilst we were renovating the garden (that’s a bit of a grand word for it: we just changed some planters). A few weeks later, one of my followers who reads my blog posts asked me to show you my garden, including the work we’d done. So here’s the post! You can’t say I don’t listen to you!
When people share a garden on social media, it’s often shown in all its first-year splendour. Everything is new, everything is beautiful, not a dandelion in sight; the pretty decorative stones and the freshly laid mulch are still immaculate. But in reality, a garden is a living thing. It’s set in an environment that’s constantly shifting and changing, and this inevitably ends up showing. I wanted to show you, for a change, a garden that’s less ‘Instagram-worthy’ – one that’s lived a life of its own, and has a lovely, natural, carefree feel to it too!
A garden isn’t just rows of tomatoes and carrots that grow (or don’t). It’s also an infrastructure that ages, that transforms, and that teaches you lessons – sometimes costly ones. So this week, no advanced biology, no aphids, no Latin names. Just me, my garden and seven years of trial and error – and rotting wood!
The beginning: soil, wood and rock
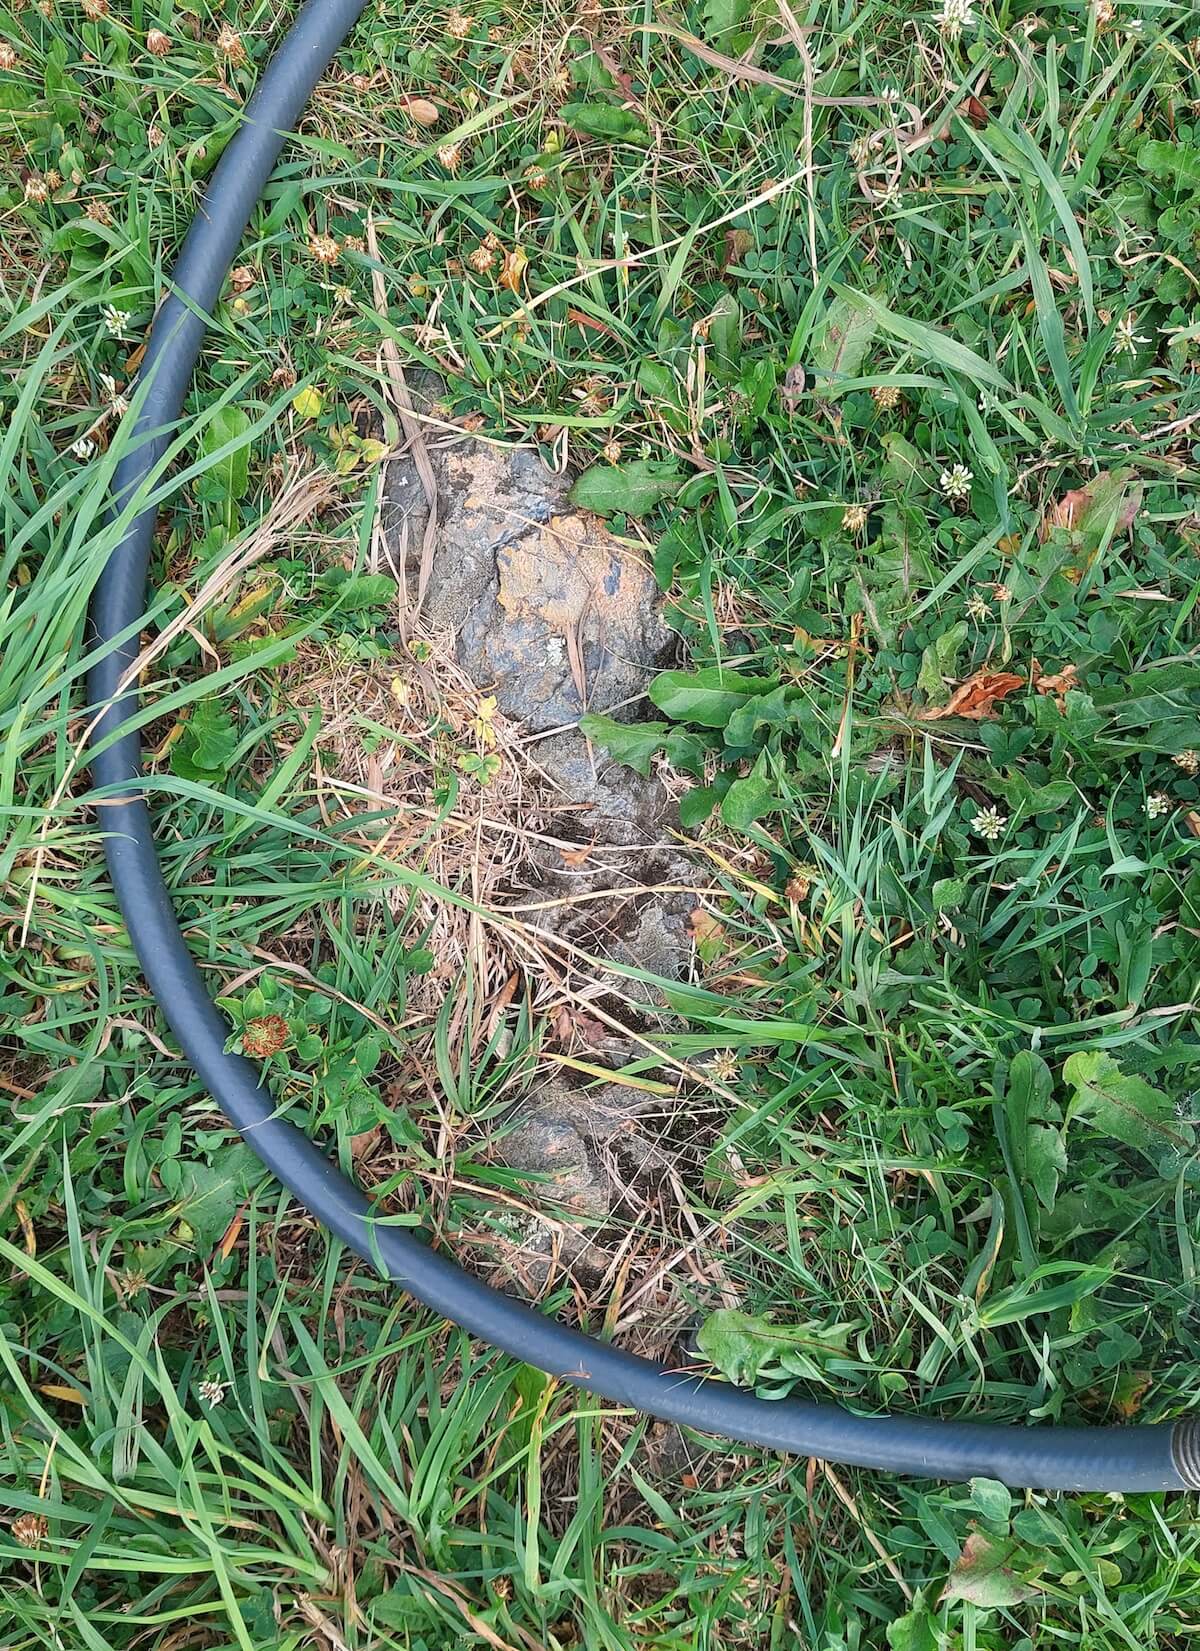
Seven years ago, my garden was nothing more than a single wooden box. People often ask me why a box? Why not straight onto the ground? Well, my plot is literally rock. It’s as if I were living on top of a mountain. Not the sort of small pebbles you can shovel aside with a spade – no, proper boulders, the sort that can only be removed with a pickaxe. So it’s impossible to grow anything directly in the ground: two out of every three attempts to dig in with a spade end with a loud clang and nothing more. The solution was to build on top of it rather than fight against the rock.
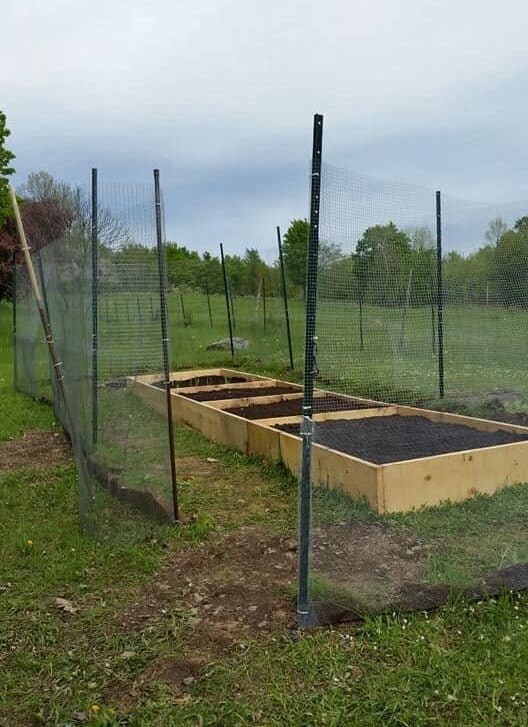
But why ‘bottomless’, then, if the soil beneath is so uncooperative? Because that soil, however stony it may be, is alive, and I certainly didn’t want to cut myself off from it. By being bottomless, my planter remains in direct contact with everything teeming in the soil: micro-organisms, fungi, earthworms, insects and even natural predators such as shrews, which make their way in from below to clear out any pests. All this life circulates freely between the soil and my garden soil, rather than being trapped in an isolated container.
There’s also the question of depth. With no bottom, roots that need to can reach well beyond the layer of loose soil I’ve added, whilst others, such as carrots, remain comfortably within this surface layer suited to their needs. And drainage is all the better for it: water flows naturally back into the ground.
What about wood?
It established itself as the logical choice at the time, made popular by what you saw everywhere on social media. Untreated, meant to last, and withstand the winter. It did the job well. For, say, five years.
Seven years of change
My soil is teeming with life – rich in fungi and decomposing insects – and that’s exactly what you want for healthy vegetable beds. Except that this life makes no distinction between the dead organic matter lying on the ground and the planks of my raised bed: the wood eventually ended up decomposing just like any other organic debris.
For about two years now, my raised bed has clearly been on the verge of collapsing. We’ve tried some makeshift repairs – a nail here, a bit of wood there – but the result was a rather unconvincing Frankenstein-like look (you can see it clearly in the video at the start!).
Something had to be done, but I didn’t fancy putting in more wood only to find myself repeating the whole process in five years’ time. Changing the edging of an established garden is more work than building a new one from scratch: you have to work around the soil and the plants already in place, and apologise every time you disturb a toad or a grass snake.
My advice if you’re in the same boat as me: make the change in spring or autumn, before you start planting. I didn’t have that luxury. We had to redo everything in May and June, right in the middle of the growing season, with plants already in the ground. And as the wooden boxes had widened whilst slowly collapsing, I had to straighten the whole lot out. The result: I lost several beetroots in the process. My partner could hear me wailing “my parsnip” and almost sobbing with every one I had to sacrifice. It hurts, but it was worth it.
The shift towards galvanised steel
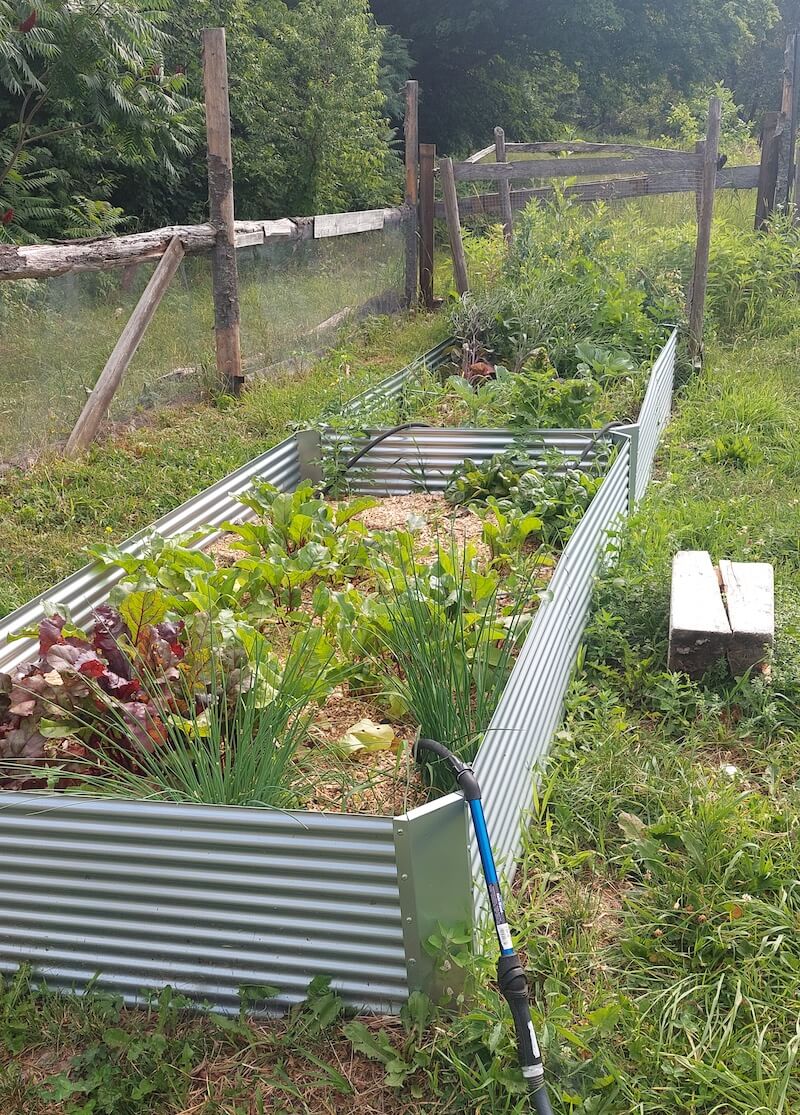
At first, we wanted to make everything ourselves: buy the parts and put them together. Then I discovered that ready-made kits were available – the sort you assemble like IKEA furniture. In the end, it worked out cheaper than expected: for my 4-foot by 8-foot boxes, we’re talking about around $100 each – a price comparable to, or even lower than, what it would have cost me in new timber or parts bought separately.
This year, two new 4×8 galvanised steel boxes have been installed, and so far, I’m really pleased with them. Yes, they’re a bit flimsy, but they’re definitely sturdy enough for a garden if you’re not the sort to hurl your bags of soil straight onto the box. Three small metal pins run through the centre to prevent sagging at different heights.
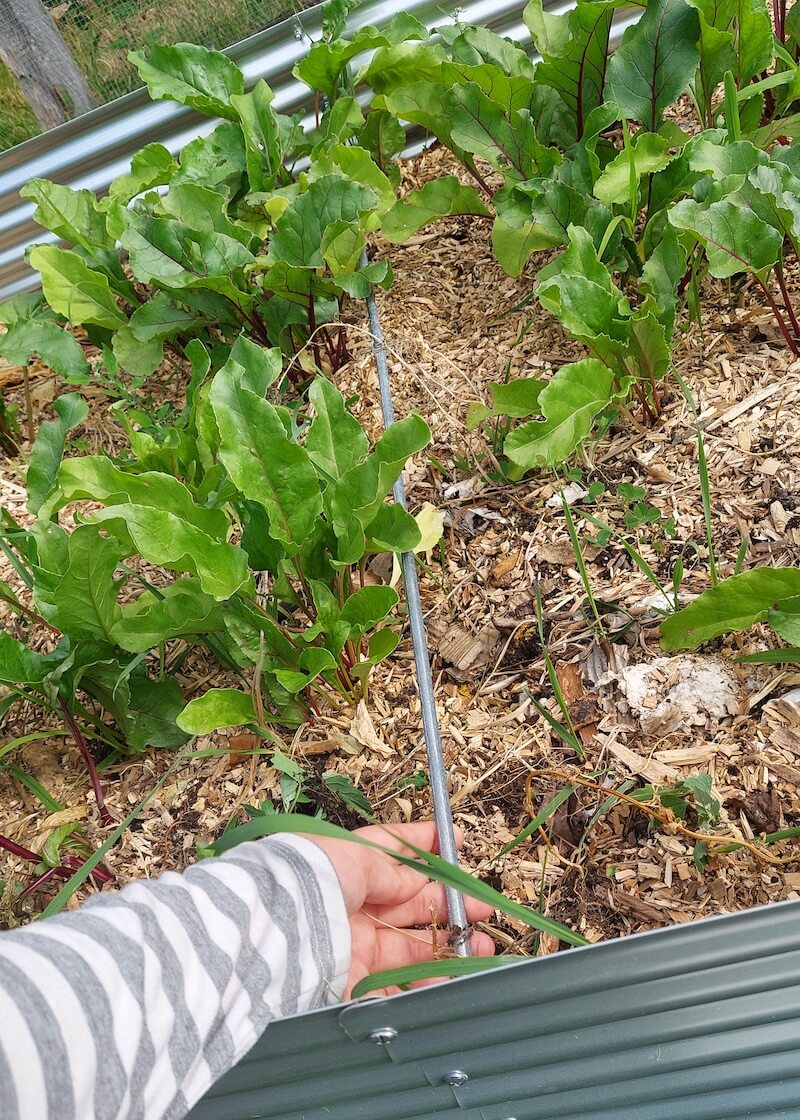
We’ve also opted for a height of one and a half feet – higher than before – in the hope of putting off our four-legged visitors a little. I’ve never had any trouble with groundhogs or rabbits, but I’ve had the unpleasant surprise, once or twice, of a cat deciding to dig up my soil and my young squash seedlings. Let’s just say I wasn’t too happy about it, YOU KNOW! You might be a predator, but my squash patch isn’t your playground!
Do I think I’ll manage to keep the neighbourhood turkeys and cats at bay with a height of a foot and a half? I reckon it’s less inviting, but then again… If I spot a big edible mushroom, I’ll do all sorts of acrobatic feats to get to it, so… we’ll see!
Precision
I should point out here that galvanised metal is my personal choice, not THE one-size-fits-all solution. Someone once showed me their stone garden, made with large bricks, and honestly, it was magnificent and looked much more natural. The reason I ruled out this option was that I didn’t want to lose any usable width with thick bricks, and I was worried that my soil would wash away through the cracks between the blocks when I watered it. It’s still an excellent option for other gardeners, just not the one that suited my specific requirements.
The rest of the project: coming soon!
As the original box was 20 feet long, I’ve still got a small 4×4 box left to build, but two boxes in a single season was already quite a hefty undertaking. There are two of us adults who work full-time all week: on the weekends, we mustn’t overdo it either if we want to keep enjoying gardening! That section (with the most magnificent of homemade stakes) will have to wait until next year.
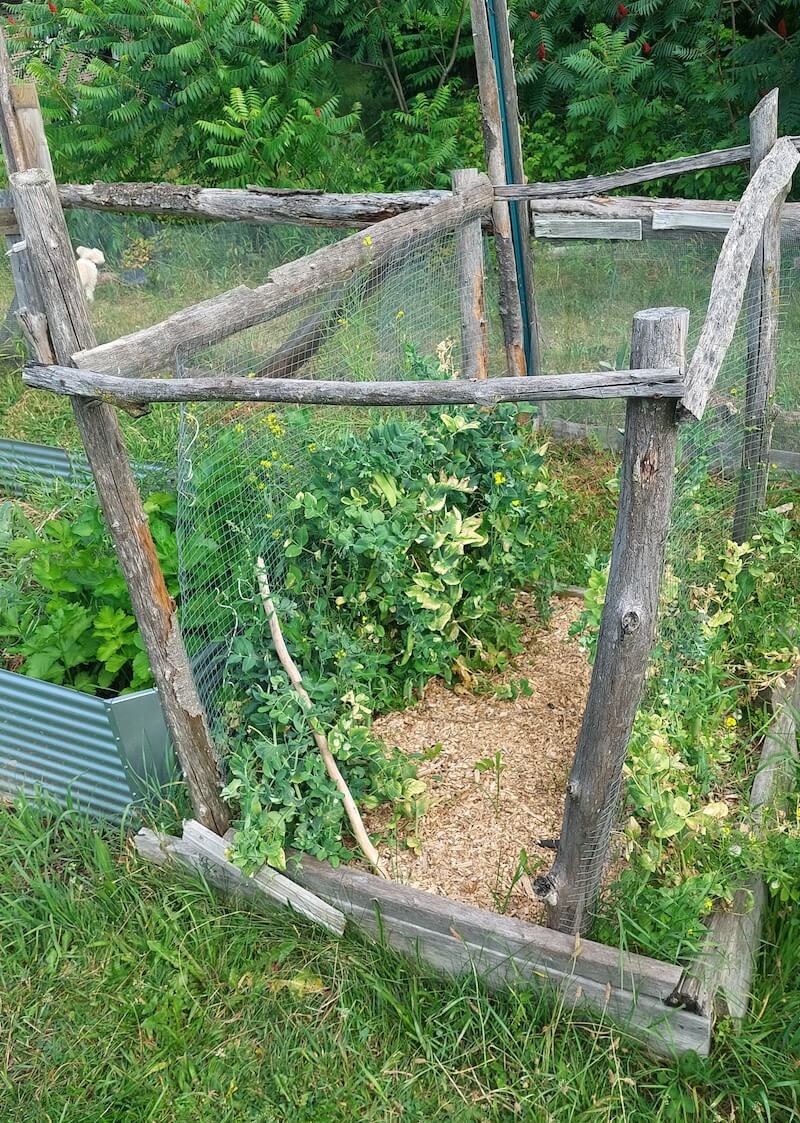
The funny thing is that, over the years, my garden has obviously grown. I’ve tripled the size of the original box. The other two aren’t as old (and were made from fence timber that cost nothing – you learn as you go!) and so aren’t quite as well finished, but they’re still made of wood! They’ll end up there eventually too. At two boxes a year, it’s a slow change, but a satisfying one – and not too much of a struggle either.
A garden is a long-term project, but it’s also a hobby.
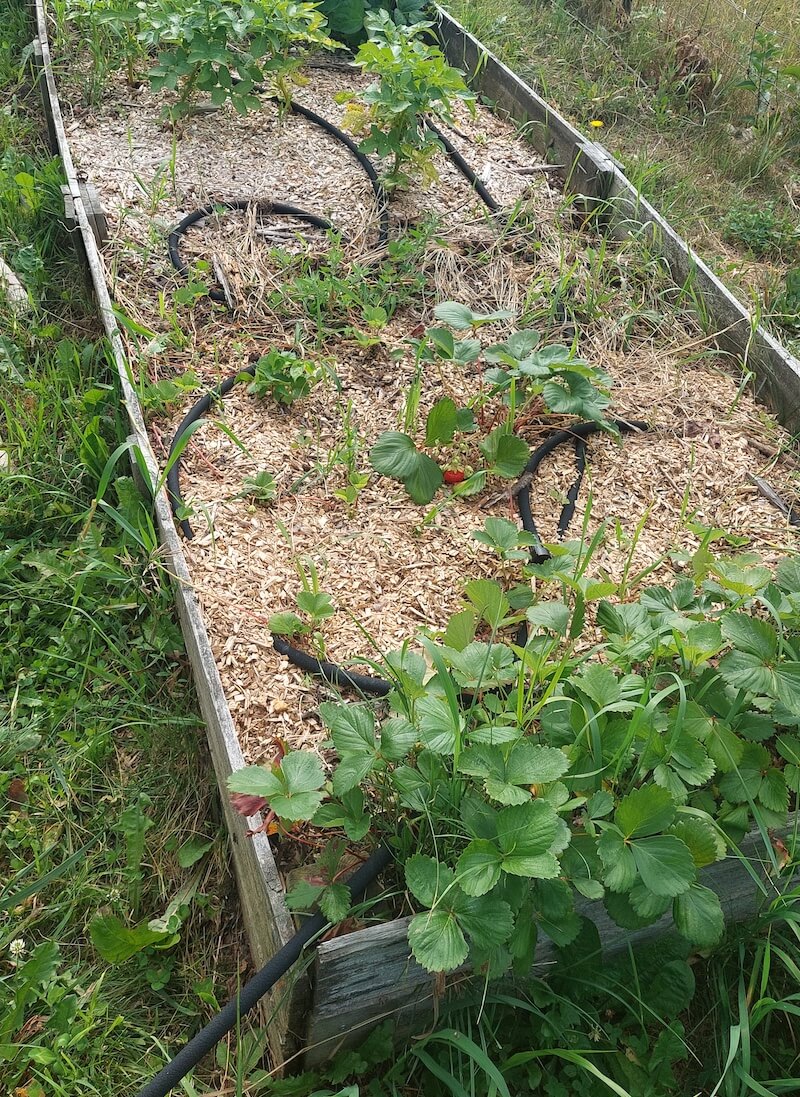
In closing: a quick note
You may have noticed the change in the fencing in the photos. Just a quick word on that: at first, it was fine-mesh chicken wire, secured with wire to the posts. It worked fine, until the wire rusted and snapped at the attachment points (in just one season!), which was a right nightmare to repair. After two or three years, we switched to tree trunks cut from my nearby woodland, using the same wire cut into smaller segments to reduce wind resistance. Same story: the rust eventually set in and it came loose where the wire was attached, so this year we’ve added wooden planks at the back to secure the whole thing properly.
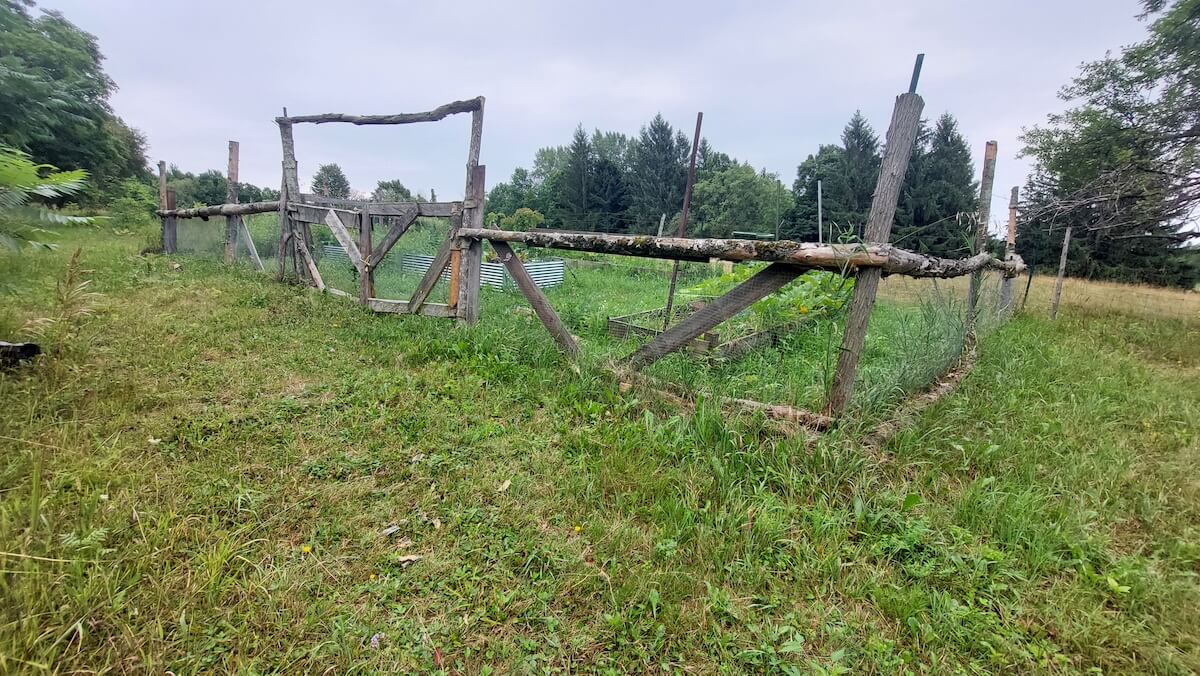
The main purpose of this fence is to keep deer and other large animals at bay, although I know that a determined deer can easily jump 2 metres high. It’s never really been an issue so far, no doubt because there’s a forest and fields right next door to feed them. In truth, this fence simply rests on the ground and doesn’t stop shrews, toads or grass snakes – all of whom are welcome visitors to the garden anyway.
I suppose it’s a barrier that serves mainly a psychological purpose, both for the animals and for my own peace of mind. Even so, no marmot or rabbit has bothered to dig underneath to get through, and no turkey, however cheeky it may be, has dared to try either. Perhaps it’s because we make it very clear to them that ‘if I catch you, I’ll eat you’ whenever we see them lurking about!
Seven years later
There you have it – that’s my garden in all its authenticity: no perfect plan followed to the letter, but rather a series of tweaks, makeshift repairs and inexpensive solutions that hold up… until nature decides otherwise! And I think that’s what real gardening is all about: you learn as you go, you fix what breaks, and you take it one season at a time.
What about you – has your garden changed much over the years? I’m curious to hear what solutions you’ve come up with for your own garden challenges. Let me know in the comments!
0 comments on “What Does a 7-Year-Old Garden Look Like?”